How To Get A Refund On Battle Net

Let's face it, we've all been there. That shiny new game on Battle.net looked absolutely amazing in the trailer, but after downloading it and diving in, it just didn't click. Maybe the gameplay wasn't what you expected, or perhaps your computer decided it preferred displaying error messages to rendering stunning graphics. Whatever the reason, sometimes you just want your money back. Don't worry, you're not alone, and getting a refund on Battle.net is often easier than you might think! This guide will walk you through the process, so you can get back to gaming happiness (hopefully with a game you actually enjoy!).
Purpose and Benefits of Understanding the Refund Process: Knowing how to navigate the Battle.net refund system empowers you to make informed decisions about your purchases. The purpose is simple: to ensure you're not stuck with games or content you don't want or can't use. The benefits are numerous! You can try out new titles without the fear of permanent financial commitment. You can resolve issues if a game is technically unplayable on your system. And, let's be honest, it's just nice to know you have a safety net in case of buyer's remorse. It gives you peace of mind.
How to Request a Refund: A Step-by-Step Guide
Must Read
The good news is that Blizzard, the company behind Battle.net, typically offers refunds under certain circumstances. Here's the general process:
- Check the Refund Policy: Before anything else, head to the Blizzard Support website and read their official refund policy. This will outline the specific eligibility requirements. Generally, you'll need to request a refund within 14 days of purchase and have played the game for less than two hours. However, these rules can vary slightly, so always double-check! Certain items, like pre-purchases or virtual goods consumed in-game, might have different stipulations.
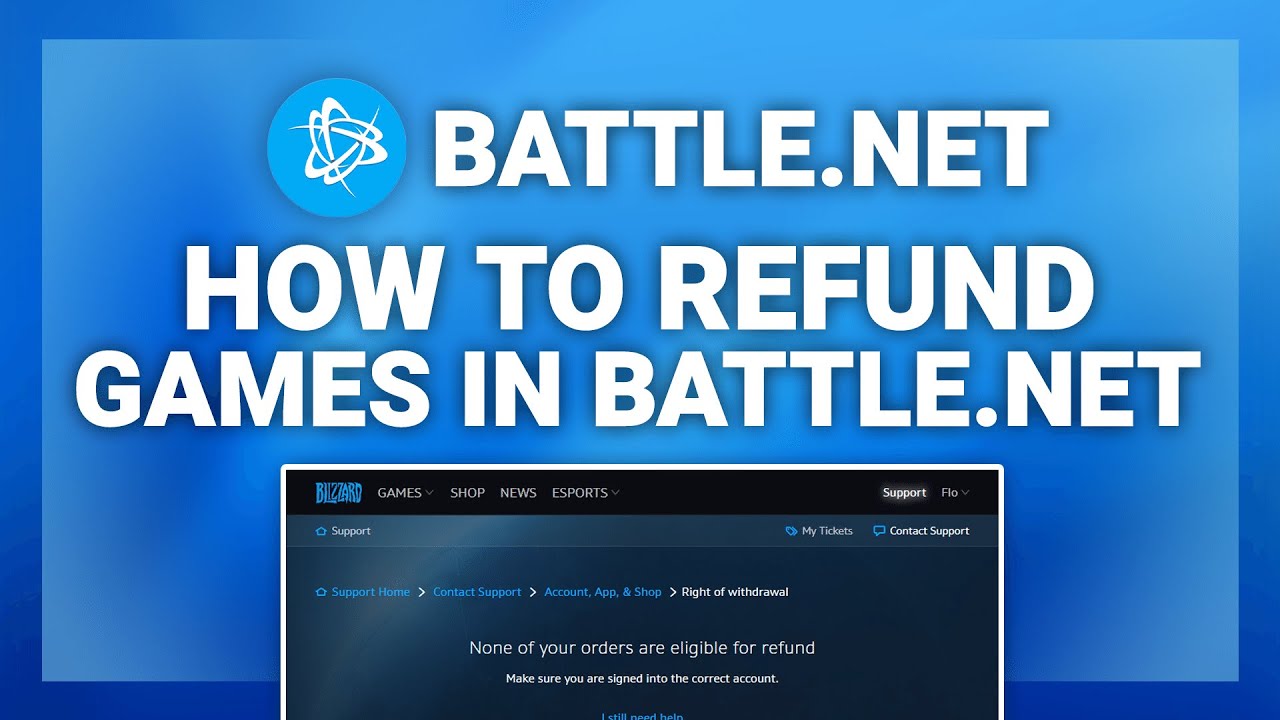
- Log In to Your Battle.net Account: Go to the Battle.net website and log in with your account credentials.
- Navigate to Support: Find the "Support" section. This is usually located in the top navigation bar or the footer of the website.
- Select "Games" or "Purchases": Within the Support section, look for options related to games or purchases. You might see a specific option like "Request a Refund."
- Choose the Order for Refund: You should see a list of your recent Battle.net purchases. Select the order containing the game or item you want to refund.
- Follow the Prompts: The website will guide you through the refund request process. You'll likely need to provide a reason for your refund request. Be honest and concise!
- Submit Your Request: Once you've filled out all the necessary information, submit your refund request.
- Wait for a Response: Blizzard's support team will review your request. This process can take a few days, so be patient. You'll usually receive a response via email.
Important Tips for a Smooth Refund:
- Act Fast: The sooner you request a refund, the better. Don't wait until the last minute!
- Be Polite: Even if you're frustrated, maintain a respectful tone in your communication with Blizzard support. Kindness goes a long way.
- Keep Documentation: Save screenshots or any other relevant information related to your purchase or the issues you're experiencing. This can be helpful if your request is initially denied.
- Check Your Payment Method: Refunds are typically issued back to the original payment method used for the purchase. Make sure that account is still active.
Remember, even if your initial refund request is denied, you can often appeal the decision. Just explain your situation clearly and provide any additional information that might support your case. Good luck, and happy gaming!


