
How To Fix A Crack On The Wall

Okay, so you've got a crack on your wall. Don't panic! It happens. Walls, like us, sometimes need a little TLC. Think of it as a character line, a testament to your home's rich and exciting life! But, you know, we can definitely make it less...obvious. Let's get this fixed!
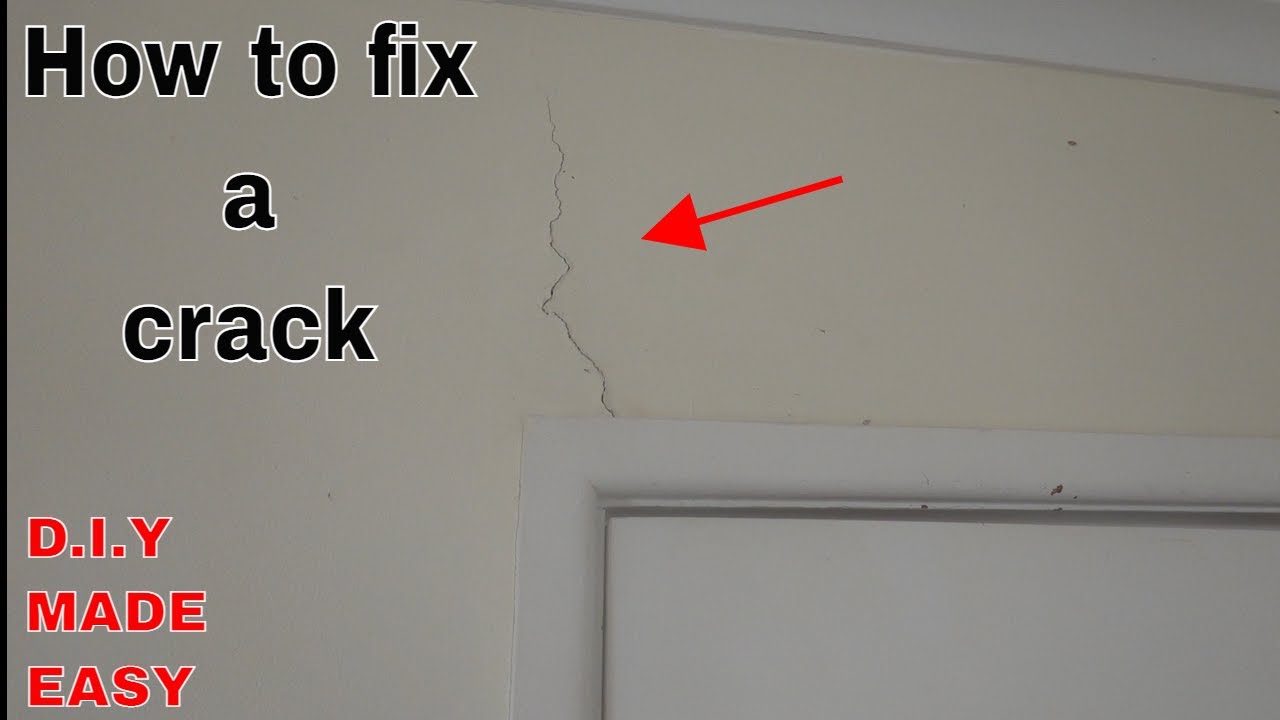
First things first, we need to assess the damage. Is it a hairline fracture, barely noticeable? Or are we talking Grand Canyon levels of wall separation? If it's a super wide, jagged crack, especially if it's near a door or window, you might want to call in a pro. That could indicate a more serious structural issue, and trust me, you don't want to play DIY architect with your foundation! But, for most normal, everyday cracks, we got this!
Gather Your Supplies – The Crack-Fighting Arsenal!
Time to raid the hardware store (or that junk drawer we all have!). Here’s what you’ll need:
Must Read
- A utility knife (or something similar to scrape with – maybe even a sturdy butter knife in a pinch... but don't tell anyone I said that!).
- A damp sponge. We're going for gentle, not soaking!
- Joint compound (also known as "mud"). Pre-mixed is easiest for beginners (like us!), but if you're feeling ambitious, you can get the powdered kind and mix it yourself. Just follow the directions carefully, or you'll end up with cement instead of something spreadable. Trust me, it's happened to the best of us.
- A putty knife (or a taping knife – basically, something flat and flexible to spread the mud).
- Sandpaper (a fine grit is best – around 120-220).
- Primer. Think of it as makeup primer for your wall!
- Paint that matches your existing wall color. If you don't have any, take a small chip of paint to the hardware store for them to match. It's like a color-matching superpower!
Step-by-Step Crack-Conquering Action!
Alright, grab your tools and let's get to work!
Step 1: Prep the Area. Use your utility knife to widen the crack slightly. This gives the joint compound something to really grip onto. Don't go crazy, just enough to create a small "V" shape. Then, use your damp sponge to clean the area around the crack, removing any loose debris or dust. A clean surface is a happy surface (and will hold the mud better!).

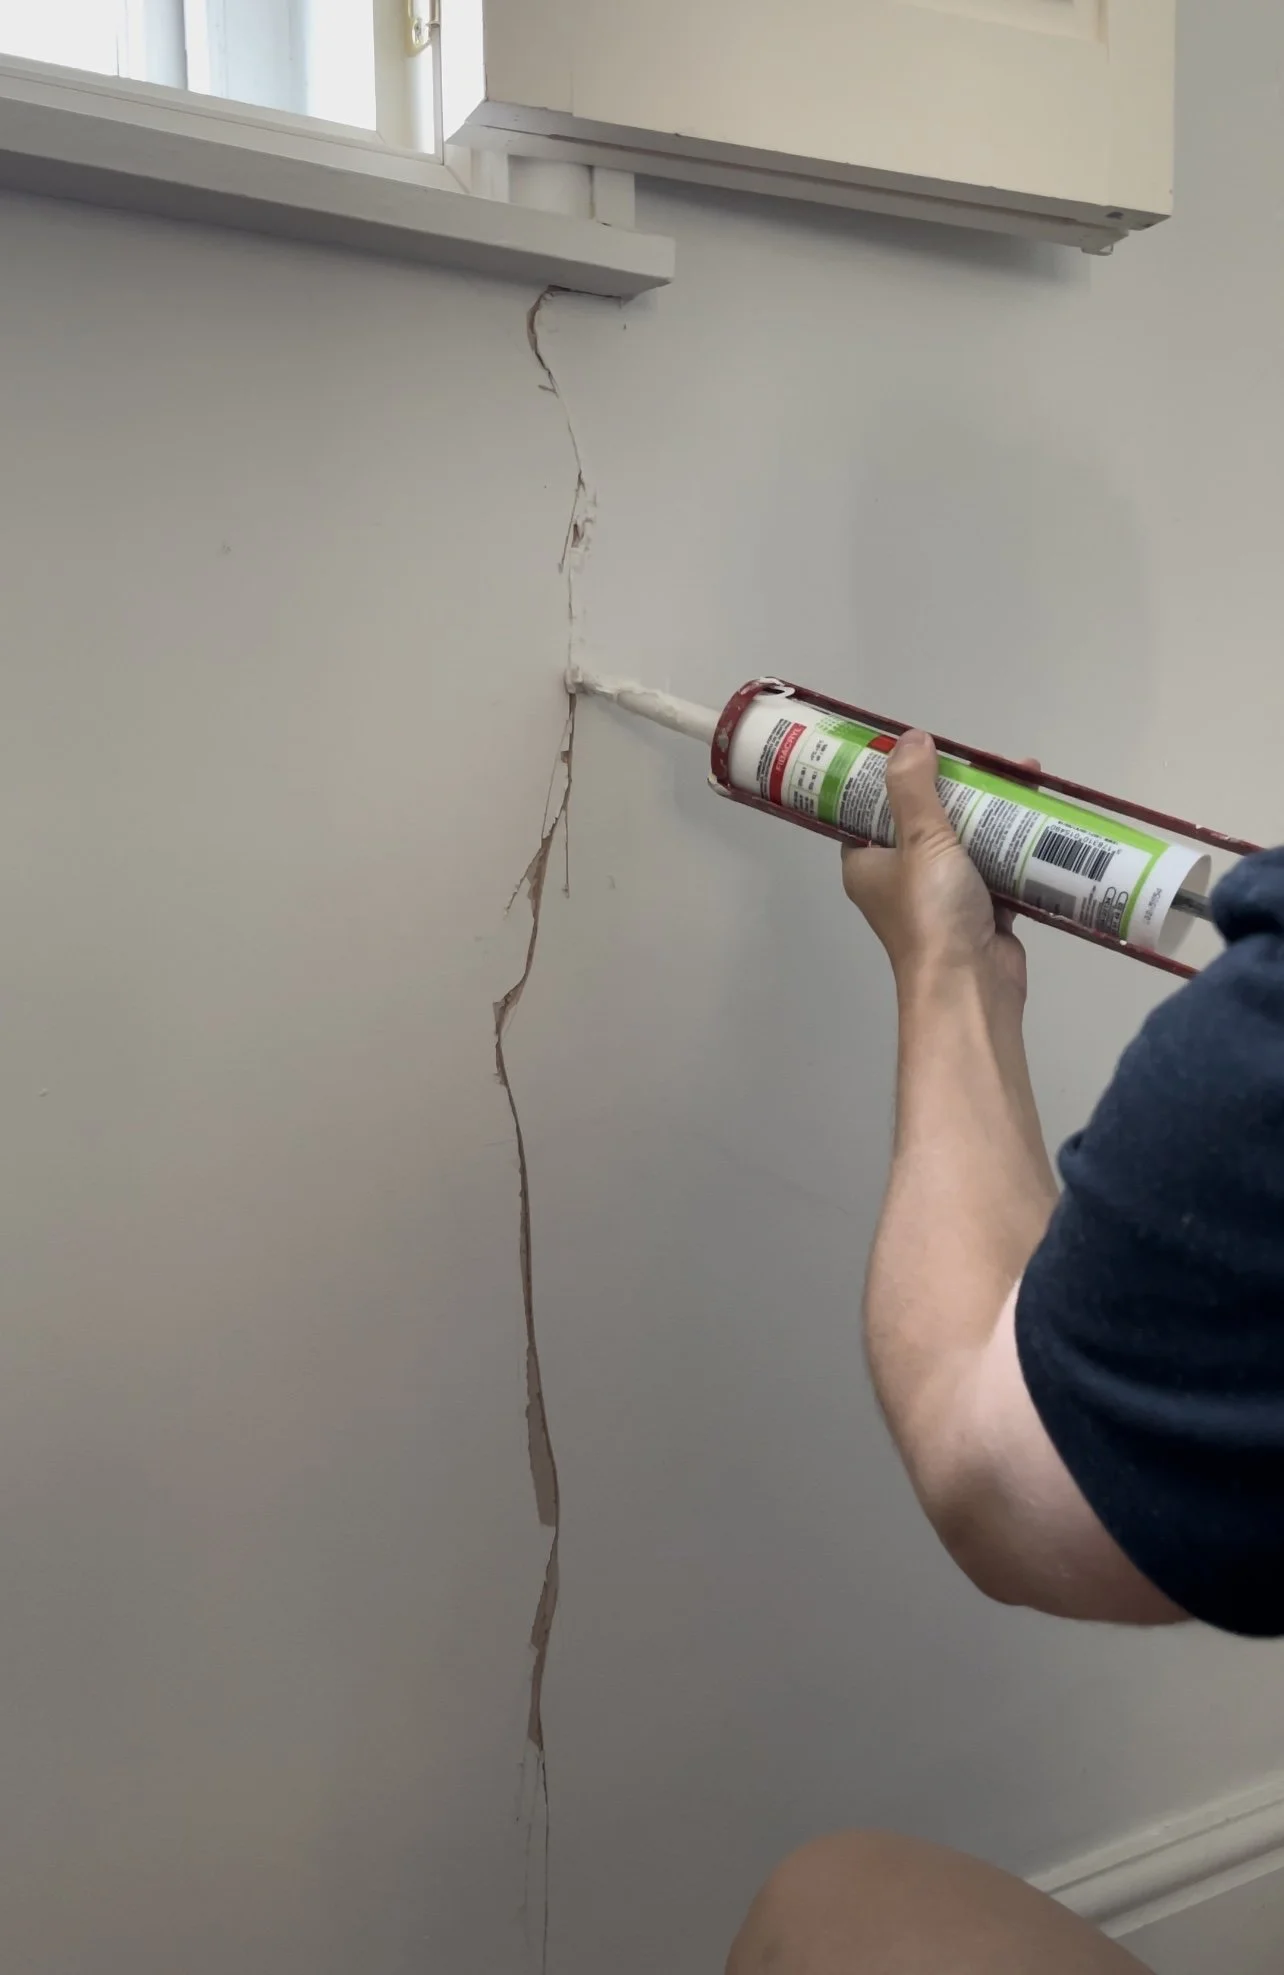
Step 2: Apply the Joint Compound. Load up your putty knife with a generous amount of joint compound. Then, using a smooth, even motion, spread the mud over the crack, pressing it firmly into the opening. You want to slightly overfill the crack – don't worry, we'll fix that in the next step!
Step 3: Smooth it Out. Now, using your putty knife, scrape off the excess joint compound, leaving a smooth, even surface. The goal is to feather the edges of the mud into the surrounding wall, making it as seamless as possible. Think of it as sculpting, but with mud! You might need to do this a few times to get it just right. Patience is key, my friend!
Step 4: Let it Dry. This is the hardest part! You have to let the joint compound dry completely. This usually takes at least 24 hours, but it depends on the humidity and temperature in your house. Don't rush this step! If you try to sand it before it's dry, you'll just end up with a gooey mess.
Step 5: Sand it Smooth. Once the joint compound is completely dry, use your sandpaper to smooth out any imperfections. Be gentle! You don't want to sand away all of your hard work. Just focus on blending the edges of the mud into the surrounding wall. Remember to wear a mask if you're sensitive to dust – we don't want you sneezing all day!
Step 6: Prime and Paint. Finally, the moment we've all been waiting for! Apply a coat of primer to the repaired area. This will help the paint adhere better and prevent the joint compound from absorbing all the paint. Let the primer dry completely, then paint the area with your matching paint. You might need to apply two coats for full coverage.
And...voila! You've successfully conquered the crack! High five yourself (carefully, so you don't bump the wall!) You're now a certified wall-repair wizard!
A Final Word of Encouragement
See? That wasn't so bad, was it? Fixing a crack in the wall is totally doable, even for the most DIY-challenged among us. And the best part? You did it yourself! You saved money, you learned a new skill, and you made your home a little bit more beautiful. Now, go forth and conquer those cracks! You've got this! And remember, even if it's not perfect (because, let's be honest, who is?), it's definitely better, and you should be proud of yourself for giving it a try!
