How To Disconnect First Alert Smoke Detector

Alrighty, my fellow peace-seekers! Ever been jolted awake at 3 AM by that infuriating, high-pitched chirp that screams, “I demand attention!” but offers zero clues as to why? Or perhaps you’ve lovingly crafted a culinary masterpiece (read: slightly overdone toast), only for your First Alert smoke detector to decide it’s time for a full-blown emergency concert?
You’re not alone. We’ve all been there, staring up at that little plastic sentinel, wondering how to make it just. be. quiet. Well, grab a beverage, kick back, and let’s tackle this together. Think of me as your friendly, slightly-less-than-professional guide to achieving sweet, sweet silence.
Why Are We Even Doing This?
Before we dive into our smoke detector commando mission, let's talk motives. Why would you want to disconnect this vigilant little guardian? Usually, it's one of these:
Must Read
- The dreaded low battery chirp: It’s like a tiny, insistent alarm clock you never asked for.
- False alarms: Steam from your shower, a particularly enthusiastic stir-fry, or just because it felt like it.
- End of life: Smoke detectors aren't forever! Most have a lifespan of about 10 years, and once they hit that mark, they can start acting a little… quirky.
- Replacement time: You've got a shiny new one and need to say goodbye to the old.
Whatever your reason, remember: safety first! We’re not advocating for living in a house without smoke detectors, just for managing the ones you have. Consider this a temporary truce, not a permanent retirement party for fire safety.
Gear Up, Captain!
Don's worry, you won't need a hazmat suit or a special anti-chirp ray gun. Here’s what you might need, depending on your setup:
- A sturdy step stool or ladder (please, for the love of all that is quiet, don’t stand on a wobbly chair!).
- A small flathead screwdriver (sometimes handy for stubborn battery compartments or if it's wired).
- A new 9-volt or AA batteries (if you're just replacing them).
- And, most importantly, a healthy dose of patience and a sense of humor.
The Grand Disconnection — A Step-by-Step Adventure!
Step 1: Identify Your Target (The Chirping Culprit)
This sounds obvious, but when multiple detectors go off, it can feel like a scene from an action movie where you don't know who the villain is. Listen closely! The chirping one is usually louder than the others, or the red light might be blinking more frantically. You're looking for the ringleader of the noise gang.
Step 2: Power Down (If It's AC-Powered)
This is arguably the most important step if your detector is hardwired into your home’s electrical system (meaning it doesn't just run on batteries, but often has a battery backup). You’ll see wires connected to it, usually behind the mounting plate.
Head to your electrical panel (that big metal box, usually in your basement, garage, or utility closet). Find the breaker labeled "Smoke Detectors," "Lighting," or the one for the specific room. Flip that bad boy OFF. No, seriously. We don’t want any shocking surprises, do we? Consider it putting the whole system on mute.
Pro Tip: If you’re unsure which breaker it is, flip the main one, but then you'll be in the dark! A flashlight is your friend.

Step 3: The Twist and Shout (Gently!)
Now, approach the detector with confidence. Most First Alert smoke detectors are attached to a mounting bracket on the ceiling or wall by a simple twist mechanism. Grab the detector firmly and twist it counter-clockwise (lefty loosey, you know the drill!). It usually takes about a quarter turn. It should then come free from the mounting plate.
If it feels stuck, give it a firm but gentle twist. Don't go full hulk on it; we’re trying to disconnect, not redecorate with ceiling fragments!
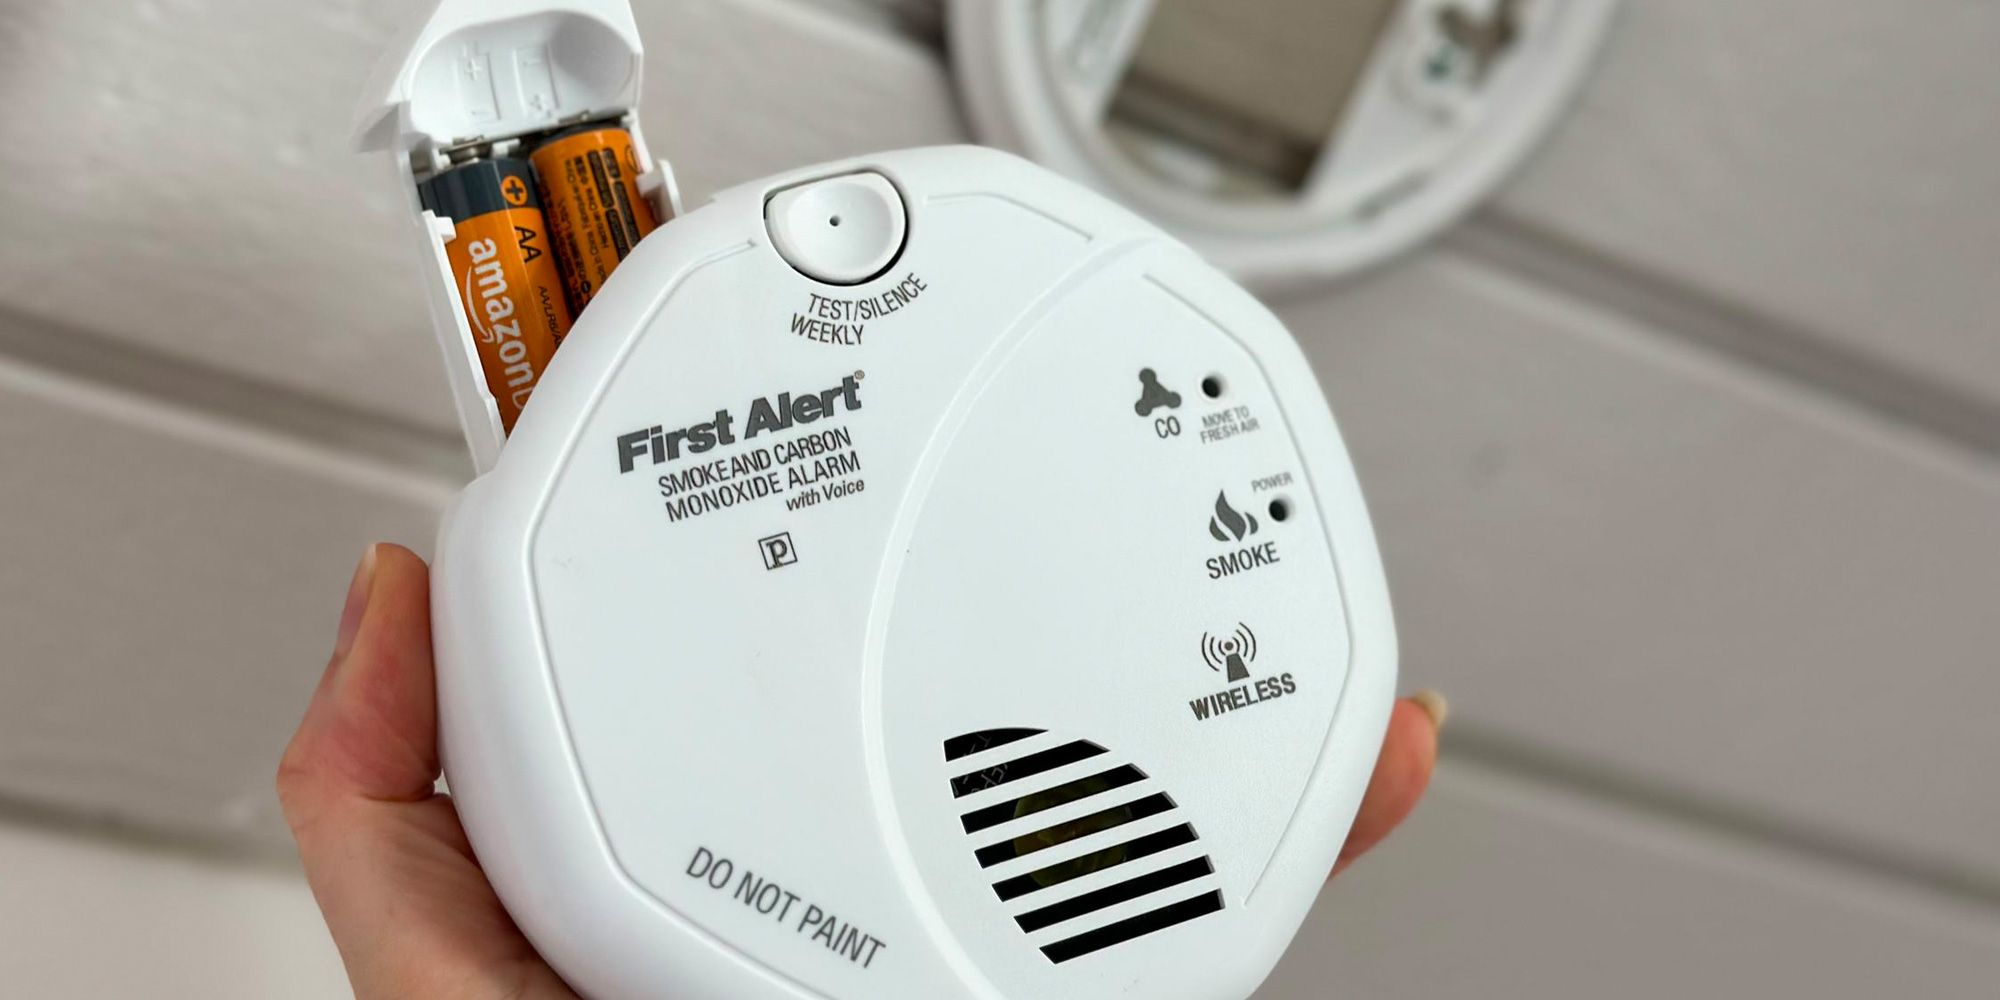
Step 4: Battery Extraction (The Source of All Evil Chirps)
Once you’ve got the detector in your hands, flip it over. You’ll see a battery compartment. Depending on the model, it might be a sliding door, a latch, or require a small screwdriver to open. Remove the battery (or batteries, if it uses AAs). If it’s a 9-volt, it'll have a little snap connector – just pull it off.

Hallelujah! You should now be basking in sweet, sweet silence. If it was just a low battery chirp, you’ve done it!
Step 5: Disconnect the Wires (For Hardwired Units Only)
If your detector is hardwired, you’ll see a small plug with wires coming out of your ceiling and into the back of the detector. This is often an orange or white connector. Simply squeeze the tab on the connector and pull it gently apart. Like unplugging a lamp, but fancier.
And just like that, your First Alert detector is officially offline. Give yourself a pat on the back!

What Now, Mighty Disconnector?
So, you’ve achieved silence. What's next?
- Battery replacement: If it was just a low battery, pop in a fresh one, twist it back onto its bracket, and (if hardwired) reconnect the wires and flip the breaker back on. Test it with the "test" button!
- Cleaning: Sometimes, dust can cause false alarms. A quick vacuum or blast of compressed air can do wonders.
- Replacement: If your detector is old (check the date on the back – usually a manufacture date, not an expiry date) or truly faulty, it's time for a new one. Remember, most need replacing every 7-10 years.
A Breath of Fresh (Quiet) Air!
You did it! You faced the chirping monster, you climbed the ladder of destiny, and you restored peace to your home. No more unexpected concertos at dawn, no more panic attacks during pizza night. You are a true hero of the household, a master of calm, a whisperer of silence!
Now, go forth and enjoy the quietude you so valiantly earned. Maybe treat yourself to some actual toast – without the drama. You’ve earned it, superstar!