How To Disconnect A Wired Smoke Detector
Perched high above, often unnoticed, sits a small guardian of your space. This little device, humble in its appearance, holds a quiet power. Today, we're going on a gentle exploration of its hidden connections.
It’s like uncovering a subtle secret, a small adventure right in your own home. There’s a certain satisfaction in understanding the things that hum along in the background. Ready to peek behind the curtain?
Our journey begins not with the device itself, but with its lifeline. It’s a bit like finding the master switch for an exciting, miniature world. This is where we ensure everything is calm and ready.
Must Read
The Grand Opening: Power Down!
First things first, a trip to the main electrical panel is in order. This fascinating box usually hides in a utility room or basement. It's a hub of unseen energy, waiting for your gentle command.
You'll see a series of switches, each a small gatekeeper. Your goal is to find the one marked for your particular area, or perhaps the one simply labeled "Smoke Detectors." It’s a bit of a treasure hunt!
Sometimes, it’s a process of elimination, a fun little game of deduction. Flip a switch, listen for a quiet click, and observe. We want to ensure the power to our guardian is completely at rest.
"That satisfying click of a switch truly marks the beginning of our calm exploration."
Once you’ve found the correct switch, push it firmly to the "OFF" position. You might feel a tiny shudder of accomplishment. This ensures a safe and pleasant experience for what comes next.
It's an important step, one that sets the stage for a smooth discovery. Always respect the flow of electricity; it’s a powerful friend when handled with care. Now, the stage is perfectly set.
The Gentle Twist
With power calmly set aside, we turn our attention back to our ceiling-mounted friend. Approach it with a sense of quiet curiosity. It’s often simpler to interact with than you might imagine.
Many of these devices attach to their base with a simple, clever mechanism. Look closely for tiny arrows or notches on the side. These are your subtle guides, pointing the way.
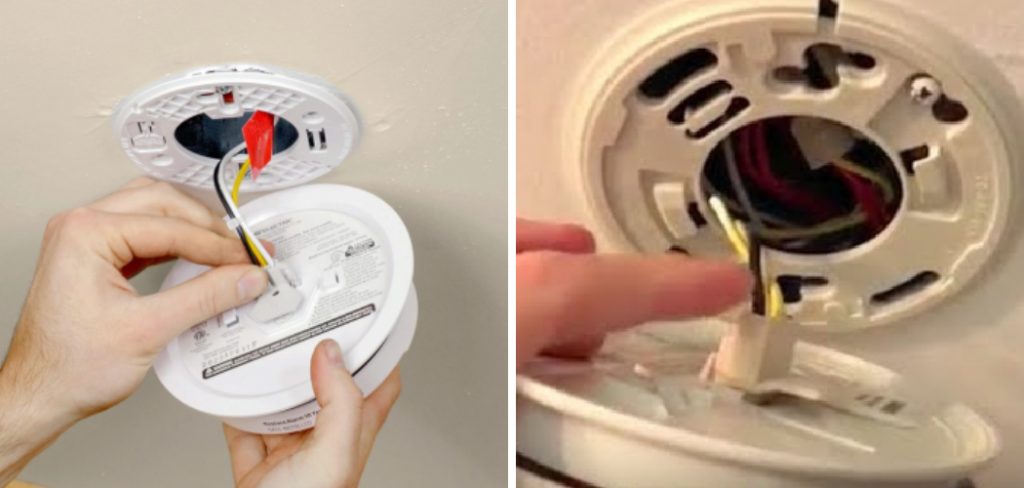
With a gentle but firm grip, twist the detector body counter-clockwise. It usually only needs a quarter turn, or maybe a little more. You're not forcing it; you're simply unlocking its embrace with the base.
"There's a quiet 'pop' or a smooth release, a small victory in itself."
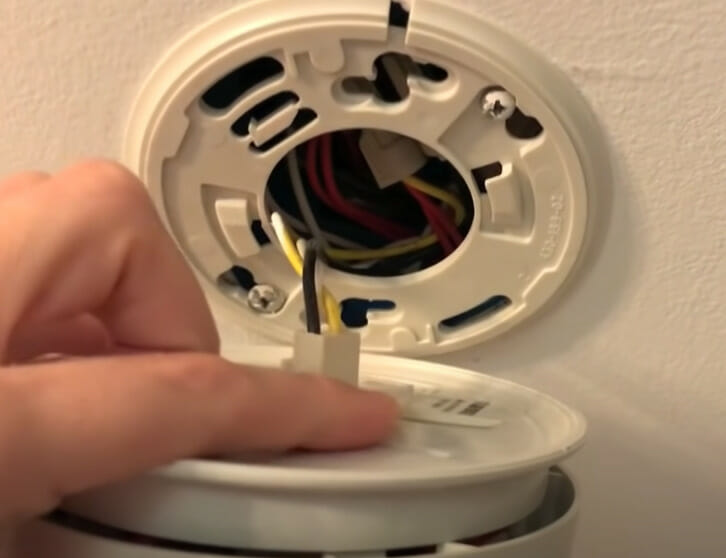
Feel the device separate from its mounting plate. It will likely dangle from the ceiling, still connected by a fascinating bundle of wires. This is where the real intrigue begins to show itself.
Holding it carefully, you can now get a better look. You’ll notice the back of the detector, and usually, a colorful connector peeking out. This is the heart of its connection.
Unveiling the Connections
Now, suspended from the ceiling, our little guardian reveals its colorful secret. A small plastic plug, often called a wiring harness, emerges from the back. It’s a beautifully organized bundle.
You'll typically see a few wires within this harness. There's often a black wire, a white wire, and sometimes a third, like an orange or red wire. Each has its own important role.
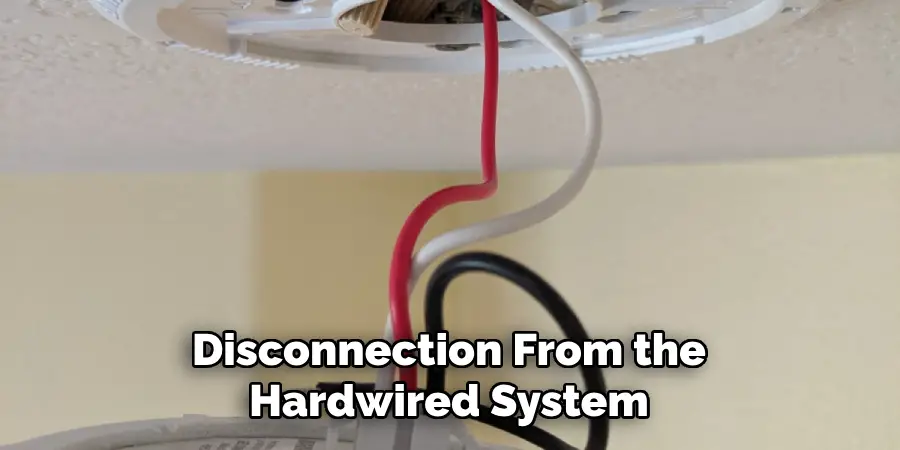
These colors aren't just for show; they tell a story about the flow of energy and information. It's like deciphering a simple, yet elegant, code designed for clarity. A small marvel of engineering.
"The vibrant wires are like tiny lifelines, each serving a specific purpose in this miniature network."
Take a moment to observe the harness. It’s usually a rectangular or square connector. Notice how neatly the wires are tucked inside. It’s a testament to thoughtful design.
This is the moment where you truly see the craftsmanship involved. Every element is there for a reason, creating a seamless connection to your home's electrical system. It's quite fascinating.
The Moment of Release
The wiring harness itself has a clever locking mechanism. You'll usually find a small tab or squeeze clip on one side of the plastic connector. This is your key to separation.
Gently press this tab with your thumb or finger. You might hear a soft click, or feel the tab give way slightly. It's designed to be easily released when you know where to press.
As you squeeze the tab, pull the two halves of the connector apart. One half will remain attached to the detector, and the other will stay with the wires coming from the ceiling. It’s a smooth, satisfying disengagement.
"That gentle pull, and the two halves separate, revealing a complete, momentary disconnection."
You've now successfully disconnected the electrical connection! The detector is free from its power source. It feels like completing a small, intricate puzzle, a very rewarding moment.
Hold both parts of the harness carefully. You can see the neat pins and slots that previously joined them. This entire process offers a wonderful peek into how household systems are built.
A Closer Look (Mounting Bracket)
Sometimes, the exploration continues beyond just the device itself. You might want to understand how the mounting bracket, the base that's still attached to the ceiling, works. This involves a few more steps.
Look at the bracket; you’ll see screws holding it firmly in place. These screws are typically Phillips head, but sometimes you might encounter others. A screwdriver becomes your next essential companion.
Choose the right size screwdriver for a snug fit. This ensures you won't strip the screw heads, keeping everything tidy. It’s a small detail, but it makes a big difference in the overall experience.
"Using the correct tool feels like wielding a precision instrument; it's empowering."
Slowly turn each screw counter-clockwise. You'll feel the resistance ease as they loosen. Take your time, enjoying the steady progress of each turn. It’s a meditative act of disassembly.

Once the screws are loose enough, you can gently remove them. Be mindful not to drop them; they can sometimes have a mind of their own! Keep them safe, perhaps in a small dish nearby.
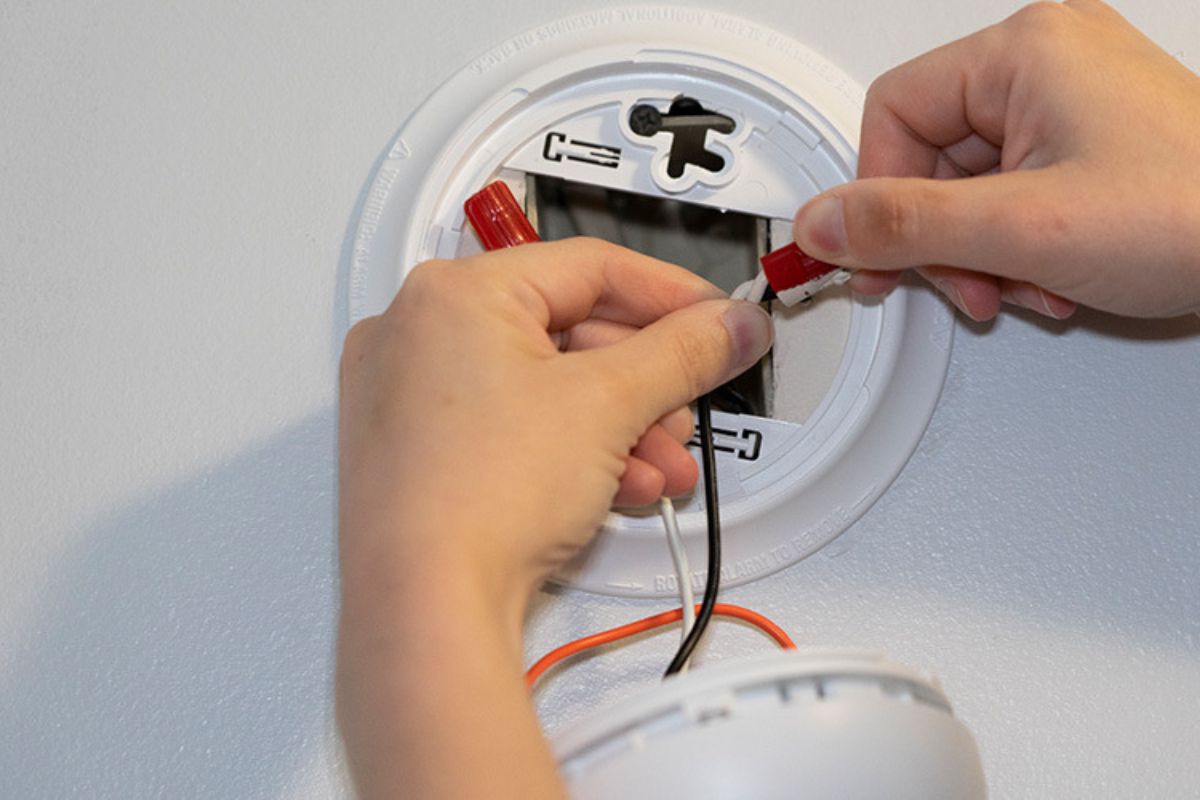
With the screws removed, the entire mounting bracket can be carefully taken down. You'll now see the electrical box embedded in the ceiling, where the wires originate. It’s the hidden nerve center.
This reveals the full extent of the installation. It's a fantastic way to understand the layers involved in a seemingly simple fixture. There’s always more beneath the surface.
Take a moment to appreciate the neatly tucked wires, often secured with wire nuts. Everything has its place, ensuring safety and function. It's a testament to organized electrical work.
Re-attaching it, if you choose, is simply reversing these steps. The satisfaction of putting something back together, stronger and with greater understanding, is immense. It's a true sense of mastery.
Finally, always remember to restore power at your electrical panel. That click of the breaker switch signals the return of energy, bringing everything back to life. A complete cycle of discovery.
You've explored the quiet world of a common household device. The wires, the connections, the simple twist – each step a small lesson in the hidden mechanics of your home. It’s wonderfully engaging!