How To Connect My Nest Thermostat To Wifi
Ever wonder why your fancy Nest Thermostat isn't quite living up to its full potential? It's like having a supercar stuck in first gear! The secret to unlocking all its amazing features, from saving energy to keeping your home perfectly cozy, often boils down to one simple thing: connecting it to your Wi-Fi. It might sound a bit techy, but trust us, it's easier than baking a frozen pizza, and way more rewarding!
Connecting your Nest to Wi-Fi is the ultimate upgrade. For beginners, it means saying goodbye to fiddling with tiny buttons on the thermostat itself. Instead, you can control your home's temperature from the comfort of your couch, your bed, or even from your office. Just imagine adjusting the heat before you even walk in the door on a chilly evening! For busy families, this translates into real savings on energy bills. You can easily set schedules, track energy use, and even turn down the heat when you forget to do so before leaving for vacation, all from your smartphone. And for the inner tech hobbyist, a Wi-Fi-connected Nest opens up a world of smart home integration. Link it with your Google Home or Alexa, set up geofencing so it knows when you're coming and going, or delve into detailed energy reports to optimize your comfort and costs like a pro.
While all Nest models aim for simplicity, the exact steps might vary slightly between, say, a Nest Learning Thermostat and a Nest Thermostat E. But the core principle remains the same: you're telling your Nest which wireless network to join and giving it the password. Think of it like introducing your Nest to your home's digital brain! This connection is what allows it to get weather updates, receive software improvements, and, most importantly, talk to your Nest app on your phone. If you ever change your internet provider or get a new router, you’ll just need to repeat these steps to get your Nest back on the new network.
Must Read
Ready to get your Nest supercharged? Here are some simple, practical tips to get started:
- Make sure your Nest is powered on: Most Nests are powered by your HVAC system, but if it's very low on charge, it might struggle to connect.
- Head to the Settings: On your Nest, usually, you'll press the ring (or swipe up/down) to access the main menu. Look for "Settings" or a gear icon.
- Find the Network/Wi-Fi Option: Within settings, navigate to "Network," "Wi-Fi," or sometimes "Technical Info."
- Scan for Networks: Your Nest will typically scan for available Wi-Fi networks. It might take a moment.
- Select Your Home Network: Choose your home's Wi-Fi network from the list. It’s usually the one you connect your phone or computer to.
- Enter Your Password: This is the crucial step! Carefully enter your Wi-Fi password. It's case-sensitive, so pay attention to capital letters and symbols. The Nest will guide you on how to type it in using its ring or buttons.
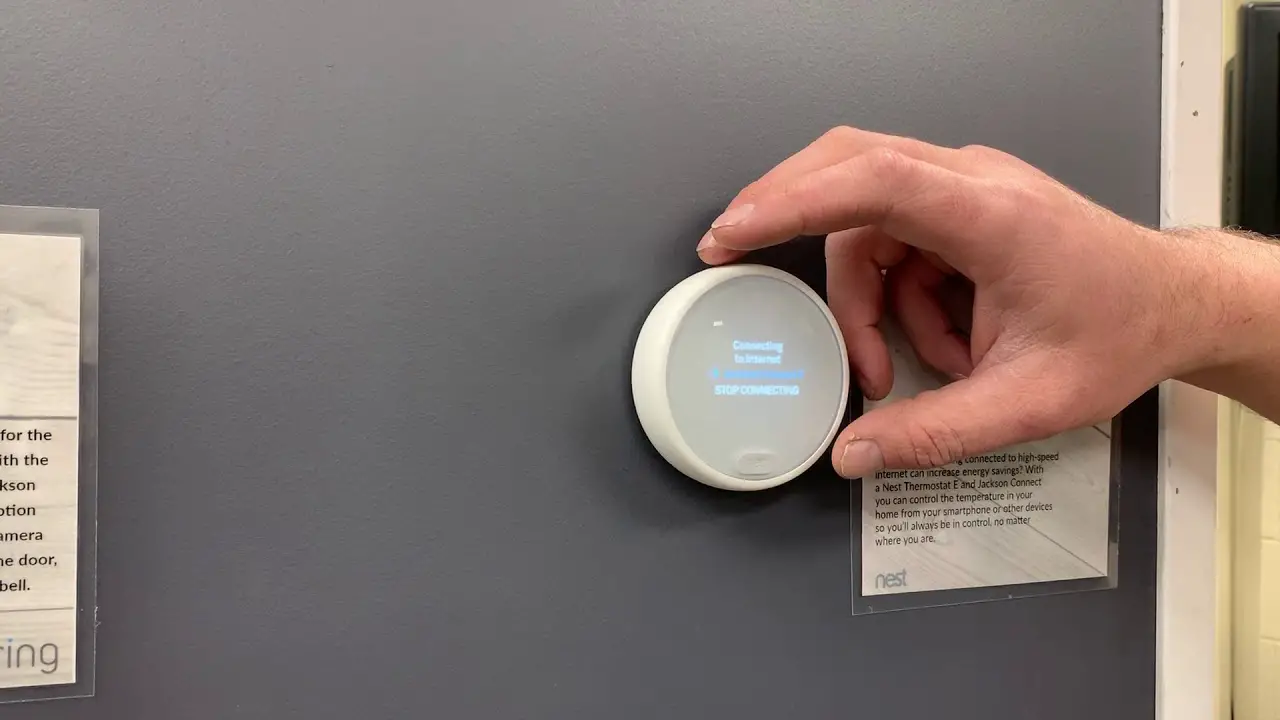
- Confirm Connection: Once entered, your Nest will attempt to connect. Look for a checkmark, a confirmation message, or the Wi-Fi symbol appearing on the display.
- Download the Nest App: If you haven't already, download the Google Home app (or the older Nest app for some models) to your smartphone. This is where the magic truly happens, allowing you remote control and smart features.
And voilà! With just a few simple taps and turns, your Nest Thermostat is now a fully connected, intelligent part of your home. The satisfaction of controlling your home's comfort with a swipe of your finger, knowing you're saving energy, and just making life a little bit easier, is truly enjoyable. It’s a small step that brings a huge leap in comfort and convenience to your everyday life!