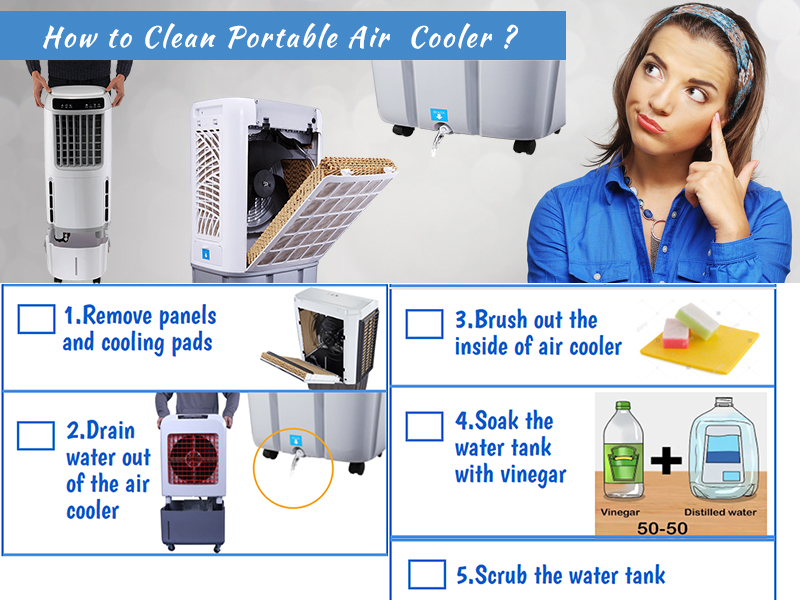
How To Clean Portable Air Cooler
Alright, gather 'round, folks! Let's talk about portable air coolers. You know, those magical boxes that promise arctic blasts but sometimes deliver more of a damp chihuahua breath situation? Yeah, those. The secret to actually getting that arctic blast? Cleaning the darn thing. Think of it like this: you wouldn't wear the same socks for a month straight (okay, maybe you would, but let's pretend you wouldn't!), so why would you expect your air cooler to function flawlessly while swimming in dust bunnies and forgotten dreams?
The Great Unveiling (and Why You Should Care)
First, let's acknowledge the elephant in the room: cleaning isn't exactly glamorous. It's less "red carpet premiere" and more "wrestling a greased pig." But trust me, the reward is worth it. A clean cooler not only blows colder air (duh!), but it also prevents the spread of mold, mildew, and other… delightful… microorganisms. Imagine your air cooler as a tiny, humid jungle teeming with microscopic life. Now imagine that jungle's inhabitants are being sprayed directly into your face. Suddenly, cleaning seems a bit more appealing, right?
Pro Tip: Check your user manual! Every cooler is a little different, and some might have specific cleaning instructions. Ignoring those instructions is like trying to assemble IKEA furniture without the manual. Disaster will strike. You've been warned.
Must Read
Tools of the Trade (No, You Don't Need a Flamethrower)
Okay, let's gear up! Here’s what you’ll need for this epic battle against grime:
- A screwdriver (because screws are evil).
- Mild soap (nothing too harsh, unless you want your air to smell like a chemical factory).
- A soft brush (an old toothbrush works wonders!).
- A clean cloth or sponge (for wiping up the carnage).
- White vinegar (the secret weapon against stubborn buildup – it's like magic, but stinky magic).
- Water (obviously).
- Patience (you'll need it. Seriously.).
Important: Unplug the cooler! I know it seems obvious, but you'd be surprised. We're dealing with water and electricity here, folks. Let's not recreate a scene from a bad horror movie.

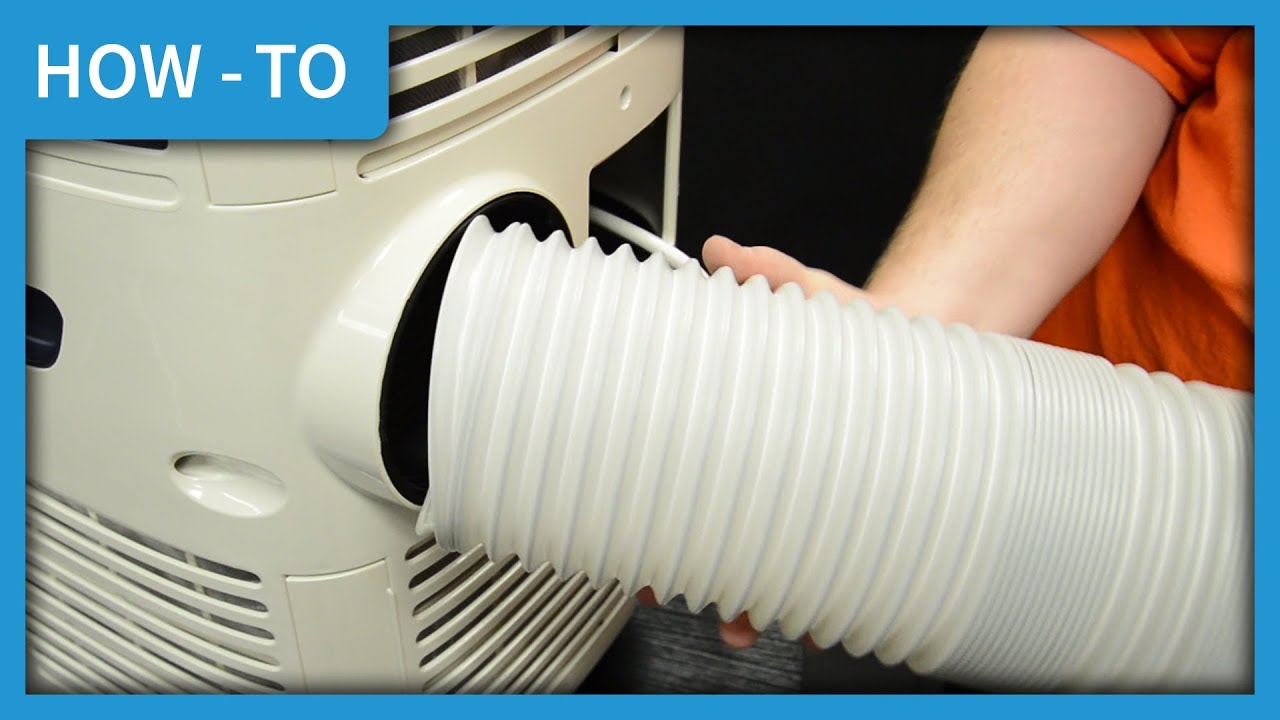
Disassembly Required (Don't Panic!)
Time to take this bad boy apart! Gently remove the water tank, the cooling pad (that weird, spongey thing), and any other removable parts. This is where that screwdriver might come in handy. Don’t force anything! If something’s not budging, double-check for hidden screws or clips. Think of yourself as an archaeologist carefully unearthing ancient artifacts… artifacts covered in slime, that is.
Surprising Fact: The cooling pad is often made from cellulose, which is basically fancy cardboard. So, yeah, you're breathing through glorified cardboard. Clean that thing!

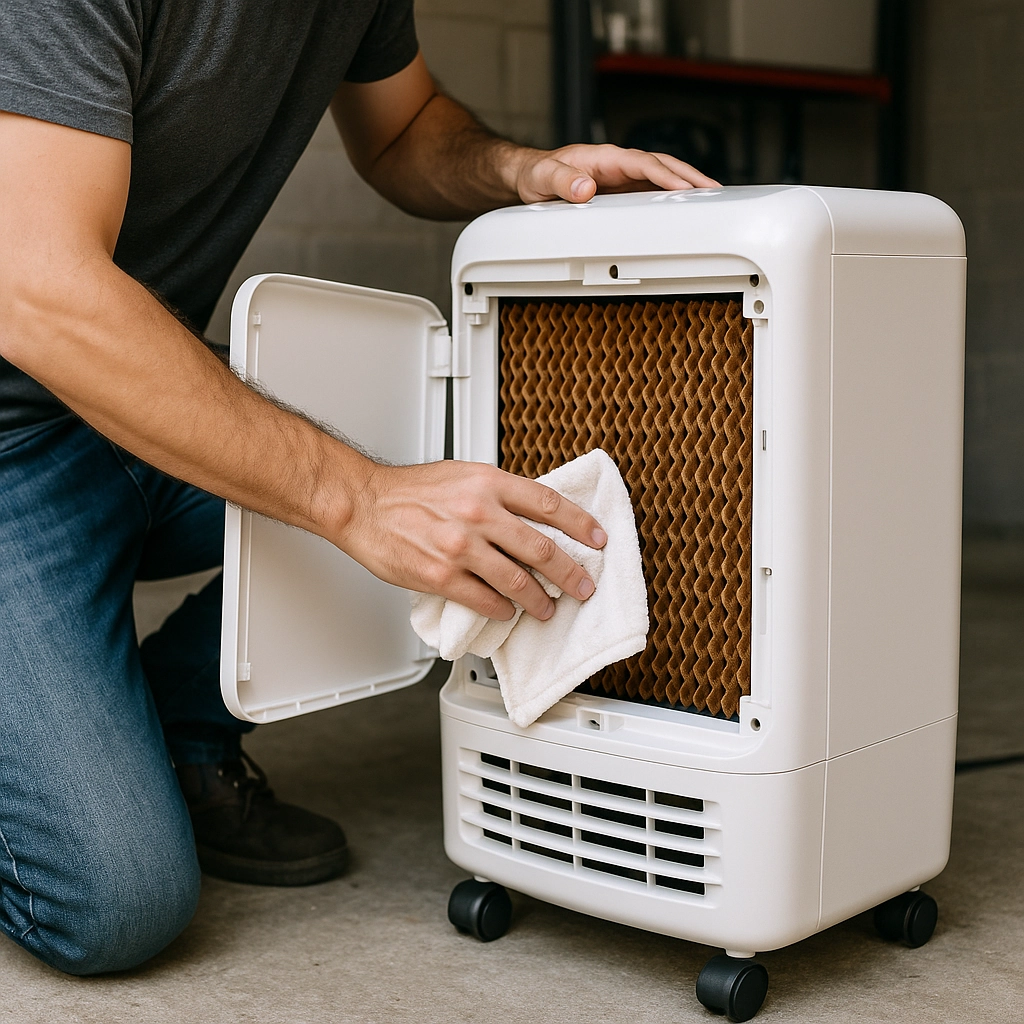
The Scrub-a-Dub-Dub (Mold Beware!)
Now for the fun part – the scrubbing! Mix some mild soap with warm water and use your brush or sponge to clean the water tank, cooling pad, and any other removable parts. Pay close attention to any areas with visible mold or mildew (those dark, creepy spots). For stubborn buildup, soak the affected parts in a solution of white vinegar and water for about 30 minutes. Vinegar is like the superhero of cleaning – it banishes grime and smells vaguely like salad dressing.
Playful Exaggeration: When scrubbing the cooling pad, imagine you're giving it a spa treatment. It deserves it after all the hard work it's been doing, valiantly battling the heat.
Rinse and Repeat (Because Cleanliness is Next to Godliness)
Rinse all the parts thoroughly with clean water. Make sure all traces of soap and vinegar are gone. No one wants to breathe in soapy, vinegary air. Let the parts air dry completely before reassembling the cooler. This is crucial! Putting everything back together while it's still damp is like inviting mold and mildew back for a party. A rave, even. A microscopic, humid rave in your air cooler. Nope.
Joke Alert: Why did the air cooler break up with the mold? Because it said, "I need some space!"
Reassembly Time (Like Putting Humpty Dumpty Back Together)
Once everything is dry, carefully reassemble the air cooler. Refer back to your user manual if needed (or just wing it – I won't judge). Make sure all the parts are securely in place. If you have any screws left over, you've probably done something wrong. Just kidding… mostly.
Bold Statement: A well-maintained air cooler is a happy air cooler, and a happy air cooler makes for a happy you! So go forth and conquer that grime!
The Grand Finale (Breathe Easy!)
Fill the water tank with fresh, clean water, plug in your cooler, and bask in the glory of your newly cleaned, arctic-blast-producing machine! You've earned it. Now go forth and enjoy the cool, clean air… and maybe treat yourself to a celebratory popsicle. You deserve it, you magnificent cleaning champion!
And remember, cleaning your air cooler regularly (at least once a month) will keep it running efficiently and smelling fresh. It's an investment in your comfort and your sanity. So don't be lazy! Get cleaning! Your future self (and your lungs) will thank you.