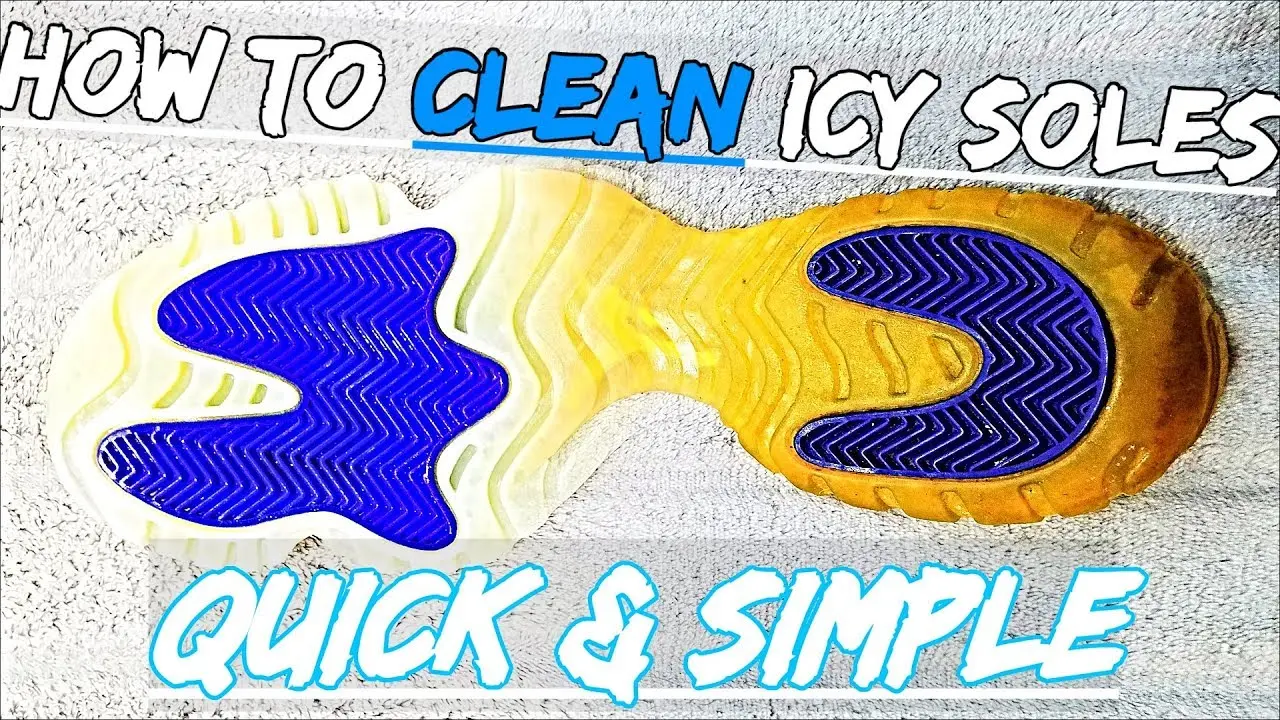
How To Clean Icy Soles With Household Items

Okay, let's talk about something seriously cool – literally! Icy soles. You know, those translucent bottoms on your favorite sneakers that are supposed to look pristine and… well, icy. But life happens. Dirt happens. And suddenly, your icy soles look more like muddy puddles. Fear not! We're about to embark on a cleaning adventure using stuff you probably already have lying around the house.
The Thrill of the Transformation
Why is cleaning icy soles so strangely satisfying? It’s like a mini makeover for your feet. It's about resurrecting that fresh-out-of-the-box feeling. Plus, there’s something deeply gratifying about seeing that grime disappear and that icy clarity return. It’s like magic, but with a bit of elbow grease (or, in our case, some household cleaners).
First, gather your supplies. Think about raiding your kitchen or bathroom cabinets. You're on a mission, detective! You'll need a brush. An old toothbrush works wonders for those tricky crevices. Sponges are your friends too. And a trusty microfiber cloth to wipe away the evidence of dirt.
Must Read
Next, let's consider some common cleaning agents. Mild dish soap is a champion. It's gentle but effective. Mix it with warm water to create a soapy solution. It's a classic for a reason!
Another option? Baking soda. This stuff is a natural powerhouse! Make a paste by mixing it with water. It will be your secret weapon! You can even combine it with a little bit of hydrogen peroxide for extra oomph!
Let the Cleaning Games Begin!
Time to get your hands dirty! Dip your brush or sponge into your chosen cleaning solution. Gently scrub those icy soles. Pay special attention to any stubborn spots. It's like giving your sneakers a mini massage. You might be surprised by what comes off!
For those extra-tough stains, let your cleaning solution sit for a few minutes. Think of it as letting the solution marinate. This gives it time to break down the dirt and grime. Patience is a virtue, my friend!
Now, grab your damp microfiber cloth. Wipe away all the soap and dirt. Keep rinsing the cloth as needed. We want those soles sparkling clean!

Repeat as needed. Some soles might require a second or even third scrub. Don't give up! The reward is worth it!
Drying Time: The Grand Finale
Once you're satisfied with your scrubbing skills, let those icy soles air dry. You can stuff them with paper towels to help absorb moisture and maintain their shape. Avoid direct sunlight, as it can sometimes discolor the soles.
And that's it! Admire your handiwork. Your icy soles are now revived and ready to rock. It's amazing what a little cleaning can do, right?

Beyond the Basics
Feeling adventurous? There are other methods you can try. Some people swear by magic erasers. These melamine sponges are like little scrubby wonders. Just be gentle, as they can be abrasive.
Another option? Specialized sneaker cleaners. These are designed specifically for shoes and can be very effective. Just be sure to follow the instructions carefully.
The point is, there's no one-size-fits-all solution. Experiment and find what works best for you and your beloved icy soles.
Cleaning icy soles isn't just about removing dirt. It's about restoring your kicks to their former glory. It's about taking pride in your footwear. And, let's be honest, it's kind of fun!
So, grab your cleaning supplies, crank up some music, and get scrubbing. You might just discover a new hobby (or at least a newfound appreciation for clean sneakers). Remember, a little effort can go a long way in keeping your icy soles looking fresh and fantastic.
Go forth and conquer that grime!