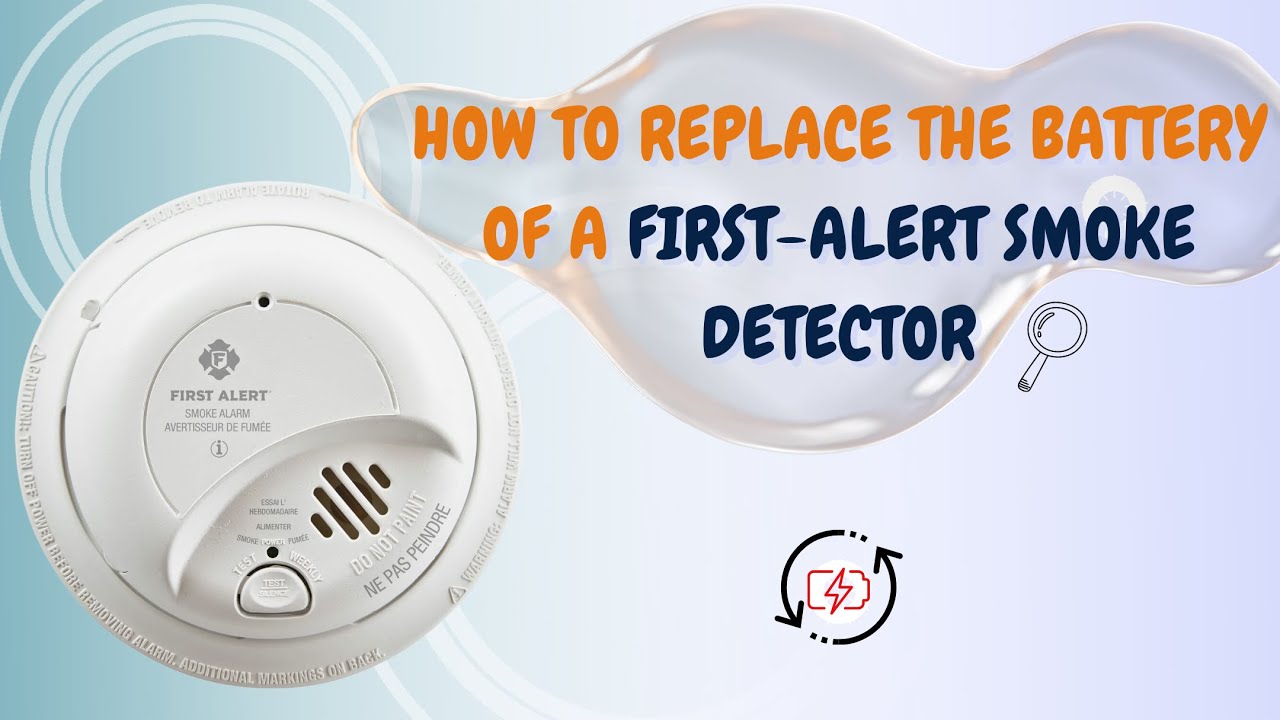
How To Change Battery In First Alert
Okay, picture this: it’s 3 AM. The house is silent, everyone’s in dreamland, and you’re just about to drift off into that perfect, deep sleep. Then it starts. A tiny, almost apologetic, yet utterly insistent chirp. Pause. Another chirp. Pause. Another. It’s not your phone, it’s not the cat, it’s not even a cricket. It’s that nefarious, little plastic disk on your ceiling: your First Alert smoke detector, letting you know its battery is on its last leg. And suddenly, your peaceful night has turned into a frantic, groggy search-and-destroy mission against the world's most annoying sound. Sound familiar? Because, trust me, you are not alone in this particular circle of sleepy hell.
That incessant, tiny chirp is the universal signal for: "Hey! I'm here to protect you, but I need a snack!" And while it's super important to address, doing it at 3 AM is rarely ideal. But what if you knew exactly what to do? What if you could tackle that chirping menace with the speed and precision of a seasoned pro, rather than a bleary-eyed zombie fumbling with a step stool? Well, my friend, you're about to become that pro. Changing a First Alert battery is genuinely straightforward once you know the little secrets.
First Things First: Identify Your First Alert "Personality"
Before you go wrestling with your ceiling, take a good, hard look at your smoke detector. Not all First Alert models are created equal, you know. Some are sleek and modern, some are... well, less so. Many residential models twist off, while others have a little latch or tabs you need to press. Some might even slide. The key is to not force it. Seriously, you don't want to accidentally rip wires out or damage the unit itself. Look for arrows, words like "open" or "twist," or small indentations that suggest a specific movement. If it's a newer model, you might even find the instructions printed right on the side!
Must Read
Pro tip: If you can't figure it out, a quick Google search with your specific model number (usually found on the back or inside the unit) can be a lifesaver. You're welcome.
Gather Your Arsenal (aka Tools)
You’re not going into battle empty-handed, are you? Of course not! Here's what you'll likely need:

- A sturdy step ladder or chair: Please, for the love of all that is holy, don't stand on a wobbly stool or stack of books. Safety first, folks!
- New batteries: This is crucial. Most First Alert alarms use a 9-volt battery. However, some newer models might use AA, AAA, or even a specific lithium battery. Check your unit or the manual beforehand. Having the right battery ready means you won't have to descend, search, and ascend again. Talk about efficiency!
- A small flathead screwdriver (optional): Sometimes, if the battery compartment is a bit stiff, a gentle nudge with a small screwdriver can help, but generally, it's not needed for the main removal.
The Moment of Truth: Getting That Bad Boy Down (or Open)
This is where the magic happens. Or, you know, the slightly awkward ceiling dance. With your sturdy ladder in place, get up close and personal with your detector.
If it's a twist-off model: Gently but firmly grab the detector and twist it counter-clockwise. It should unlatch from its mounting bracket. It might feel a little stiff, but it shouldn't require Herculean strength. Once it twists free, it'll likely be hanging by a wire harness.

If it has latches/tabs: Look for small tabs on the side or bottom. Press them in or slide them to release the cover. Sometimes the entire unit comes off, sometimes just the battery compartment cover. This can be the trickiest part, so be patient!
Once you have access to the battery compartment, you're practically home free!

Battery Swap Time!
Inside, you'll see the old battery. Take it out. Most 9-volt batteries are connected with two small terminals – one round, one hexagonal. Just gently pull it free. Now, here’s the important bit:
- Note the polarity: Just like with any battery, there’s a positive and a negative side. The connectors in your alarm are designed to fit only one way.
- Insert the new battery: Pop in that fresh 9-volt (or whatever type your unit uses), making sure the terminals align correctly. It should fit snugly.
- Close it up: Re-secure the battery compartment cover or re-attach the entire unit to its mounting bracket. If it's a twist-off, align the tabs and twist clockwise until it locks into place. You should hear a satisfying little click or feel it seat firmly.
The Grand Finale: Test It!
You’ve done it! But don’t just walk away. The final, and most crucial, step is to test your work. Every First Alert smoke detector has a test button, usually clearly marked. Press and hold it for a few seconds. You should hear a loud, piercing alarm. This confirms the new battery is working and the unit is fully operational. If it chirps or makes a weak sound, something might be wrong – double-check the battery insertion.
And there you have it! You’ve successfully tamed the chirping beast, probably saved yourself another 3 AM wake-up call, and perhaps even learned a new superpower. Give yourself a pat on the back. You, my friend, are now officially a First Alert Battery Changing Master. Now, go enjoy that uninterrupted sleep!
