Honeywell Thermostat How To Change Battery

Ever woken up to a surprisingly chilly house, or walked into a stuffy living room when your AC should be blasting? Often, the culprit isn't a major system breakdown but something far simpler: your Honeywell thermostat's battery. And guess what? Changing those batteries is one of the easiest, most satisfying DIY tasks you can tackle. It’s not just about comfort; it's about empowerment, a small victory that keeps your home running smoothly without a costly service call. Think of it as a mini-adventure into the heart of your home's climate control, an adventure that promises a perfectly regulated temperature at the end!
This little chore offers big benefits for everyone. For beginners in home maintenance, it’s a fantastic entry point. It’s low-risk, takes minutes, and provides a tangible sense of accomplishment, building confidence for future DIY projects. For families, knowing how to quickly swap out those batteries means uninterrupted comfort, especially important with little ones sensitive to temperature changes. No more guessing if the heater will kick on in the morning or if the AC will keep things cool for naptime. It also saves money, preventing that dreaded "thermostat isn't working" emergency call that often turns out to be just a battery issue. And for the budding home hobbyist or DIY enthusiast, it's another feather in your cap, a practical skill that deepens your understanding of how your home systems operate, making you the undisputed household guru!
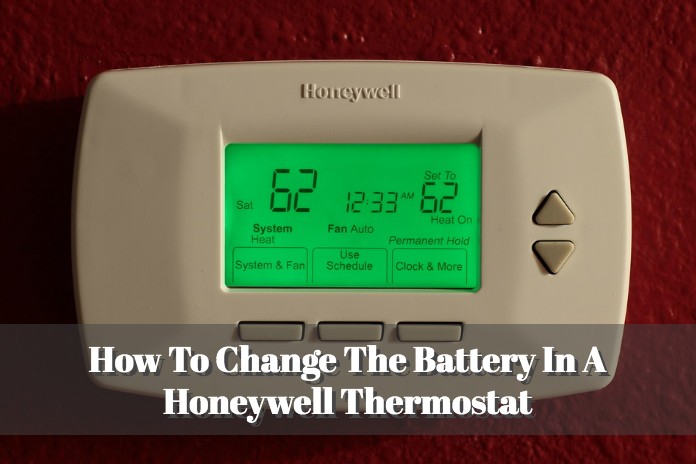
The beauty of Honeywell thermostats is their widespread use, but they come in various models, which means battery changes can have slight variations. Most commonly, you'll find them using standard AA or AAA alkaline batteries. Some older, larger programmable models might even take C-cell batteries. You'll usually get a heads-up when the batteries are low; many Honeywell thermostats display a "LO BATT" message or a flashing battery icon on their screen. Some models have a simple pull-out tray on the side, while others require you to gently pry open the front cover or flip down a small door. The key is to look for the battery symbol or a clearly marked compartment.
Must Read
Ready to get started? Here are some simple, practical tips to make this a breeze:
- First, locate your Honeywell thermostat. It's usually on an interior wall in a central part of your home.
- Look for the battery compartment. It’s typically on the side, bottom, or sometimes behind the main display unit. Many have a small latch, tab, or button.
- Gently open the compartment. You might need to slide a cover, pull a tray, or even carefully unclip the front panel of the thermostat from its base (don't worry, the wires usually stay connected to the wall plate).
- Note the type and number of batteries (e.g., two AA, three AAA). Make sure to have fresh, new alkaline batteries on hand.
- Remove the old batteries. Pay attention to the direction they were facing (the + and - ends).
- Insert the new batteries, ensuring you match the correct polarity (+ to +, - to -). This is crucial for the thermostat to power on.
- Close the battery compartment securely.
- Watch the display. It should power back on immediately, and any "LO BATT" message should disappear. If it doesn't, double-check the battery orientation.
See? That wasn't so bad, was it? In just a few minutes, you’ve restored order to your home's climate and saved yourself a potential headache and expense. There’s a quiet satisfaction in tackling these small home tasks, knowing that you’ve kept your sanctuary comfortable and efficient. So next time your Honeywell thermostat starts acting a little quirky, remember: the power to fix it is literally in your hands. Enjoy your perfectly tempered home!