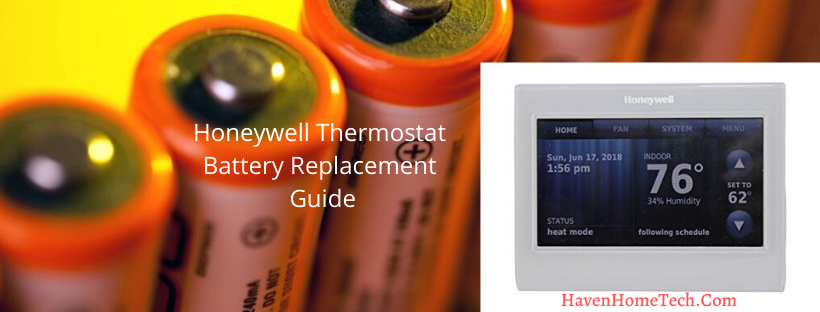
Honeywell Home Thermostat How To Change Battery

Ever woken up to a suspiciously chilly house, or perhaps stepped out of a hot shower only to realize your living room feels like an Arctic expedition? You glance at your trusty Honeywell Home thermostat, expecting to see that comforting digital glow, but instead... nothing. A blank screen staring back, colder than your morning coffee forgotten on the counter. Before panic sets in and you start imagining complex electrical woes, take a breath. The solution to your frosty dilemma is often far simpler than you think: it's probably just a dead battery.
Yes, even our smart little home climate controllers need a periodic snack. Think of it like your smartphone running on fumes, or your TV remote suddenly giving up during a crucial plot twist. That silent screen is just your thermostat's way of saying, "Hey, friend, I need a power-up!"
Why Your Thermostat Needs a Snack
While many Honeywell Home thermostats are hardwired to your HVAC system for primary power, many models still rely on standard batteries (usually AA or AAA) for a few critical functions. These include maintaining your settings during power outages, powering the display, and enabling wireless communication for smart features. Without them, your thermostat is essentially a very stylish, but ultimately unresponsive, wall ornament.
Must Read
The tell-tale signs are usually pretty clear:
- A blank or very dim display.
- A low battery indicator flashing on the screen (if it's still alive enough to show you!).
- The thermostat becoming unresponsive to your temperature adjustments.
- Sometimes, your heating or cooling system might just stop working entirely, leaving you in comfort limbo.
The Great Battery Expedition: A Step-by-Step Power-Up
Don't worry, this isn't a complex DIY project requiring a hard hat and a toolbox full of esoteric gadgets. It’s more like a quick pit stop for your home's comfort manager. Here’s how to get your Honeywell Home thermostat back in action, feeling less like a chore and more like a satisfying little victory.

Step 1: Gather Your Supplies
Before you embark on this grand adventure, make sure you have the essentials. You'll need:
- Fresh Batteries! This is key. Check your thermostat's manual or the existing batteries for the correct size – most commonly AA or AAA. Don't be tempted to use old, half-used batteries; you want maximum power for longevity.
- A small flathead screwdriver (just in case, for models with screw-locked compartments).
Pro Tip: Always opt for good quality, alkaline batteries. They last longer and are less prone to leakage, which can damage your thermostat.

Step 2: Locate the Battery Compartment
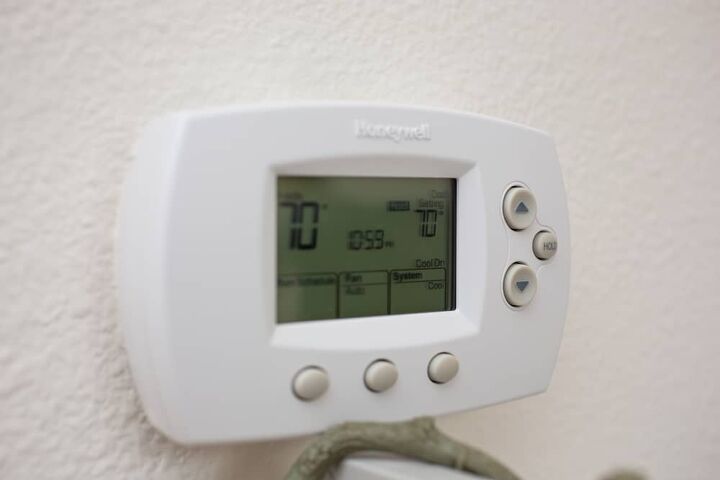
This is where different Honeywell models show off their unique personalities. The battery compartment can be in a few common places:
- The Front Pull-Out Tray: Many popular models, like the T-series, have a small tray that slides out from the bottom or side of the main unit. Look for an arrow or a small indentation.
- Under the Faceplate: Some models require you to gently pull the entire faceplate off the wall-mounted base. You might hear a soft click as it detaches. Be gentle, and look for small tabs to press.
- A Side Compartment: Less common, but some older models might have a small, hinged door on the side.
If you're unsure, a quick search for your specific Honeywell model number online (it's usually printed on the back of the faceplate or inside the battery compartment) will often bring up a diagram or video.
Step 3: The Swap Meet
Once you've found the compartment, it's time for the swap!
- Remove the Old Batteries: Note their orientation before you pull them out. Pay attention to the + and - symbols.
- Insert the New Batteries: Carefully place your fresh batteries into the compartment, ensuring the polarity (+ and -) matches the diagram. This is crucial! Incorrect insertion is a common culprit if the thermostat doesn't light up after the change.
- Close it Up: Securely close the battery compartment or reattach the faceplate until it clicks firmly into place.
Fun Fact: Did you know the modern battery, the "voltaic pile," was invented by Alessandro Volta in 1800? It's been powering our lives (and our thermostats) for over two centuries!
Step 4: The Grand Reawakening
After inserting the new power cells, your Honeywell Home thermostat should spring back to life almost immediately! The display will light up, probably running a quick boot-up sequence. You might need to confirm the date and time, or it might retain all your settings if you were quick enough with the swap.
Take a moment to test it out. Adjust the temperature up or down a few degrees and listen for your furnace or AC to kick in. Ah, the sweet sound of control!
Maintaining Your Comfort Zone
To avoid future blank screen surprises, make it a habit to change your thermostat batteries annually. A great trick is to tie it to a memorable event, like the switch to Daylight Saving Time (spring forward/fall back). When you adjust your clocks, adjust your thermostat batteries too!
Changing your thermostat battery is a small, easy task, but it brings a surprisingly large amount of peace of mind. It’s a gentle reminder that even the most modern conveniences need a little human care now and then. So next time your home feels a bit off, remember this simple fix. You're not just changing batteries; you're maintaining the perfect ambiance for movie nights, cozy mornings, and all the everyday moments that make your house a home.