Garage Door Opener Battery Replacement

Ever pulled up to your garage after a long day, hit that trusty button on your remote, and... nothing? The car behind you is getting impatient, the rain starts to fall, and suddenly, a small, seemingly insignificant device becomes the gatekeeper to your sanctuary. Before you resign yourself to wrestling with the manual release, let's talk about a simple fix that’s often overlooked: replacing the battery in your garage door opener remote. It’s not just a chore; it’s a tiny bit of everyday magic that puts you back in control, and it's surprisingly fun to demystify!
The purpose of that little battery is pure convenience and a dash of modern-day wizardry. It powers a tiny transmitter, sending a radio signal to the receiver in your garage door motor, telling it to open or close. The benefits are crystal clear: imagine not having to brave a downpour, a scorching sun, or even just the effort of stepping out of your car late at night. It’s about seamless transitions, enhancing both your daily routine and your personal security. A working remote means quick, effortless access, making your coming and going smoother and safer. It's a small detail, but one that contributes significantly to your peace of mind.
In our daily lives, a functional garage door remote is a quiet hero. Think of the school run in the morning, the quick dash to grab groceries, or returning home with hands full of bags. Each time, that little click saves you time and effort. Beyond mere utility, there's even a subtle "educational" aspect. It teaches us about basic troubleshooting – that often, the simplest explanation (a dead battery) is the correct one. It's a prime example of proactive maintenance: recognizing a dwindling signal before it completely gives out. For kids, it’s a chance to see how simple electronics work and how a tiny power source can control something as big as a garage door, fostering a touch of curiosity about the mechanical world around them.
Must Read
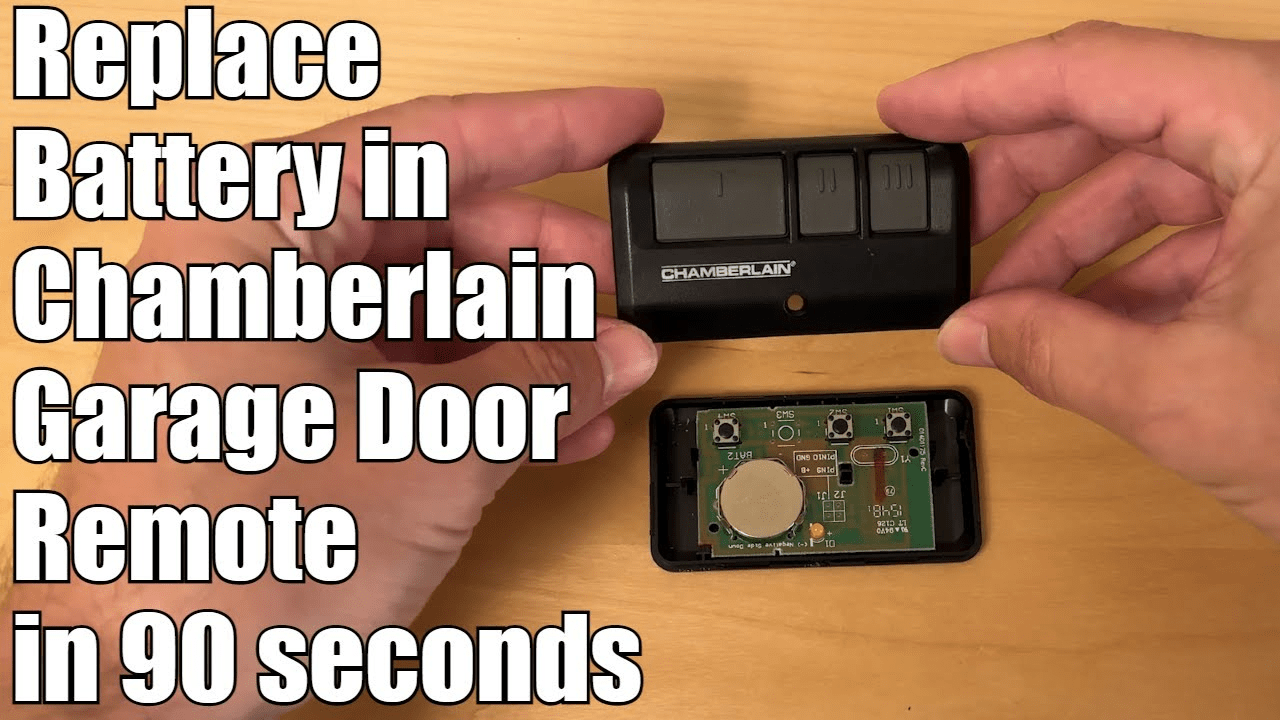
Ready to empower yourself? Exploring this is incredibly straightforward. First, locate your remote and examine the back. Most have a small panel that slides open or is held by a tiny screw. You might need a small screwdriver or even just a coin. Inside, you'll find the battery. It’s usually a small, coin-shaped lithium battery (like a CR2032 or CR2016) or a cylindrical 12-volt battery (often an A23). The best tip? Note the type and brand directly from the old battery before you remove it. Pop in a new one, making sure the positive and negative terminals are aligned correctly, and slide the cover back on. Test it out! A good rule of thumb is to replace this battery annually, perhaps when you change your clocks for daylight saving, or whenever you notice the remote's range decreasing. It’s a simple act of preparedness that keeps your gateway open and your daily flow undisturbed. Happy clicking!