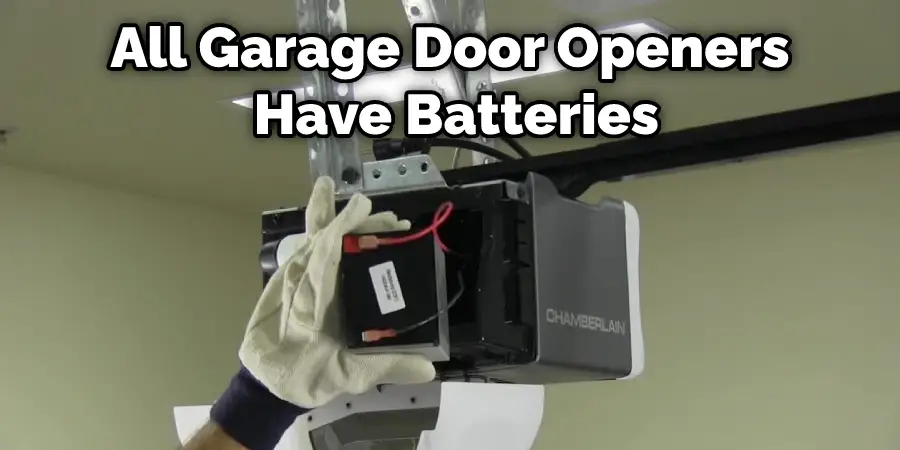
Change Batteries In Garage Door Opener

Alright, friend, let's talk about something that can either be a minor inconvenience or a full-blown dramatic episode: your garage door opener remote. You know the drill. You pull up, ready to cruise into your cozy garage, hit the button, and… nothing. Cue the internal groan, the frantic re-pressing, maybe even a little shake-and-pray. Sound familiar? Well, fear not! Because today, we're going to tackle the incredibly simple, yet often overlooked, task of changing those batteries. And trust me, it's easier than trying to fold a fitted sheet!
Why Bother? The Dreaded Dead Remote!
Let's be real, a dead garage door remote is like a tiny, inanimate saboteur. It throws a wrench in your plans, especially when it’s raining, or you’re carrying a week’s worth of groceries. Plus, who wants to stand there looking like they’re having an argument with their car? Changing the batteries isn’t just about convenience; it’s about maintaining your sanity and avoiding awkward stares from your neighbors. Think of it as preventative self-care for your commute!
What You'll Need: Your DIY Arsenal
Before we embark on this epic quest, let’s gather our tools. Don’t worry, we’re not building a spaceship here. You’ll mostly need:
Must Read
- A small screwdriver: Often a Phillips head, sometimes a flathead, and occasionally a tiny jeweler's screwdriver. Think of the kind you use for glasses.
- New batteries: This is the crucial bit! Most remotes use coin-cell batteries (like a CR2032 or CR2016) or sometimes AAA or AA batteries. We’ll figure out which one you need in a sec.
- A keen eye: To spot the tiny details.
- A dash of courage: Just kidding! It’s really not that scary.
See? No need for a toolbox the size of a small car. You’ve probably got everything you need hiding in a junk drawer somewhere.
Step-by-Step: Let's Get This Done!
Step 1: Locate Your Remote
This might seem obvious, but where is your remote usually hiding? Check the visor clip, the cupholder, under a pile of receipts, or perhaps it’s nestled comfortably in your purse or backpack. Once you’ve got it in hand, give it a good once-over. Is it a sleek, modern design or a chunky relic from another era? Doesn't matter, we love them all!

Step 2: Open 'Er Up!
Now, this is where the detective work begins. Look for a tiny screw on the back or bottom of the remote. If there’s a screw, grab your small screwdriver and carefully unscrew it. Keep that tiny screw somewhere safe – they love to disappear into the carpet abyss! If there’s no screw, look for a small notch or seam along the edge. You might need to gently pry it open using a flathead screwdriver or even a sturdy coin. Be gentle! We don’t want to snap any plastic bits. Think of it as performing delicate surgery, not wrestling an alligator.
Step 3: The Big Reveal - Battery Time!
Once you’ve got the remote open, you’ll see the glorious little battery (or batteries!). Take a mental note, or even better, snap a quick photo with your phone of how the battery is oriented – which side is facing up, where the + and - symbols are. This is super important for putting the new one in correctly. Now, carefully pop out the old battery. You might need to use the tip of your small screwdriver to gently lever it out.
And voilà! The battery type should be printed right on it. Go grab your fresh new one!
Step 4: Out With The Old, In With The New!
With your fresh battery in hand, align it exactly as the old one was. Make sure the + side (usually the flatter, wider side) is facing the correct direction, just like your reference photo. Gently press it into place until it’s snug. It should fit perfectly, without needing excessive force. If it feels like it's fighting you, double-check the orientation.
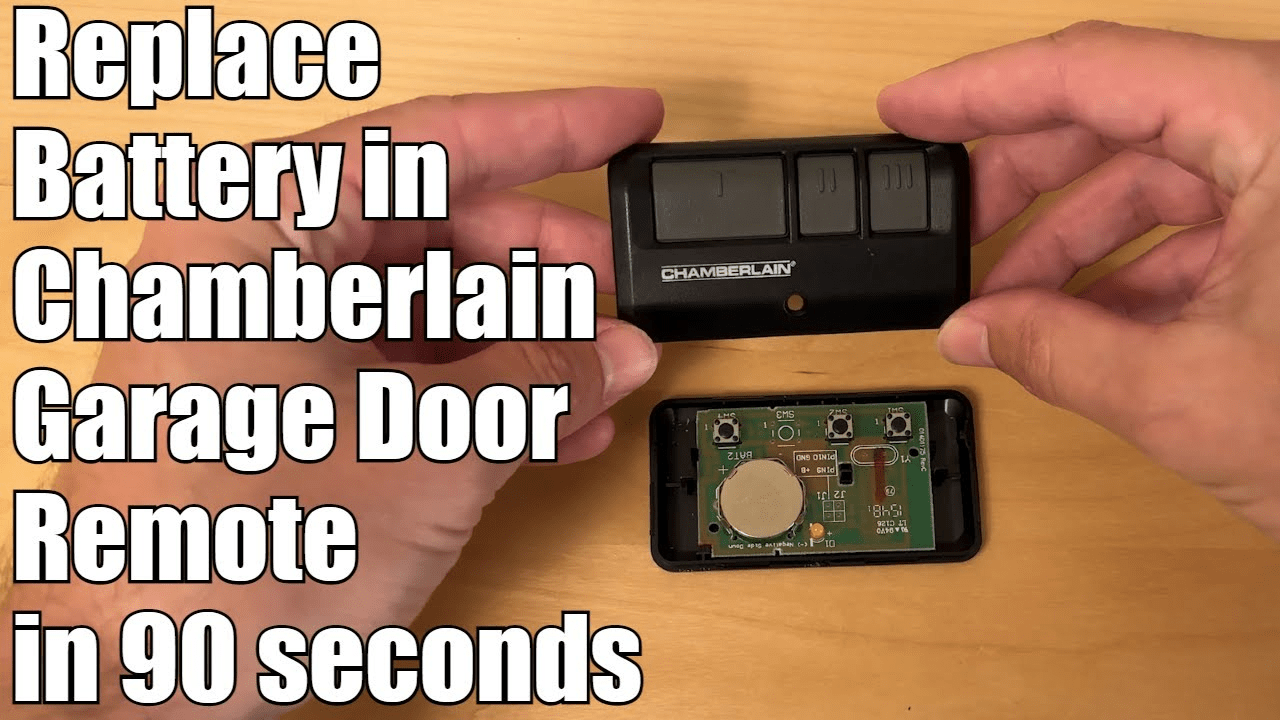
Step 5: Snap It Shut & Test!
Carefully put the two halves of your remote back together. If there was a screw, fasten it back in. Give it a gentle squeeze to make sure it’s properly closed. Now for the moment of truth! Head to your garage, point your newly invigorated remote, and hit that button. Did it open? Did it close? Success! Give yourself a high-five. You’re practically a garage door technician now!
Pro Tips (Because We're Practically Experts Now!)
- Keep spares: Buy a pack of common remote batteries (like CR2032s) and stash them in your kitchen drawer. Future you will thank present you profusely.
- Check the manual: If you're truly stumped, your garage door opener manual (remember that?) might have specific instructions for your remote model.
- Don't panic: If it doesn't work right away, try opening and re-seating the battery. Sometimes it just needs a little nudge to make good contact.
- Look for warning signs: Some remotes start to work intermittently before completely dying. That’s your cue to change the battery proactively!
The Happy Ending: Smooth Sailing Ahead!
There you have it! You've successfully performed a battery transplant on your garage door opener remote. No more frustrating waits, no more awkward manual wrestling with the heavy door, and definitely no more looking like you're having a staring contest with your garage. You’ve brought that little piece of plastic back to life, and now you can enjoy the simple pleasure of driving right in, rain or shine. So go forth, my friend, and enjoy the effortless convenience you so richly deserve. You're a garage door whisperer, a battery-changing champion, and quite frankly, a total rockstar!
