Adt Security Panel Battery Replacement

Alright, friend, pull up a chair, grab your favorite mug. We need to talk about that chirp. You know the one. That annoying, persistent, soul-crushing little beep that starts quietly, then escalates into a full-blown existential crisis for your ear drums. Yes, I’m talking about your ADT security panel wailing its little heart out because its battery is on its last legs. Ugh.
Don't panic! Seriously. Take a deep breath. Because guess what? You don’t need to call ADT, wait two weeks for a technician, and then pay an arm and a leg for something you can totally, absolutely, 100% do yourself. Think of it as adulting Level 1.5. You got this!
Why is it Beeping, Anyway?
Okay, so your ADT panel, the main brain of your home security, usually has a big ol' rechargeable battery inside. It’s like a little UPS (Uninterruptible Power Supply) for your security system. When the power goes out, that battery kicks in to keep your home safe. Pretty neat, right? But like all rechargeable batteries – your phone, your laptop, even that remote control you haven't changed in years – they eventually lose their ability to hold a charge. And then? Beep. Beep. Beepity-beep-beep. It’s basically screaming, "Feed me a new power source, peasant!"
Must Read
No, it's not judging your life choices, just signaling for some fresh juice. And it’s nothing to worry about. Just routine maintenance, a bit like changing the oil in your car. Except, you know, way less greasy and you won't need a special lift. Phew!
What You'll Need (Spoiler: Not Much!)
Before we dive into superhero mode, let's gather our tools. It's a short list, I promise:

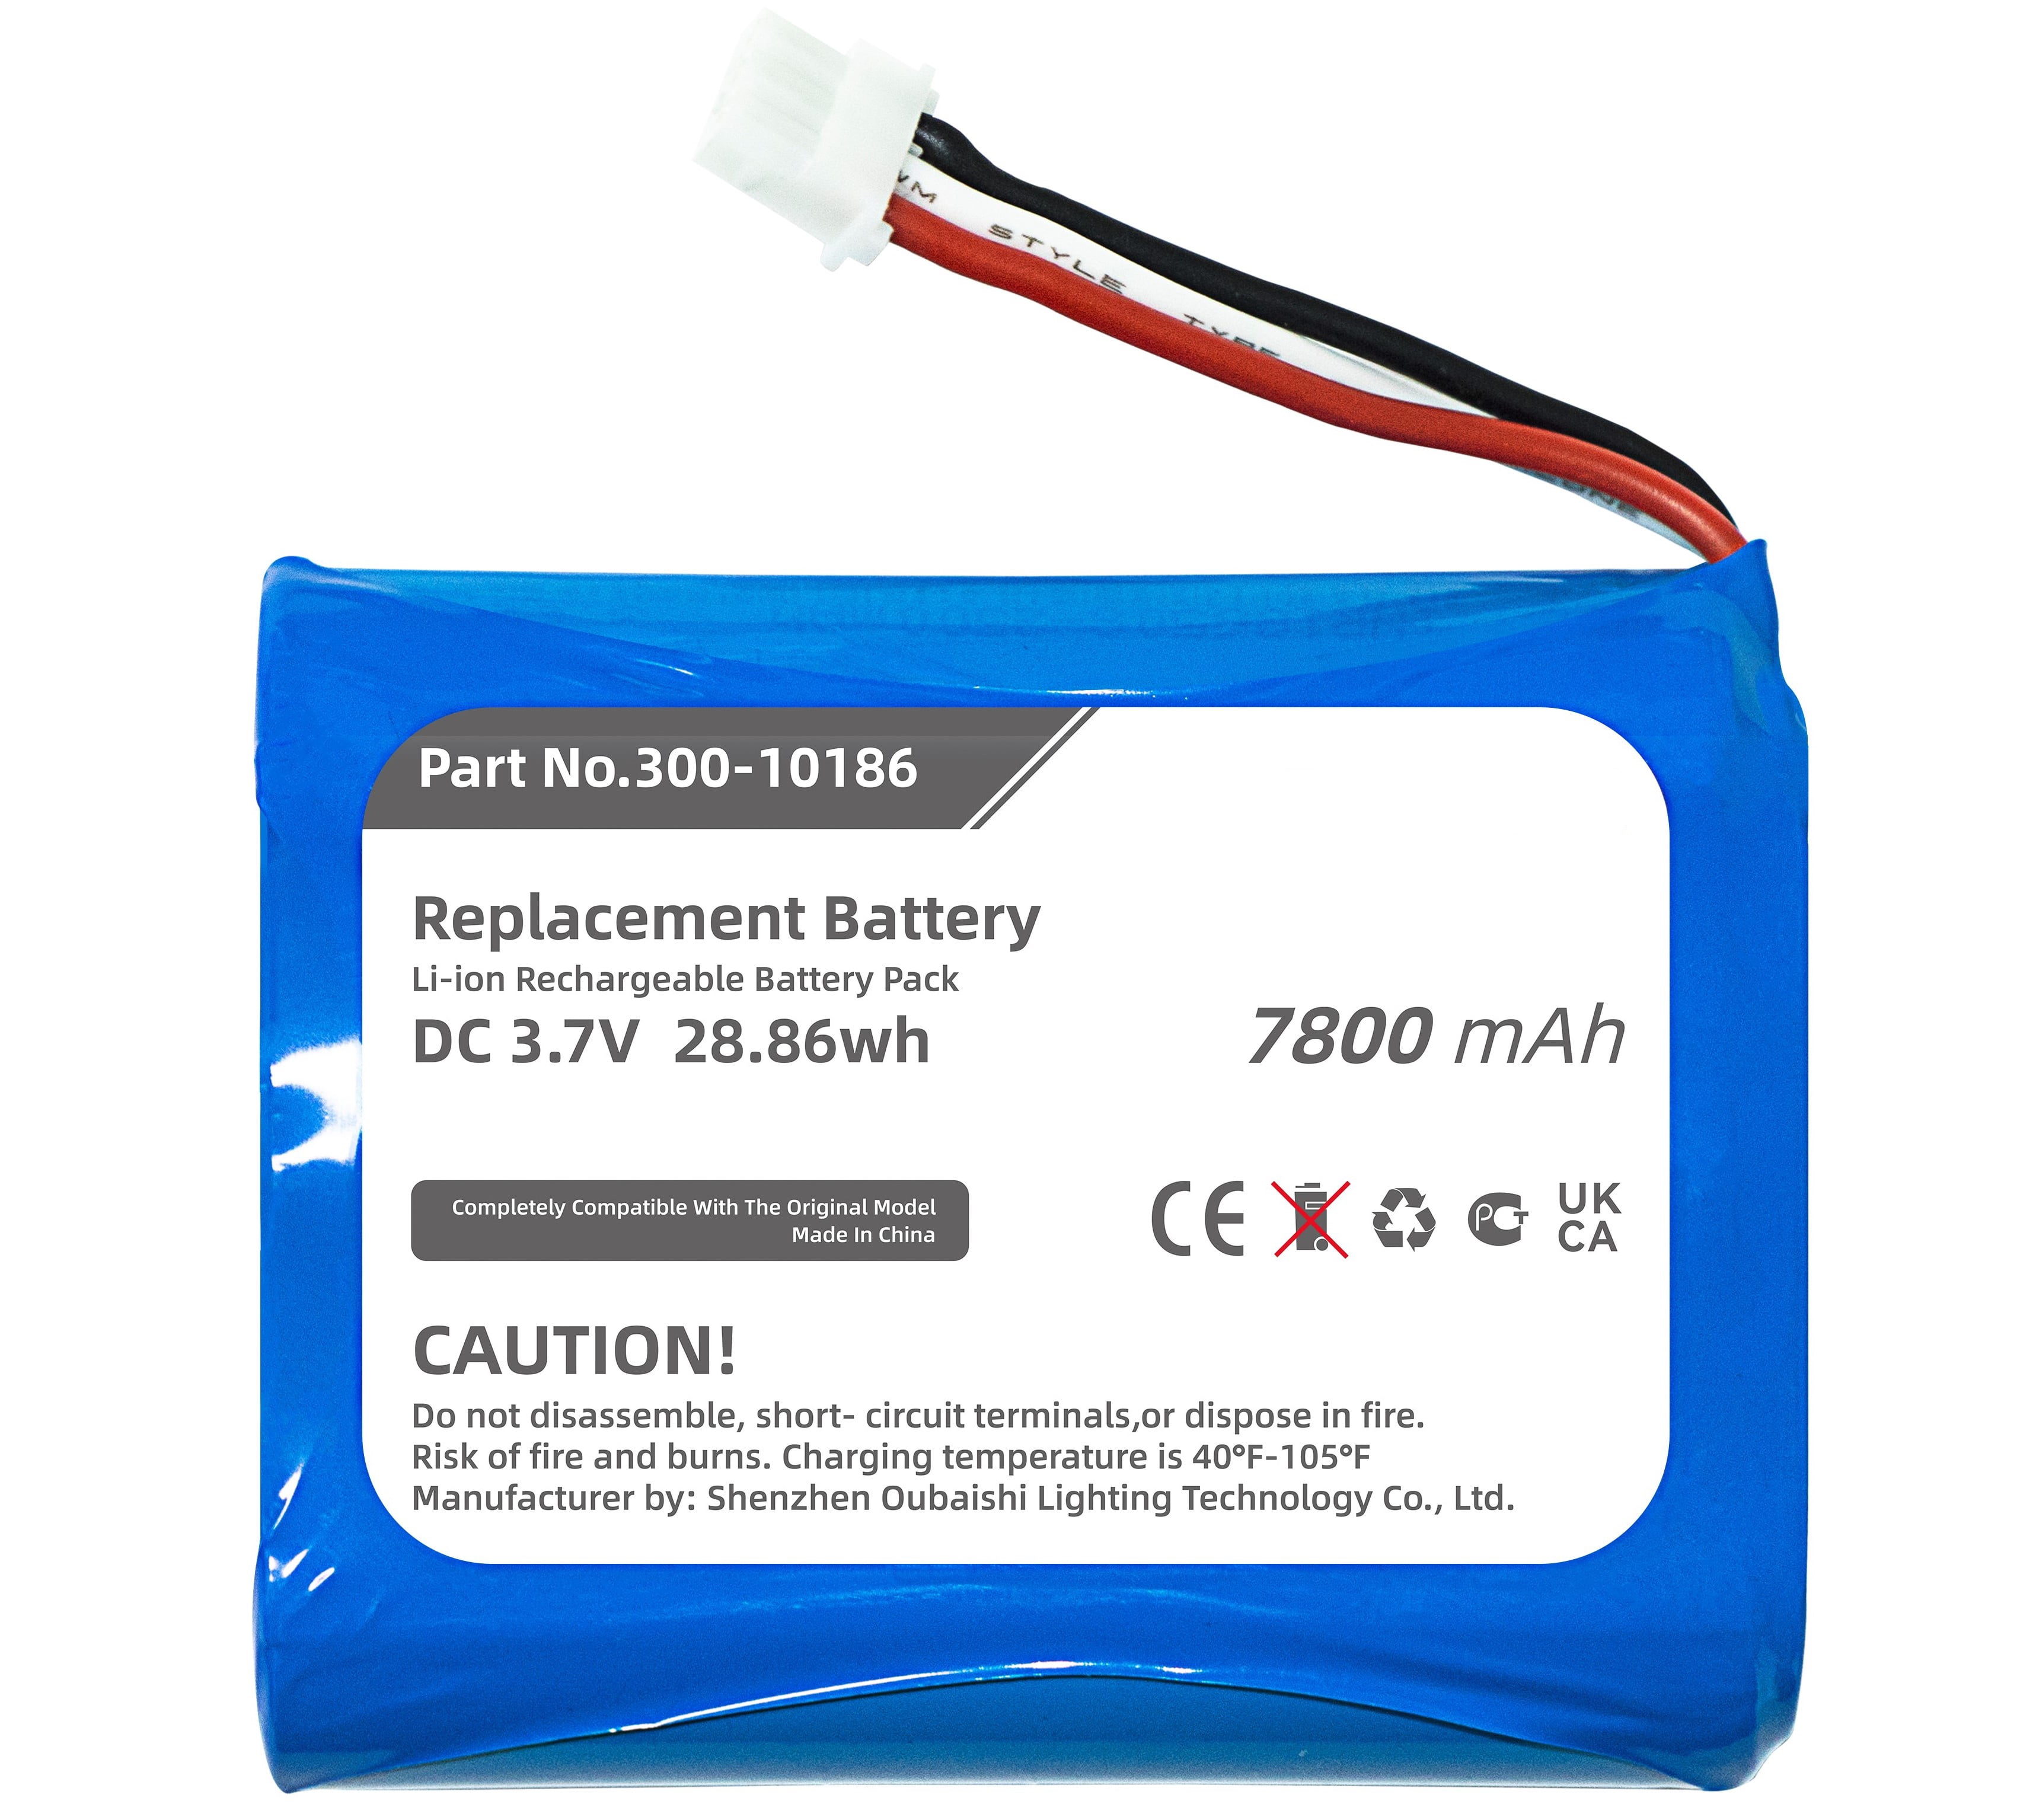
- A new battery: This is the crucial bit, obviously. Most ADT panels use a 12V 4Ah, 5Ah, 7Ah, or 8Ah sealed lead-acid battery. Pop open your current panel (we’ll get to how in a sec) and check the label on the old battery first. You can often find these on Amazon, eBay, or even at local battery stores for way less than ADT will charge. Just make sure the voltage (12V) and the Amp-hour (Ah) rating match.
- A Philips head screwdriver: Most panels just have a couple of screws. Easy peasy.
- Optional (but helpful!): A small flathead screwdriver (sometimes wires are a bit snug), a pen and paper, or your phone camera. More on that last one in a sec!
Let's Get This Party Started! (The Actual Swap)
Alright, you’ve got your new battery, your trusty screwdriver, and a determined glint in your eye. Let's do this!
Step 1: Power Down (Safety First, Friends!)
This is probably the most important step. Find where your ADT panel plugs into the wall. It's usually a small transformer (a black box) plugged into an outlet. Unplug it! This ensures you don't accidentally short anything or get a little zap. Don't worry, the internal battery will still keep the system active, just for a short while. We're about to replace that battery, so it's fine.
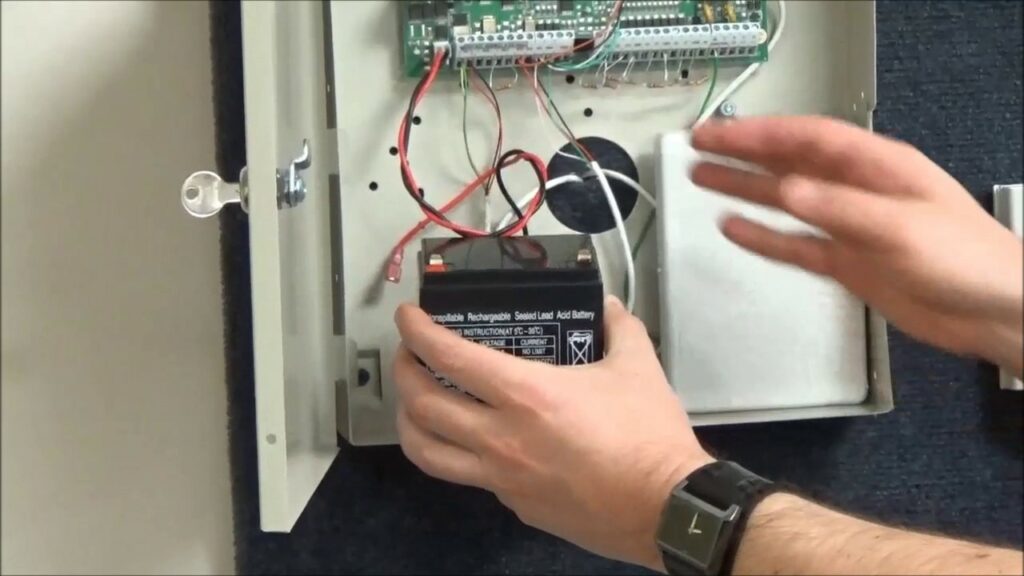
Step 2: Open Her Up!
Locate the main ADT control panel box. It’s usually a beige or white box, often in a closet, utility room, or basement. You’ll typically find two screws on the bottom edge, or sometimes on the sides. Unscrew those bad boys. The front cover should then either swing open or lift off. Be gentle! There might be some delicate wires connected to the cover itself (like for the siren or keypad light). Just open it enough to see inside.
Step 3: Meet Your Old Battery
Inside, you’ll see the battery. It’s usually a rectangular, heavy-ish block. It'll have two terminals on top, one with a red wire and one with a black wire. This is where your phone camera comes in handy: TAKE A PICTURE! Seriously, one quick snap of how the wires are connected will save you any head-scratching later. Trust me on this one. It's like a secret cheat code for future you.
Step 4: Disconnect the Old
Gently pull the red wire connector off the red terminal. Then do the same for the black wire from the black terminal. They can be a little snug, so a gentle wiggle might be needed. Don't yank!
Step 5: Out with the Old, In with the New!
Slide the old, dead battery out of its little compartment. It might feel surprisingly heavy – all that lead, you know. Now, slide your brand new, shiny, silent battery into its place. Ah, fresh beginnings!
Step 6: Connect the New (Red to Red, Black to Black!)
Remember that picture you took? Or the simple rule of thumb? Connect the red wire to the red terminal on the new battery. And then, you guessed it, connect the black wire to the black terminal. Make sure they’re pushed on firmly. You don't want any loose connections causing more beeping later, do you?
Step 7: Close It Up & Power On!
Carefully close the panel cover, making sure no wires are pinched. Screw it back into place. Now, the moment of truth! Go back to where you unplugged the panel’s transformer in Step 1, and plug it back in.

The Sweet Sound of Silence
The panel might chirp a final time or two as it resets and recognizes its new power source. It might even say "System Ready!" or "AC Power Restored!" on the keypad. But what you're really listening for is the absence of that soul-destroying beep. Pure, unadulterated silence. Ahhh, bliss!
Give it a few hours to fully charge the new battery. If the "low battery" warning persists, don't fret immediately. It sometimes takes a bit for the system to register the full charge. If it's still complaining after a full day, then it might be time to call ADT – but honestly, it’s rare. Usually, this quick swap does the trick.
And there you have it! You just saved yourself some money, learned a new skill, and conquered the dreaded ADT beep. High five, friend! Now, go enjoy that coffee in peace. You earned it.