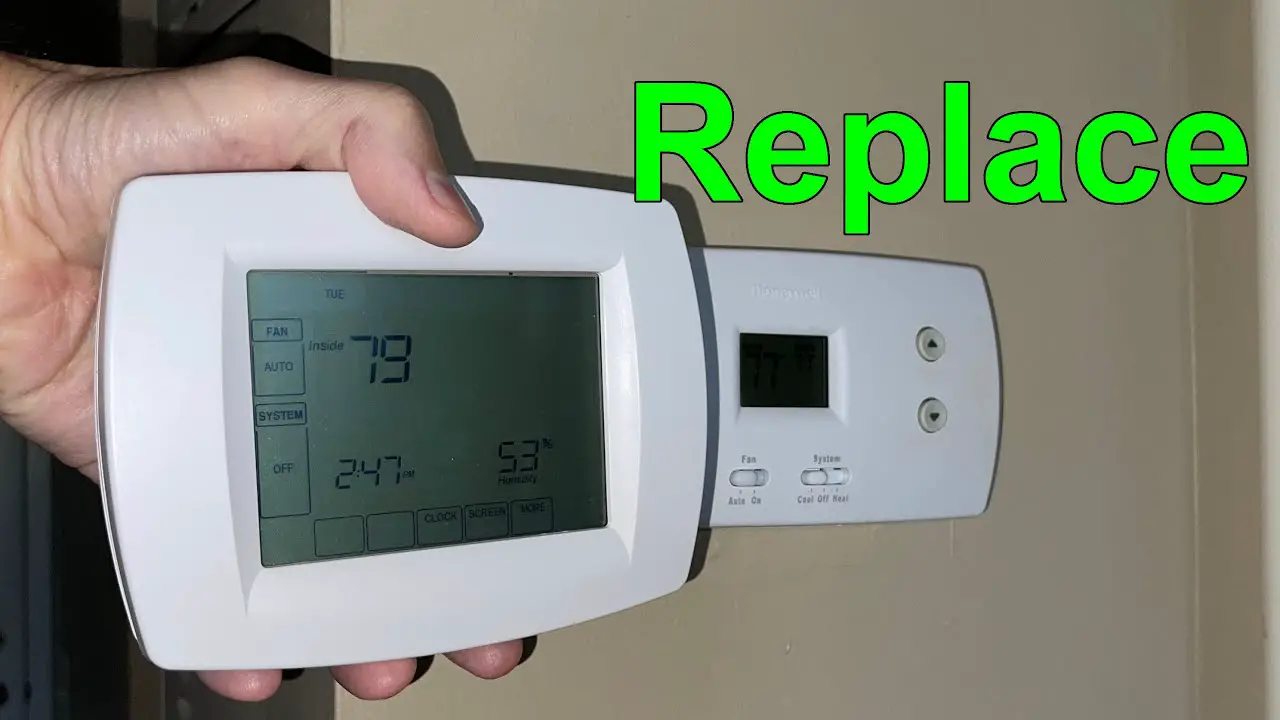
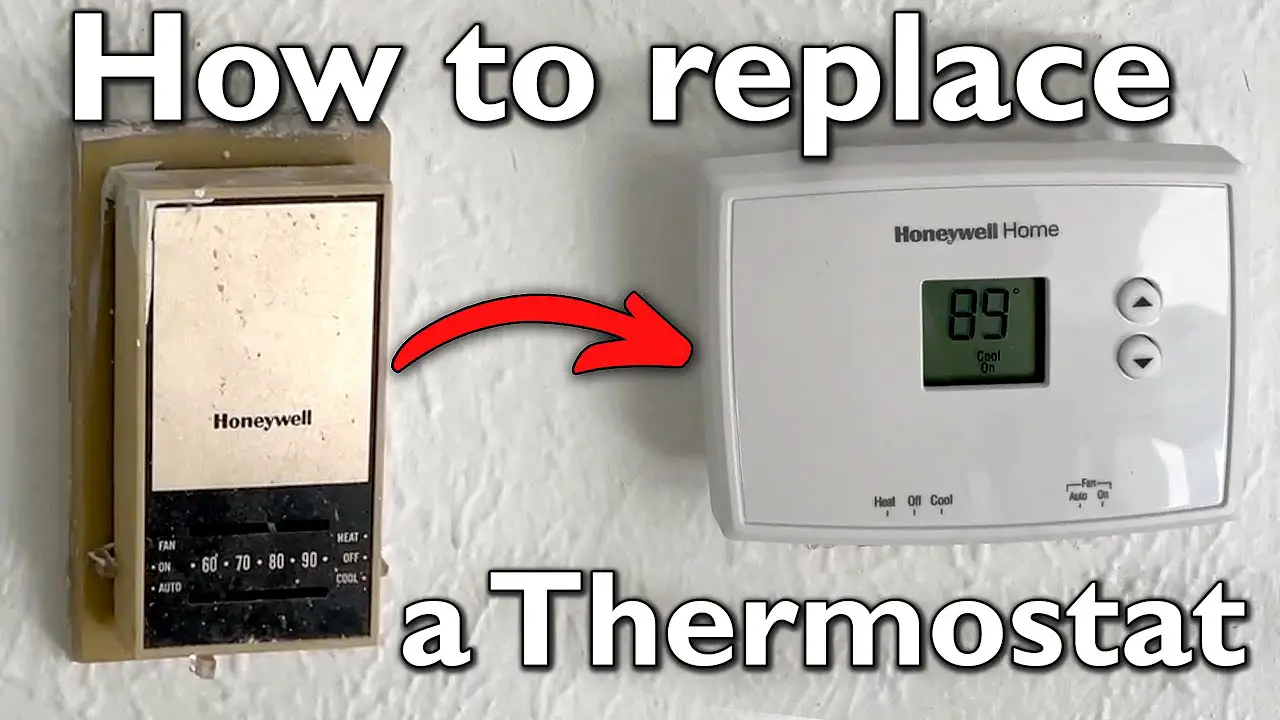
Replacing An Old Honeywell Thermostat

There's something uniquely satisfying about upgrading a piece of your home that quietly works behind the scenes, and few things fit that bill better than your old thermostat. If you've got an aging Honeywell unit — perhaps one that's a bit yellowed, clicky, or just plain dumb — replacing it might just be your next favorite DIY project. It’s not just about getting a new gadget; it’s about taking control of your home’s comfort, saving money, and even giving your living space a subtle modern refresh. This isn't just a chore; it's a surprisingly fun and incredibly useful home improvement step that almost anyone can tackle!
So, who benefits from swapping out that old wall relic? Pretty much everyone! For beginners, it's a fantastic entry point into home DIY. It builds confidence, requires minimal tools, and has an immediate, noticeable impact. You'll gain a sense of accomplishment and potentially save a significant amount on professional installation fees. Families will love the improved comfort, more precise temperature control, and the peace of mind that comes with a reliable system. Plus, upgrading often means lower energy bills, which is always a win for the household budget. For the budding hobbyist or smart home enthusiast, replacing a thermostat is a quick, gratifying project that can be a stepping stone into more complex home automation, turning your house into a smarter, more responsive living space.
The beauty of upgrading is the variety of options available today. You don’t just have to stick with another basic manual thermostat, though even a new digital one offers greater accuracy and readability than its analog predecessors. You could opt for a programmable thermostat, which allows you to set schedules for different times of the day, ensuring your home is warm when you wake up and cool when you get home, without wasting energy when you're out. Or, leap into the future with a smart thermostat. These Wi-Fi enabled wonders can be controlled from your phone, learn your preferences, and often integrate with other smart home devices like Alexa or Google Assistant. Many even provide detailed energy reports, showing you exactly where you can save more. The possibilities for a more efficient, comfortable home are practically endless!
Must Read
Ready to dive in? Here are some simple, practical tips to get you started. First and foremost: always turn off the power to your furnace or air handler at the circuit breaker before touching any wires. This is non-negotiable for safety! You’ll typically need nothing more than a screwdriver (usually a Phillips head). Before you disconnect a single wire from your old thermostat, take a clear photo of the wiring. This picture is your best friend for connecting the new unit correctly. Note the labels on each wire (like R, G, Y, W). When choosing your new thermostat, make sure it's compatible with your HVAC system – especially if you have a heat pump or require a "C-wire" for smart thermostat functionality. Most importantly, read the instructions that come with your new thermostat. They are designed to walk you through the process specific to your model. It's often simpler than you think!
So, go ahead! Say goodbye to that ancient, clunky thermostat. Embrace the simple pleasure of accurate temperature control, the satisfaction of a successful DIY project, and the joy of a more comfortable, efficient home. You’ll not only feel a rush of accomplishment, but you’ll also be enjoying lower energy bills and a more modern living space. It's a small change with big rewards!