Illustrator Screen Resolution Settings
Adobe Illustrator: even the name sounds impressive, doesn't it? It's the go-to software for countless professionals, hobbyists, and anyone who wants to create crisp, scalable vector graphics. From designing stunning logos to crafting intricate illustrations, Illustrator's versatility is practically legendary. But did you know that something as seemingly simple as your screen resolution settings within Illustrator can have a surprisingly big impact on your creative workflow and the final result? Let's dive in and see how!
Understanding and tweaking your screen resolution settings in Illustrator offers a wealth of benefits, regardless of your skill level. For artists, optimizing resolution ensures you're seeing the truest representation of your artwork's detail. No more blurry edges or pixelated previews! For hobbyists, a clear display makes learning the ropes much easier and less frustrating. You'll be able to better appreciate the nuances of vector design and fine-tune your creations with precision. And for casual learners, experimenting with different resolution settings is a fantastic way to understand how Illustrator handles visual information, leading to a deeper appreciation for the software's capabilities.
Imagine you're designing a logo for a coffee shop. At a lower resolution, the delicate curves of a coffee bean might appear jagged. Upping the resolution smooths those lines, giving you a much clearer picture of the final product. Or perhaps you're creating a detailed map illustration. A higher resolution allows you to see the intricate road networks and building details with stunning clarity, making it easier to make minute adjustments. Think about the difference between viewing a detailed landscape painting at 72dpi versus 300dpi – the impact is considerable! You can even experiment with creating different styles; a lower resolution might lend a retro, pixelated aesthetic to your design, while a higher resolution allows for photorealistic detail.
Must Read
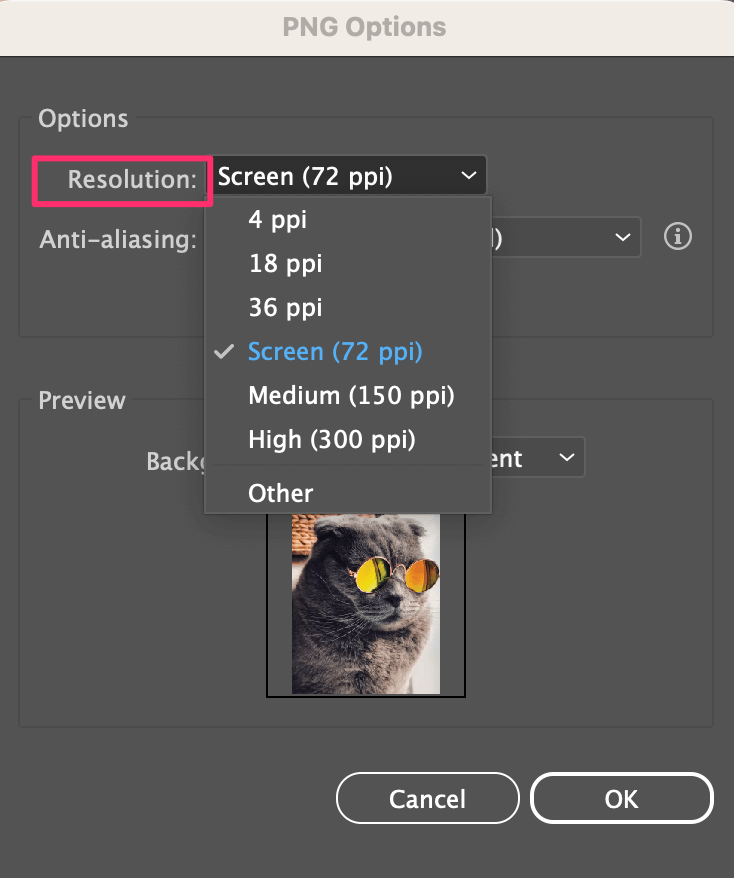
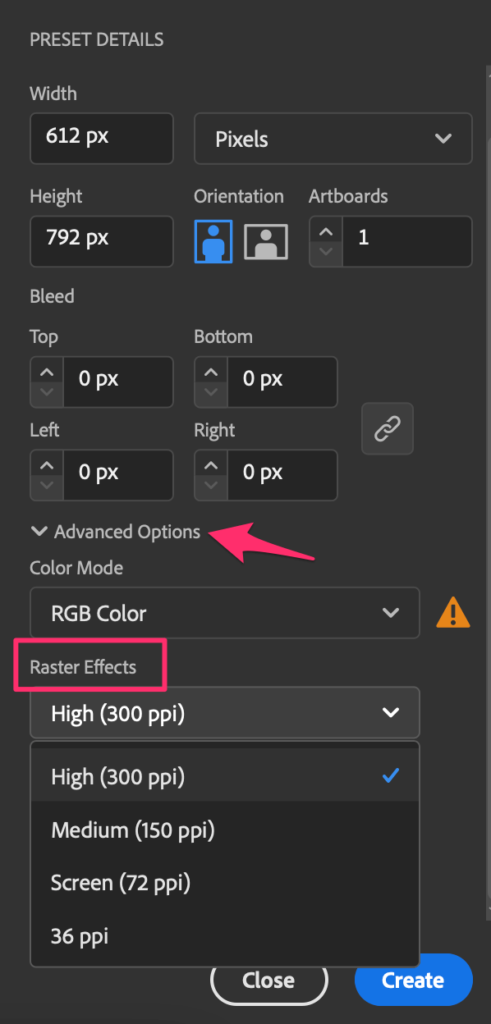
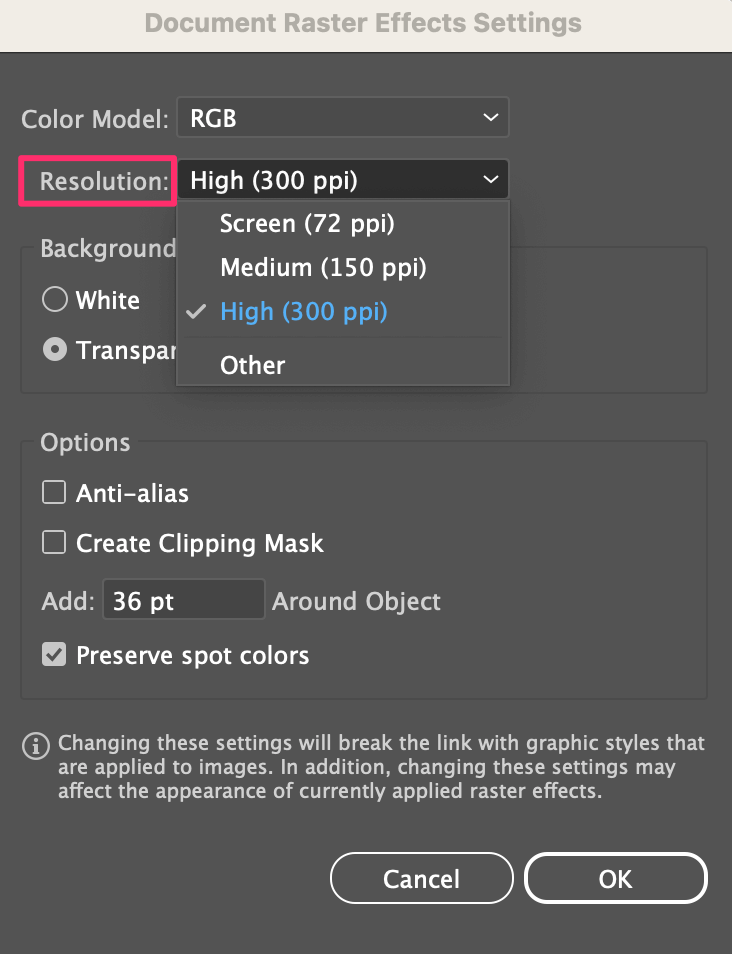
So, how do you try this at home? It's simpler than you might think! Open Illustrator and navigate to Edit > Preferences > General (or Illustrator > Settings > General on macOS). Look for the "Artwork (Pixel Preview)" option and experiment with different settings. Common choices include "Default," "Low," "Medium," and "High." Create a simple shape or design and zoom in and out at each setting to see the differences. Pay close attention to how the edges of your artwork appear and how the overall detail is rendered. Another quick tip: Remember to restart Illustrator after changing these settings to ensure they take effect properly. Don't be afraid to play around – there's no "right" answer, only what works best for your eyes and your specific project.
Ultimately, playing with Illustrator's screen resolution settings is enjoyable because it gives you a greater sense of control over your creative process. It's about understanding how your tools work and tailoring them to suit your needs. It’s about achieving a visual clarity that brings your artistic vision to life. And who doesn't love a little bit of digital magic that makes your creations look even better?