How To Update Email Id In Flipkart App

Hey there, tech-savvy friend! Ever find yourself staring blankly at your phone, wondering how to change that ancient email address in your Flipkart account? You know, the one you created back when dial-up was still cool? Don't worry, you're not alone! We’ve all been there. It's like finding that old photo album – nostalgic, but definitely needing an update. This guide will walk you through it. Think of me as your friendly neighborhood tech whisperer. 😉
Why Bother Changing Your Email, Anyway?
Good question! Why should you bother? Well, several reasons, actually. For starters, if you've lost access to your old email account, you're basically locked out of important Flipkart updates, order confirmations, and those sweet, sweet discount codes. Plus, it’s a security thing! An outdated email is a security risk just like an old password. Imagine missing out on a flash sale because the confirmation email went to digital oblivion! Total tragedy, right?
Let's Get Started: The Flipkart Email Update Tango
Okay, enough chit-chat. Let's dive into the actual process. Grab your phone, make sure your Flipkart app is installed (and updated, just to be safe!), and let's do this! It's easier than choosing between all those tempting deals they throw at you.
Must Read
Step 1: Fire Up the Flipkart App!
Tap that little blue icon and watch the Flipkart world come to life. Hopefully, you remember your password (or have fingerprint/face unlock enabled – because who actually remembers passwords anymore?).
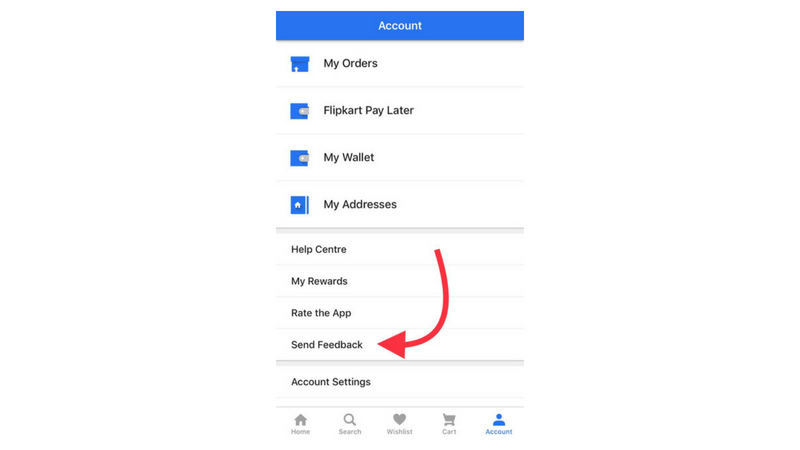
Step 2: Head to Your Account – The Secret Lair
Look for the menu icon. It usually hangs out in the top-left corner (those three horizontal lines). Tap it! A magical drawer should slide out, revealing your account details. Find the "My Account" option. Click it!
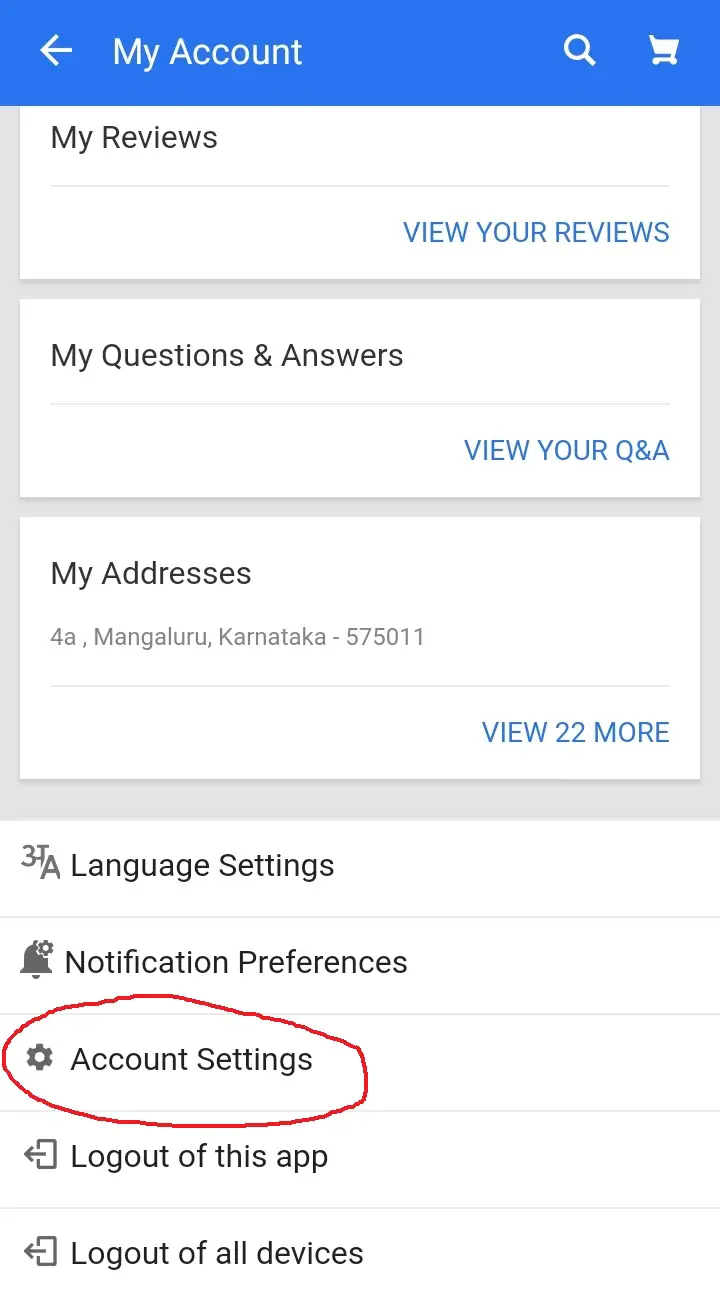
Step 3: Find the 'Edit Profile' Section – The Dressing Room
Once you're in "My Account," scroll down (or up, depending on the app's mood that day) until you see something like "Edit Profile," "Manage Profile," or anything that sounds remotely like you can change your info. These things are always a little hidden to make it seem like a secret, are they not? Click it!
Step 4: The Email Address Hunt – Operation Find My Email

Now, you should see a list of your personal details. Hunt down your current email address. It'll probably be hiding amongst your name, phone number, and maybe even your astrological sign (okay, maybe not that last one, but you never know!).
Step 5: Change That Email! – The Grand Email Makeover
Tap on the email address. It should open up a field where you can type in your new, shiny, and active email address. Double-check it! Triple-check it! Nothing's worse than mistyping your email and accidentally sending all your Flipkart updates to your grandma. (Unless your grandma loves a good deal, in which case, carry on!).
Step 6: Verification Time – The Email Police Are Here
Flipkart, being the security-conscious platform it is, will probably send a verification email to your new email address. Head over to your email inbox, find the Flipkart email, and click on the verification link. If you don't see it, check your spam folder. Sometimes those emails get lost in the digital wilderness.
Step 7: Save the Changes! – Seal the Deal
Once you've verified your email, go back to the Flipkart app and look for a "Save," "Update," or "Submit" button. Click it! And that's it! You've successfully updated your email address. High five!
Troubleshooting Tips: When Things Go Wrong
Sometimes, even the best-laid plans go awry. Here are a few common issues and how to fix them:
Didn't receive the verification email? Check your spam folder and make sure you typed your email address correctly. Wait a few minutes; sometimes, email servers are just slow.
*Can't find the "Edit Profile" section? Try searching in the app's settings or help section. Flipkart's app interface sometimes likes to play hide-and-seek.
*Still having trouble? Contact Flipkart customer support. They're usually pretty helpful, and they’re paid to deal with these things, so don't be shy!
Congratulations, You Did It!
See? That wasn't so bad, was it? You've successfully updated your email address in the Flipkart app. Now you can relax, knowing that you won't miss any important notifications or deals. Go ahead, treat yourself to that impulse purchase you've been eyeing. You deserve it! Remember, staying on top of these little digital housekeeping tasks can save you a lot of headaches in the long run. Happy shopping, and may your Flipkart cart always be full of amazing finds (and amazing deals!). Now, go forth and conquer those deals!