How To Turn Off Beeping Smoke Detector

Alright, gather ‘round, because we’ve all been there. It’s 3 AM. You’re deep in the glorious land of nod, probably dreaming you’re a superhero or at least have a fully functioning espresso machine. Then it hits. Not a meteor, not an alien invasion, but something far more insidious: a single, ear-splitting, soul-crushing BEEEEEEEEEP!
You jolt awake, heart pounding, convinced your house is on fire. You sniff the air frantically. Nothing. No smoke. Just... that sound. Again. And again. And again. It’s the symphony of a smoke detector with a low battery, and it’s determined to turn your peaceful abode into a war zone, one agonising beep at a time.
Welcome to the ultimate guide to silencing that infernal device without resorting to throwing a shoe at it (we’ve all considered it, don’t lie). Consider me your battle-hardened veteran, here to equip you with the knowledge to reclaim your sanity.
Must Read
Understanding the Enemy: Why the Beep?
Before we launch our counter-offensive, let’s understand the enemy’s motives. That beep isn't just to annoy you (though it excels at it). It’s a cry for help! Usually, it means one of three things:
- Low Battery: This is the most common culprit. It’s basically saying, "Hey, I’m about to check out, please replace me before I die completely and fail to warn you about actual fires!"
- Dust Bunnies: Sometimes, little dust particles or even tiny insects decide to throw a rave inside your detector, triggering false alarms.
- End of Life: This is the big, surprising one. Smoke detectors have an expiration date! Most models are good for about 10 years. After that, their sensors lose sensitivity, and they start beeping a "goodbye" signal. Think of it as an elderly alarm clock that's seen too many sunrises.
Phase 1: Identify and Silence (Temporarily)
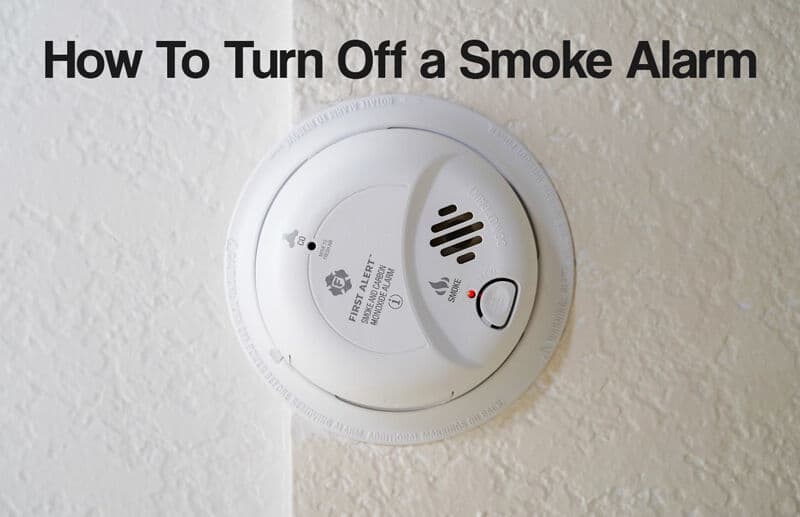
First things first, you need to find the beeper. If you have multiple detectors, it might be a game of "hot or cold," wandering through your house in the dark, flinching with every beep. Once you’ve located the culprit (it’s usually the one directly above your head, mocking you), look for a button.
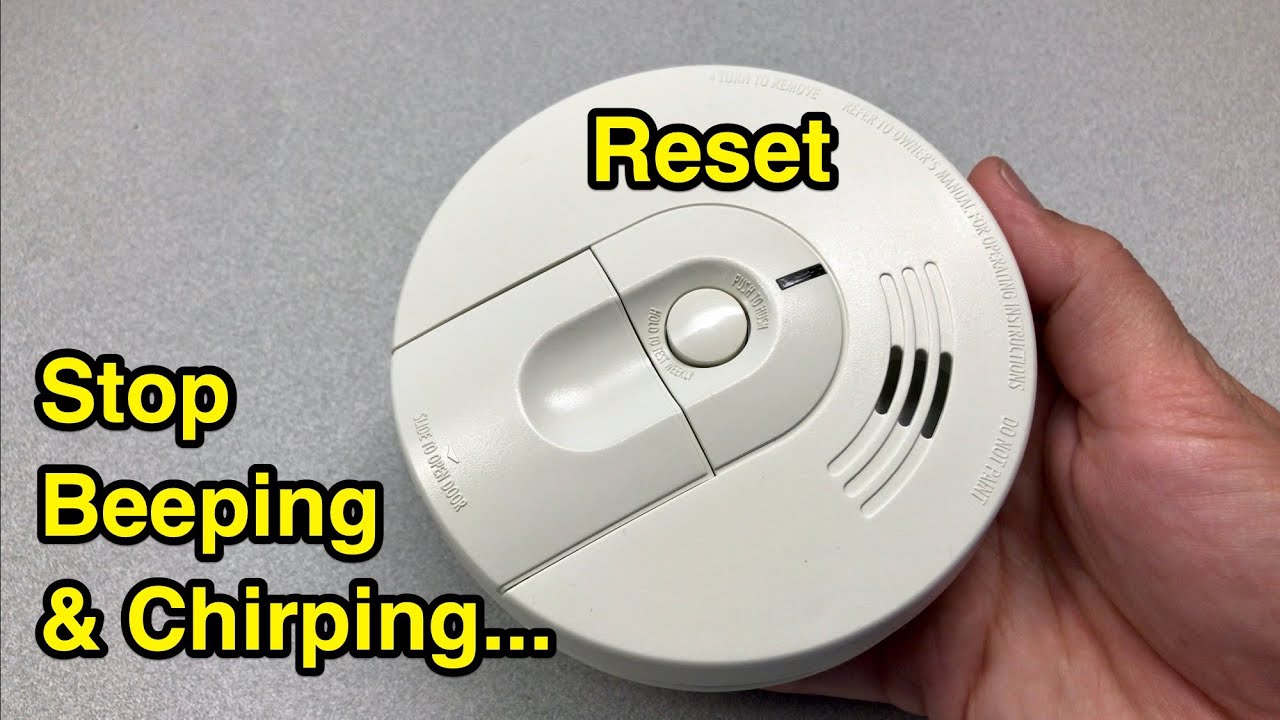
Most modern smoke detectors have a "Hush" or "Test" button. Give it a firm press. This should silence it for about 5-15 minutes, buying you precious time to brew coffee and compose yourself. If it’s a pure test button, it will probably just beep louder for a moment, proving it works, then silence. Either way, you get a brief reprieve.
Pro-tip: If it's on the ceiling and you're not blessed with NBA height, grab a broom handle. Just be gentle; we're not trying to become a DIY demolition expert.
Phase 2: The Battery Extraction (The Satisfying Part)
Alright, silence achieved (for now). Now for the real work. Grab a sturdy chair or a small ladder – safety first, folks! We don't want any pre-coffee tumbles.
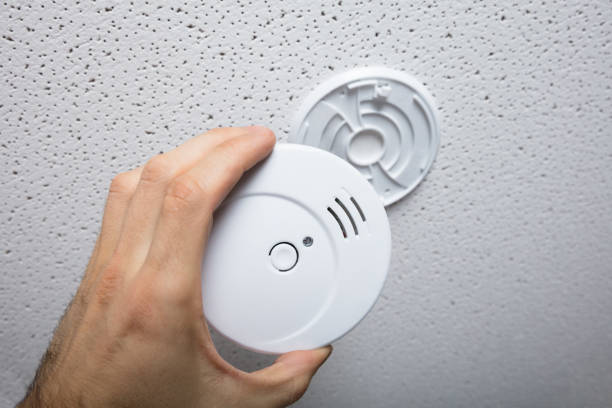
Carefully twist or slide the smoke detector off its mounting bracket. Most have a simple twist-and-pull mechanism. If it feels stuck, don't muscle it. Look for tiny tabs or arrows. You'll likely hear a satisfying click as it comes loose, a tiny victory chime in your dark night.
Flip it over. You'll probably see a little compartment. This is where the magic (or lack thereof) happens. Pry it open. Often, it's a 9-volt battery – the chunky, rectangular kind. Pull it out! Oh, the sweet, sweet silence that follows. It's like a choir of angels singing, but in reverse. If it's a model with sealed, non-replaceable batteries (which indicates it's an end-of-life issue, see below), you'll need to remove the whole unit.
Now, here’s a crucial step that often gets overlooked: wait a minute or two before putting in a new battery. Some detectors need a moment to fully discharge before a fresh start. It's like letting your computer reboot properly – gives it a chance to clear its digital cobwebs.
Pop in a fresh 9-volt battery. Make sure it's facing the right way (plus to plus, minus to minus). Snap the compartment shut, reattach the detector to its base, and give that "Test" button a firm push. A loud, healthy beep should emanate. If it goes on beeping every 30 seconds again, something else is amiss.
Phase 3: The End-of-Life Tango (When It's Time to Retire)
Remember that surprising fact about expiration dates? If you've changed the battery and it's still beeping intermittently, or if it has sealed batteries, it might be time for a full replacement. Look on the back of the detector; there should be a "replace by" date. If it's passed, or if there's no battery compartment at all (meaning it's a sealed 10-year unit), then it's done its duty.
In this scenario, the solution is simple: get a new one. It's a small investment for peace of mind and, you know, actual fire safety.
Phase 4: The Dust Bunny Eviction (The Spring Cleaning Solution)
If you're confident the battery is good and the unit isn't expired, but it's still chirping or giving false alarms, it might just need a good clean. Carefully take the unit down (remember the ladder!). Grab a can of compressed air (the kind you use for keyboards, not hairspray!). Aim the nozzle at the vents and gently blast out any accumulated dust. Avoid using water or cleaning sprays, as these can damage the electronics.
Reinstall the detector, test it, and hopefully, your home is now a sanctuary of silence once more.
The Victory Lap: Regular Maintenance
You’ve won the battle! But the war for quiet nights is ongoing. To prevent future midnight assaults, remember these simple rules:
- Test monthly: Press that "Test" button once a month. Make sure it still screams.
- Replace batteries annually: A good habit is to do it when you change your clocks for Daylight Saving Time. Out with the old, in with the new!
- Replace units every 10 years: Mark it on your calendar, or better yet, write the installation date on the detector itself.
So there you have it. You are now equipped to face the dreaded smoke detector beep head-on. Go forth, conquer the chirps, and reclaim your precious sleep. You've earned it!