How To Start A Campfire In A Fire Pit
Imagine this: The sun’s dipped below the horizon, the air is getting crisp, and there’s that perfect hint of wood smoke on the breeze. You’re gathered around a fire pit, maybe a mug of something warm in your hands, ready for stories, laughter, and, let’s be honest, those gooey, toasted marshmallows. Sounds pretty good, right?
There’s a reason humans have been doing this for millennia. It’s not just about warmth; it’s about connection. A campfire is a natural magnet, pulling people together, sparking conversations, and melting away the stresses of the day. It’s pure, unadulterated magic. And the best part? You don't need to be a wilderness survival expert. Just a little know-how and a dash of patience.
The Ingredients: Your Fire's Shopping List
Think of building a fire like baking a delicious cake. You need the right ingredients, in the right order.
Must Read
1. Tinder – The Whispering Start:
This is your fire's first whisper. Anything super dry and easily combustible: crumpled newspaper, dryer lint (seriously!), cotton balls, or tiny papery bits from a dead tree. The goal? Something that catches a flame instantly and burns fast enough to ignite your next layer. Like trying to get a sleepy pet to wake up gently.
2. Kindling – The Awkward Teenager:
Once your tinder is giving off a good flame, you need something slightly more substantial. Enter kindling! Small sticks, twigs, or thin pieces of wood, no thicker than a pencil. They’re the bridge between the super-fast tinder and the longer-burning logs. Think of them as the chatty friends who keep the energy going until the adults arrive.
3. Fuelwood – The Wise Elder:
Ah, the main event! These are your larger logs, providing that long, steady burn and glorious embers. Aim for dry, seasoned wood. Green wood just smokes and hisses like a grumpy cat. Hardwoods like oak, maple, or hickory burn longer, but any dry firewood will do. These are the reliable grown-ups of your fire – providing steady warmth for hours.
Safety First, Always!
Before we even think about a match, let's talk safety. It's a must.
- Clear the area: Nothing flammable within a 10-foot radius of your fire pit.
- Water handy: Always have a bucket of water, a hose, or a fire extinguisher right there. You hope you don't need it, but you're glad it's there.
- Supervision: Never leave a fire unattended. Ever.
- Know local rules: Check for fire bans in your area.
Let's Build That Fire (The Fun Part!):
1. Prep Your Pit:
Ensure your fire pit is clean and clear of old ash or debris. A flat bed of a little ash can help insulate heat.

2. The Tinder Nest:
Take a good handful of your tinder and create a small, loose pile or "nest" in the center of your fire pit. You want air to get in and around it. Imagine building a cozy little bed for a very tiny, warm bird.
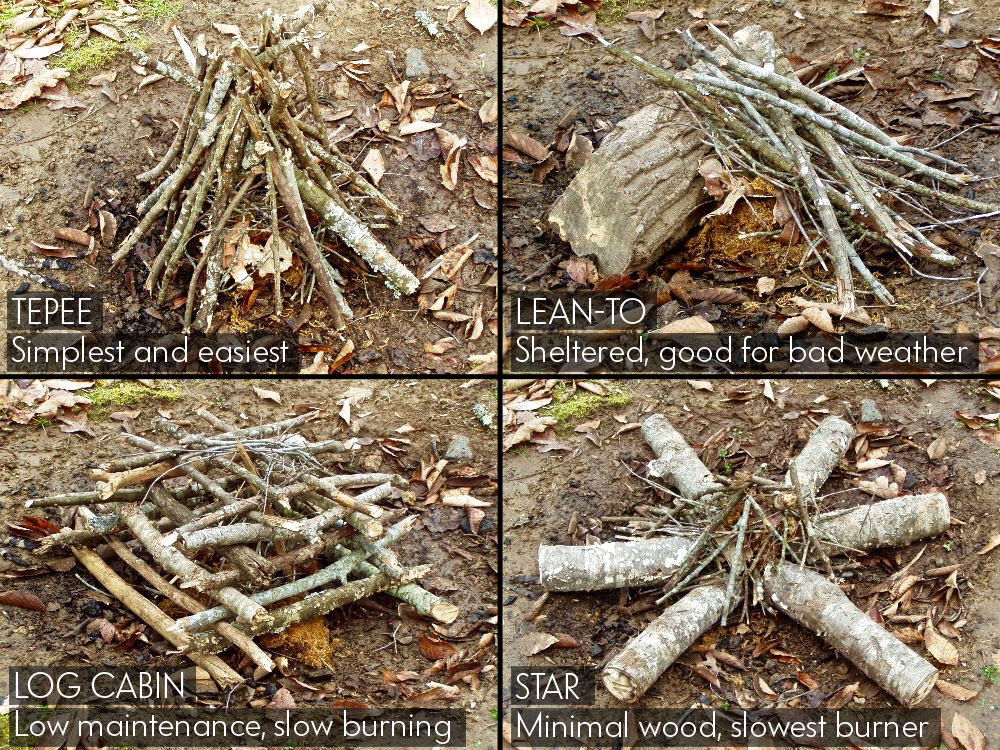
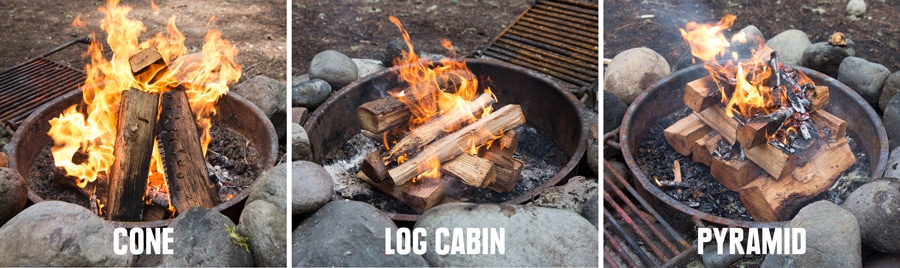
3. The Kindling Teepee (or Log Cabin):
Carefully arrange your kindling around and over your tinder. The teepee style: lean pieces of kindling against each other, forming a cone over your tinder. Leave a gap to light it. The log cabin style: stack kindling in a square, criss-cross pattern. Both work great!
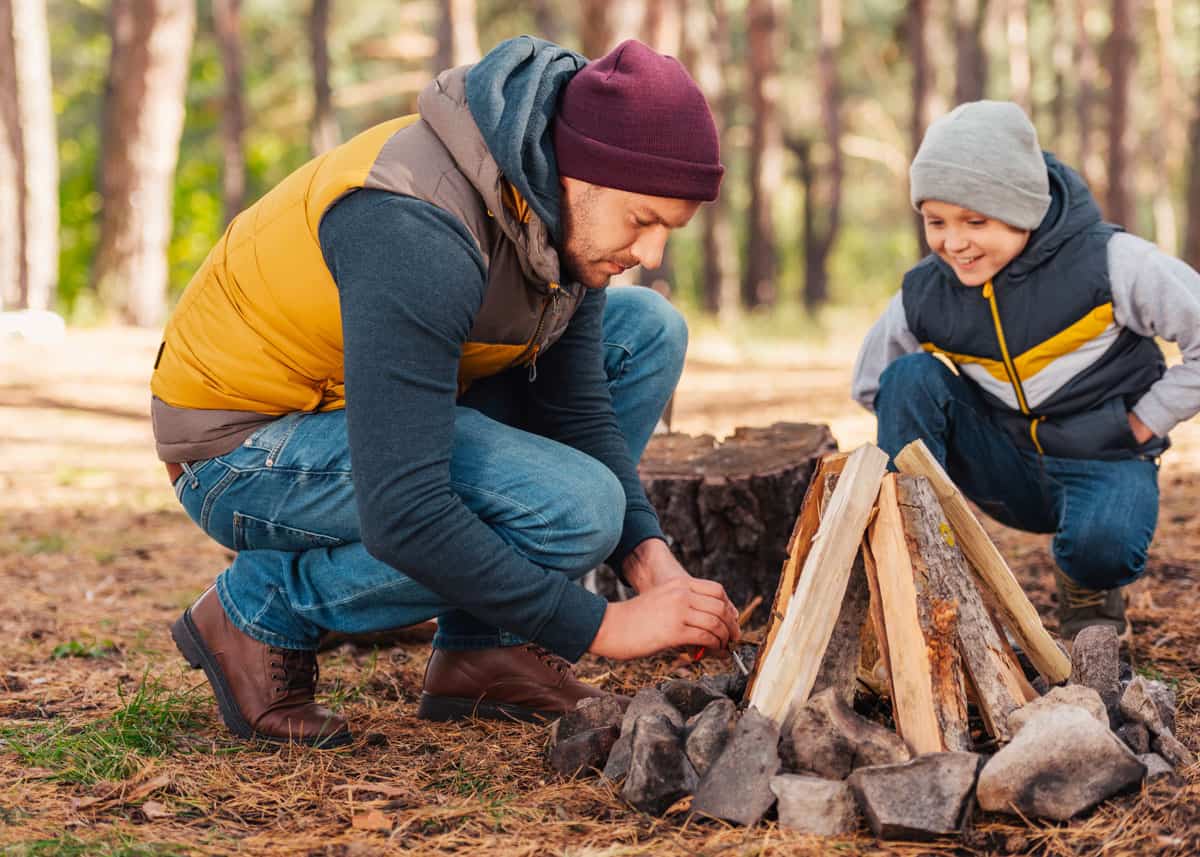
4. The First Spark – The Moment of Truth:
Using a long-stemmed lighter or extra-long match (BBQ ones are perfect!), gently ignite your tinder in a few spots. It should catch quickly. Don't rush it. Like waiting for that first 'pop' from popcorn – exciting, but requires anticipation.
5. Nurturing the Flame:
Once tinder burns, it ignites kindling. This is where gentle encouragement comes in. If flames seem lazy, very gently blow air onto the base of the fire. Not a hurricane, just a soft puff, like coaxing a sleepy pet awake. You're giving it more oxygen. Patience, young grasshopper. Good fires aren't rushed.
6. Introducing the Fuelwood:

Once your kindling is burning robustly and you have good embers, carefully add smaller pieces of fuelwood. Start with thinner logs and gradually add larger ones as the fire grows stronger. Don't smother it! Leave gaps for air to circulate. Think of it like adding layers to a warming stew – build up the flavor gradually.
Common Fire Pit Fails (and How to Fix 'Em):
- It's just smoking! Damp wood or not enough air. Rearrange wood for more gaps, or add drier, smaller kindling.
- It keeps going out! Not enough tinder/kindling, or bigger logs added too soon. Rebuild your kindling base.
- Too much smoke in my face! Wind shifting. Move your chair, or shift logs slightly. Smoke often follows the path of least resistance!
The Best Part: Enjoying the Glow!
Now that you’ve mastered the art, sit back, relax. Toast those marshmallows, tell those tall tales, and soak in the warmth. This isn't just about combustion; it's about creating an atmosphere, a memory.
Putting It To Bed Safely:
When the fun is done, it's crucial to put your fire out properly.
- Drown it: Pour water over all embers and wood until hissing stops. Stir ashes to expose hot spots, pour more water.
- Feel for heat: Place the back of your hand near ashes (don't touch!). If you feel warmth, keep adding water.
- Cool to the touch: It should be cold to the touch before you leave it. Like a forgotten cup of coffee.
Only when it's utterly, totally out can you walk away. Because responsible fire-starters are the coolest fire-starters.
So, go forth, gather your supplies, and light up some magic. Happy fire-pitting!