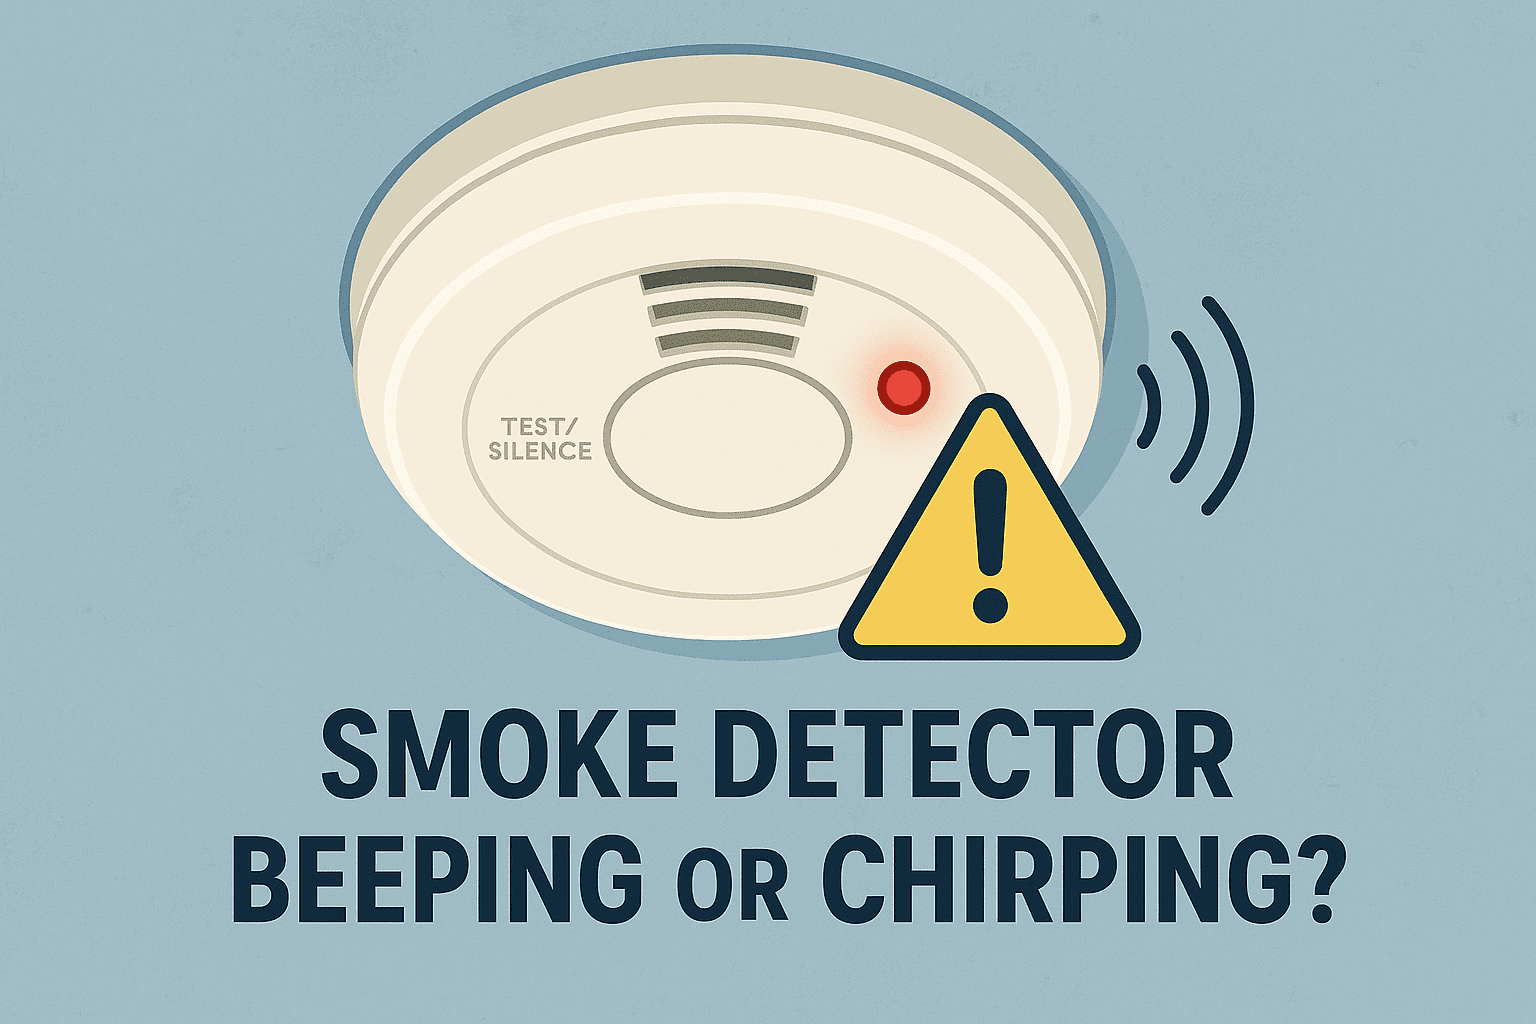
How To Silence A Chirping Smoke Detector

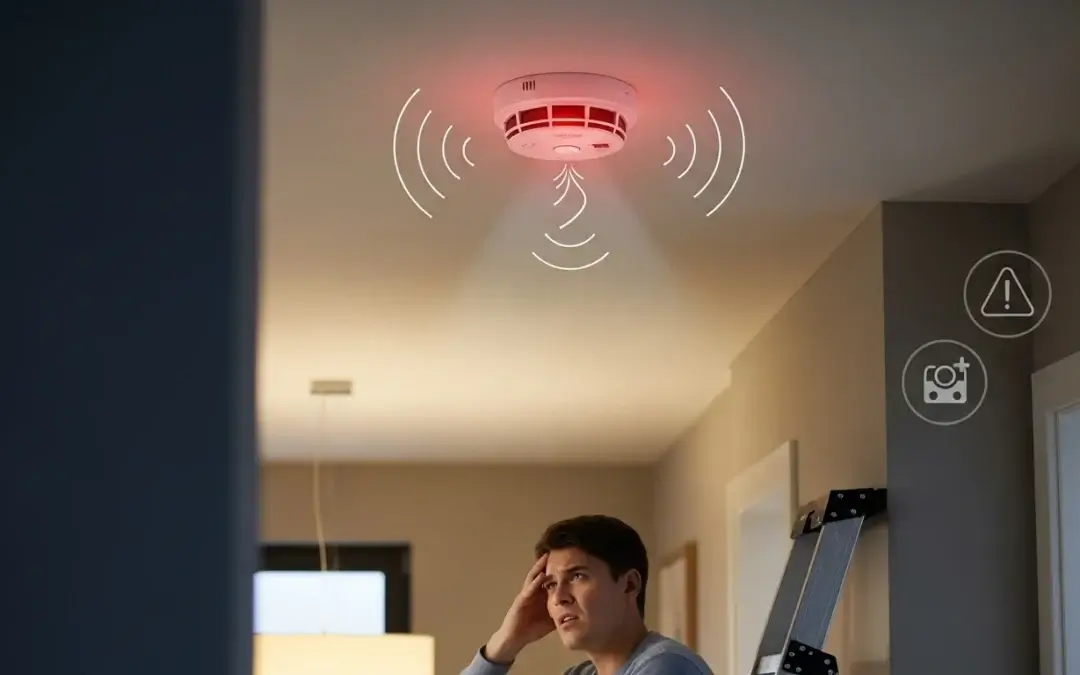
Ah, the unmistakable sound of a smoke detector's low-battery chirp. It’s not just a sound; it’s a declaration. Usually, this declaration arrives at 3 AM, right when you’ve finally drifted into that perfect REM cycle. It’s a modern-day siren, not warning of a fire (thankfully!), but of a tiny, rectangular battery’s last dying gasp. And let's be honest, it feels less like a warning and more like a personal affront to your peace and quiet.
Fear not, weary sleeper! You're not alone in this nightly battle. We’ve all been there, stumbling through the dark, trying to pinpoint which one of your home's vigilant guardians has decided to stage its solo performance. This isn't just about silencing a chirp; it's about reclaiming your tranquility and asserting dominance over a piece of plastic that, frankly, thinks it's the boss.
The Great Detective Work: Finding the Culprit
First things first: you need to find the rogue musician. Smoke detectors, much like teenagers, can be deceptively quiet until they decide to make noise. The trick is to play a game of "hot and cold." Slowly walk through your home, listening intently. Wave your hand near each detector. The chirps will get noticeably louder as you approach the one in question. Think of yourself as a highly trained audiophile, discerning the subtle nuances of beeps.
Must Read
Pro Tip: If you live in a multi-story home, the sound can bounce around, making it seem like it's everywhere and nowhere. Patience, young padawan.
Decoding the Chirp: Why Is It Singing?
Most commonly, that persistent chirp means one thing: low battery. It’s the detector’s way of saying, "Hey, I'm still here, but my power source is running on fumes!" This is its primary function – to alert you even when its main power is failing. And while annoying, we can appreciate the dedication to safety, even if it feels a little passive-aggressive at 3 AM.

However, there are a few other, less common, culprits:
- End of Life: Yes, smoke detectors have an expiration date! Most units are designed to last about 7-10 years. After this, their sensors can become less reliable. Check the back of the unit for a manufacturing date or an "replace by" date.
- Dust Bunnies: Sometimes, dust or small insects can interfere with the sensor, causing false alarms or chirps. A little spring cleaning might be in order.
- Humidity: High humidity, especially in bathrooms or kitchens, can sometimes trigger a chirp.
- A "Stuck" Test Button: Occasionally, the test button might get a little jammed, causing an intermittent chirp.
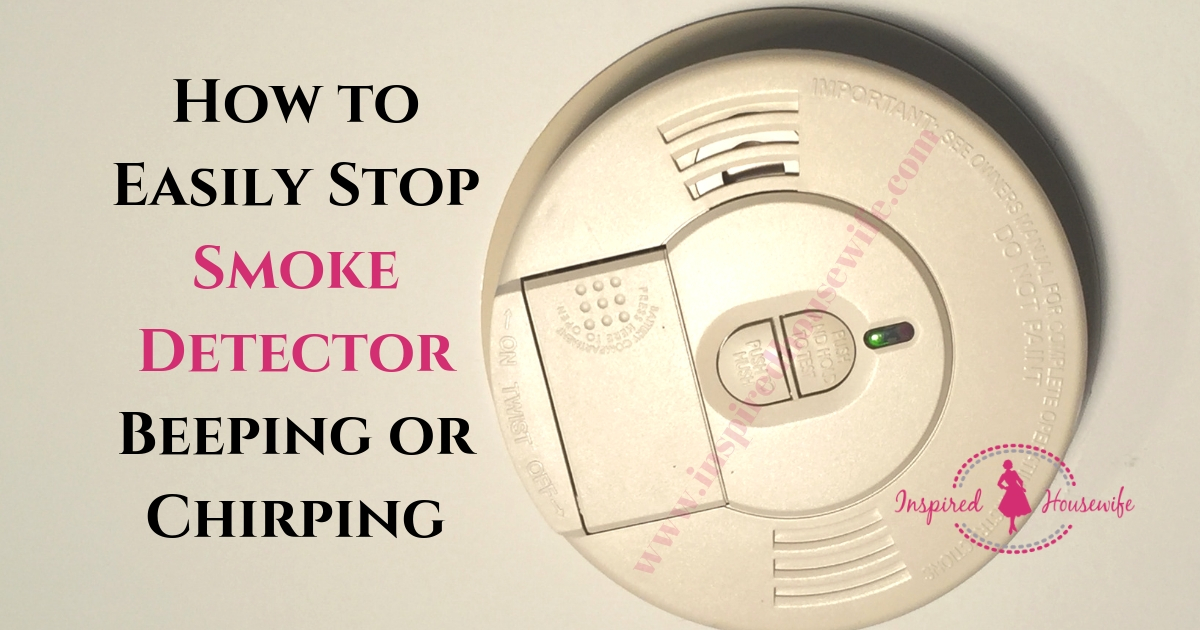
Operation Silence: How to Win the Battle
Step 1: The Battery Swap (Your Most Likely Hero)
This is where most sagas end. You'll typically need a 9-volt battery, though some newer models use AA or AAA. Gather your tools – often just a small flathead or Phillips screwdriver to open the battery compartment, or sometimes just a twist-and-pull motion for the entire unit.
Safety First: Before yanking anything off the ceiling, make sure you're on a stable step stool or ladder. Nobody wants an injury added to their list of overnight woes!
Once you’ve got the unit in hand (or safely positioned on the ladder):
- Locate the battery compartment. It’s usually a small slide-out drawer or a cover that twists off.
- Carefully remove the old battery. You might feel a surprising jolt of satisfaction as you disconnect it.
- Insert the new battery, ensuring the positive (+) and negative (-) terminals align correctly.
- Close the compartment securely.
- Press the "test" button. It should emit a loud, clear alarm – a sign it's back in business and ready to protect you.
Step 2: The Reset Button (For the Hardwired Wonders)
If your detector is hardwired into your home’s electrical system (often found in newer constructions and usually linked together), a battery swap might not immediately silence it. After replacing the backup battery, you might need to reset the unit. Hold down the test button for 15-20 seconds. If that doesn't work, a brief trip to your circuit breaker to flip the power to the detectors off and then back on can often do the trick.
Step 3: The Deep Clean (Banishing Dust Demons)
For those dusty culprits, a quick clean can work wonders. Use a soft-bristle brush, a vacuum cleaner hose attachment, or even a can of compressed air (like the kind you use for keyboards) to gently clear any debris from the sensor vents. Just be gentle – these are delicate instruments of safety!
Step 4: The Full Replacement (When It's Time to Retire)
If your detector is older than 7-10 years, or if it continues to chirp after a fresh battery and a thorough clean, it’s probably time to replace the entire unit. Think of it as upgrading your home's silent guardians. Newer models often come with 10-year sealed batteries, saving you from future 3 AM chirps!
A Small Victory, A Bigger Message
Silencing that insistent chirping isn't just about restoring peace to your bedroom; it's a small act of taking control. It's a reminder that even the most annoying little problems in our lives often have simple solutions waiting for us to discover them. And while we joke about the annoyance, let's never forget the crucial role these devices play in keeping our homes and families safe. So next time that chirp invades your dreams, tackle it with confidence – and then enjoy the sweet, sweet sound of silence. You've earned it.