How To Replace Honeywell Thermostat Battery

Alright, let's chat about something truly captivating: the humble thermostat battery. Yes, you heard that right! We're diving into the thrilling world of powering up your home's tiny temperature titan. Because honestly, when your thermostat goes quiet, things can get a little... chilly (or sweaty).
Imagine this: It’s the middle of winter. You’re snuggled on the couch, enjoying a perfectly toasted marshmallow (don't ask). Suddenly, the house feels a bit nippy. You glance at the thermostat. Blank. Dark. A void where digits once danced. Your first thought? "Oh no, is it broken?!"
Fear not, intrepid home comfort commander! More often than not, it's just a case of the sleepy battery. And replacing it? It's like a mini-adventure, a quick quest with a ridiculously satisfying outcome. Plus, you get to feel like a super-savvy homeowner. Take that, rogue drafts!
Must Read
The Silent Alarm: Why Your Thermostat Needs Juice
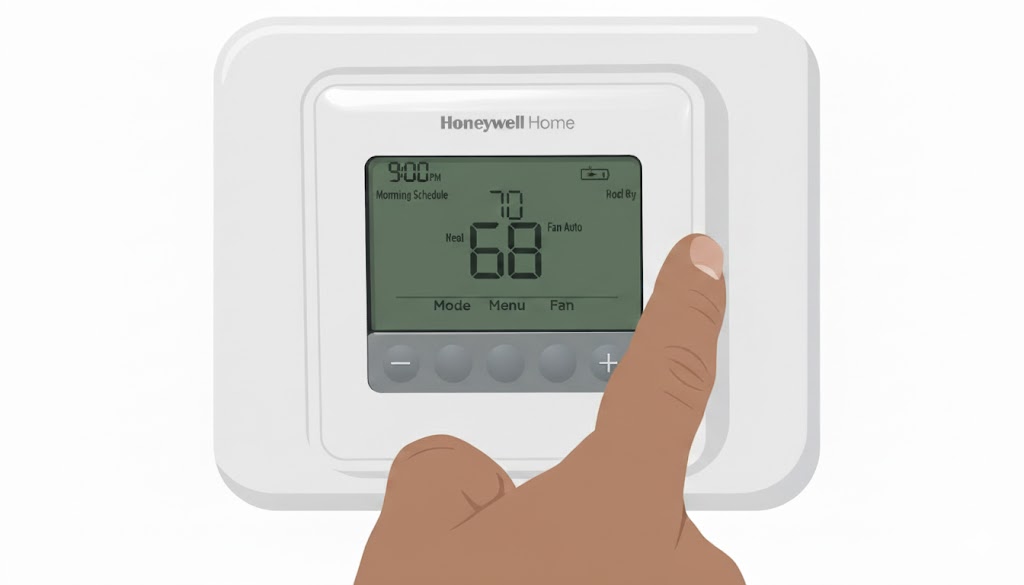
Your Honeywell thermostat, bless its little electronic heart, is more than just a fancy button panel. It's the brain of your home's heating and cooling system. It talks to your furnace, it chats with your AC. And like any good brain, it needs energy to process those important decisions. What's the temperature right now? What temperature do you want? Crucial stuff!
When the battery starts to fade, your thermostat might give you a tiny warning. A little blinking battery icon. A polite digital nudge. But sometimes, it just goes dark. Like a mic dropping after a particularly epic mic-drop moment. No drama, just... silence. That's your cue for a quick battery swap.

Did you know thermostats have been around in some form for ages? The first electric thermostat was patented by Albert Butz in 1883! That's older than sliced bread, folks! It just goes to show, humans have always sought optimal comfort. And batteries are just the modern twist to this age-old quest.
The Great Battery Hunt: Finding the Power Source
Okay, let's get to the fun part. Where is this elusive battery compartment? Honeywell thermostats are generally pretty good about this. There are usually a few spots to check, making it a delightful little scavenger hunt.
- The Pull-Out Tray: Many models, especially the popular T-series, have a little pull-out tray. It’s usually on the side, sometimes the bottom. Look for a tiny tab or an arrow. Give it a gentle tug. Voila! The battery chamber reveals itself like a secret passage.
- The Flip-Open Front: Some older or simpler models have a front cover that flips open. Look for a small latch or seam. A gentle push might be all it takes.
- The Whole-Shebang Detach: For a few models, you might need to gently pull the entire thermostat off its base plate on the wall. Don’t worry, it’s usually designed to snap on and off easily. The batteries will be lurking on the back.
Don't be afraid to give it a little exploratory poke! Just remember, gentle is the key. No need for heroics with a crowbar. We're aiming for precision, not demolition!
The Right Stuff: What Batteries Do I Need?
Most Honeywell thermostats are powered by common household batteries. We're talking good old AA or AAA batteries. It's almost always one of these two humble heroes. Before you start your grand quest, maybe peek at the manual or even the old batteries themselves if you can see them. They’ll usually tell you their size.

Pro tip: always keep a pack of fresh AA and AAA batteries handy. Not just for your thermostat, but for remotes, flashlights, and that random toy that suddenly demands power at 3 AM. Being battery-ready is a superpower in itself.
The Grand Swap: Step-by-Step for Super-Savvy Success
Ready? This is where the magic happens!

- Locate the Compartment: As discussed, find that sneaky battery door or tray.
- Open Sesame: Gently open or pull out the compartment.
- Remove the Old: Pop out the dead batteries. Notice which way they were facing (+/-). This is crucial! Batteries have a little personality and only work one way.
- Insert the New: Slide in your fresh AA or AAA batteries, making sure the positive (+) and negative (-) ends match the markings in the compartment. It’s like a tiny puzzle, but you're a master!
- Close 'Er Up: Securely close the battery compartment or push the tray back in until it clicks.
And then? The moment of truth! Your thermostat display should spring to life. Numbers glowing, icons appearing, perhaps even a satisfying little beep. It’s like waking up a sleeping giant, but instead of stomping around, it just quietly manages your home's temperature. Ah, the bliss!
The Sweet Taste of Success (and Comfortable Temps!)
See? That wasn't so scary, was it? In just a few minutes, you've transformed a silent, uncommunicative box into the powerful command center of your indoor climate. You've averted potential cold snaps or heatwaves. You've saved yourself a service call. And you've done it all with a few simple steps and a healthy dose of curiosity.
It’s a small task, sure. But there’s something undeniably empowering about fixing something yourself, even something as seemingly minor as a thermostat battery. It’s a tiny victory in the grand adventure of homeownership. So go ahead, give yourself a pat on the back. You've earned those perfectly regulated indoor temperatures. Now, about that second toasted marshmallow...