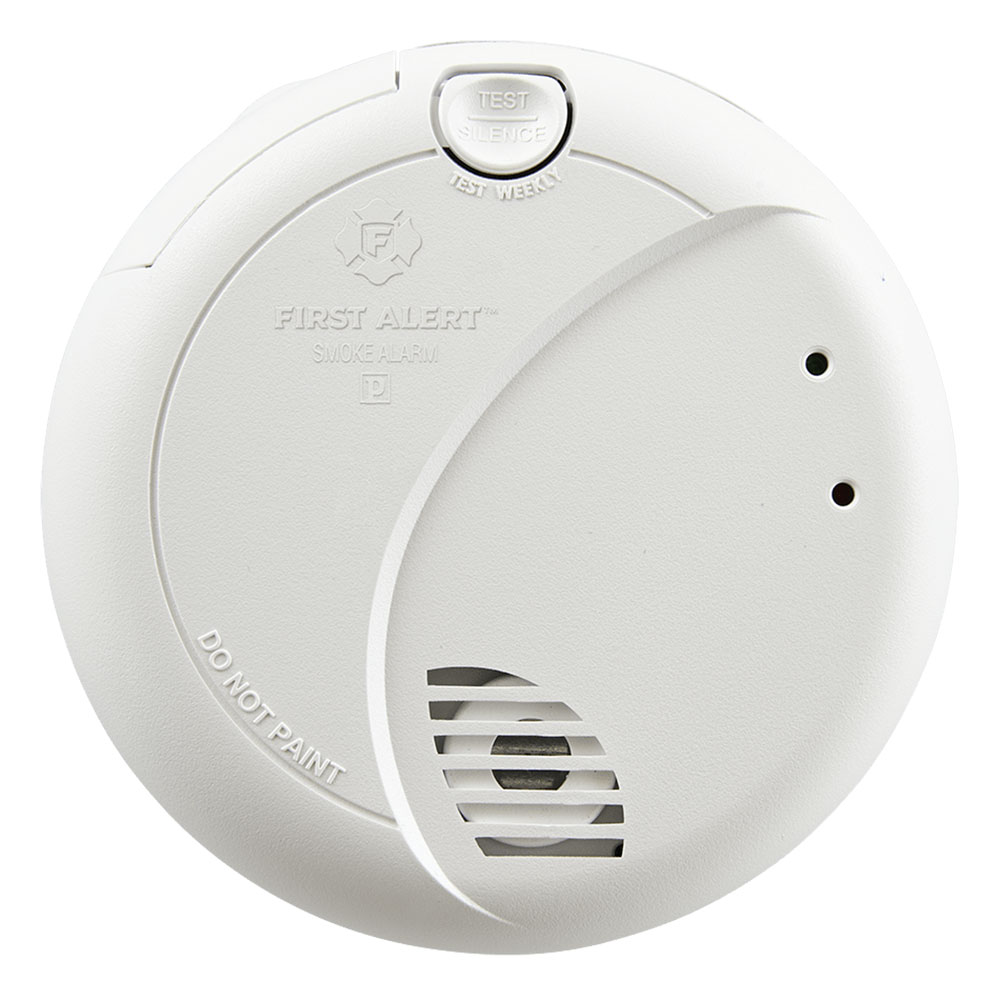
How To Replace Battery In Hardwired Smoke Alarm

Ah, the dreaded chirp. It starts subtly, a little "peep" every minute or so, usually around 3 AM. You try to ignore it, convince yourself it's a cricket, or perhaps a tiny, distressed ghost. But deep down, you know. It's your smoke alarm, and it's chosen you for this nocturnal symphony of annoyance.
Now, if yours is one of those fancy "hardwired" models, a little shiver might run down your spine. Hardwired! Sounds like something only an electrician with a PhD in cosmic wiring diagrams should touch, right? Visions of sparks, blackouts, and accidentally turning off the fridge (and ruining that artisanal cheese you just bought) might dance in your head. But fear not, my friend! Replacing the battery in a hardwired smoke alarm is actually a lot like changing the batteries in your TV remote – just a tiny bit more dramatic.
Why the Chirp, You Ask?
Think of your hardwired smoke alarm like a superhero with two power sources. The main one is your house's electricity, keeping it vigilant 24/7. But like any good hero, it has a backup plan: a 9-volt battery. This little guy kicks in if the power goes out, making sure you're still protected.
Must Read
The chirp? That's its way of saying, "Hey! My backup battery is on its last legs! I'm at 1%!" It's just like your phone when it gives you that annoying low-battery warning, except this one won't stop until you pay attention. It's doing its job, really, just a tad vocally.
Gather Your Tools (It's Not a Toolbox Convention!)
Before you embark on this grand adventure, let's get your supplies ready. Don't worry, you won't need anything exotic:

- A small ladder or sturdy step stool. Safety first! No balancing on kitchen chairs like you're in a circus act.
- A Phillips head screwdriver (that's the one with the cross shape). Most alarms use this, but some might be tool-free.
- A fresh 9-volt battery. And I mean fresh. Don't dig one out of that drawer of forgotten batteries that might be even older than the one you're replacing.
The Big "Scary" Step: Power Down!
Okay, this is where some people get a little nervous. You're going to turn off the power to your smoke alarm. "But it's hardwired!" you wail. Exactly. It's connected to your house's electrical system, so we want to be safe.
Head to your electrical panel (that big metal box, usually in the basement, garage, or a utility closet). Now, if you're lucky, your breakers are neatly labeled. If you're like most of us, it's a game of "Breaker Roulette." Look for the one labeled "Smoke Detectors," "Alarms," or perhaps "Upstairs Lights" if they're on the same circuit. If all else fails, you might need to flip the "Main" breaker – but only if you're okay with everything temporarily going dark (and your significant other yelling about the WiFi).
Once you've flipped what you think is the right breaker, test it! Try to turn on a light switch near the smoke alarm. If it doesn't work, you're golden. If it does, well, back to Breaker Roulette you go!
The Grand Opening (It's Not Brain Surgery, Promise)
Now, up the ladder you go! Your smoke alarm is probably attached to the ceiling or wall in one of two ways:
- Twist and Shout: Many alarms simply twist counter-clockwise a quarter turn to detach from their base. Think of it like opening a jar of pickles that isn't quite stuck.
- Clips or Latches: Some might have small clips or latches on the side that you gently press or pull.
Once it's loose, you'll see a wire harness connecting it to the ceiling. Don't disconnect the main wires unless you absolutely have to! Usually, you can let it dangle gently while you work, like a patient undergoing minor surgery.
Flip the alarm over. You should see a small door or panel, usually marked "Battery" or with a little diagram. Open it up, often with your screwdriver or just a firm thumb push.

The Battery Swap: Out with the Old, In with the New!
There it is, the culprit: your old, tired 9-volt battery. Gently disconnect it from its clips (they usually just snap off). Now, take your fresh 9-volt battery and snap it firmly into place, making sure the positive (+) and negative (-) terminals match up. It only goes in one way, usually!
Close the battery compartment door securely.
Reassembly and the Moment of Truth
Carefully guide your smoke alarm back into its base on the ceiling. If it was a twist-on, align the tabs and twist clockwise until it clicks into place. If it had clips, snap it back on.

Now, for the really satisfying part: press and hold the "Test" button on the front of the alarm. It should let out a loud, confident, non-chirpy blast. This confirms it's working correctly!
Power On and Sweet Silence
Head back to your electrical panel and flip that breaker back on. Walk back into your house, pause, and listen. Hear that? Absolute silence. No more phantom chirps. No more tiny distressed ghosts. Just the sweet, sweet sound of a home that is both safe and delightfully quiet.
Congratulations! You just faced down the dreaded hardwired smoke alarm, emerged victorious, and saved yourself a service call. Go on, pat yourself on the back. You're practically an electrician now. Well, almost.