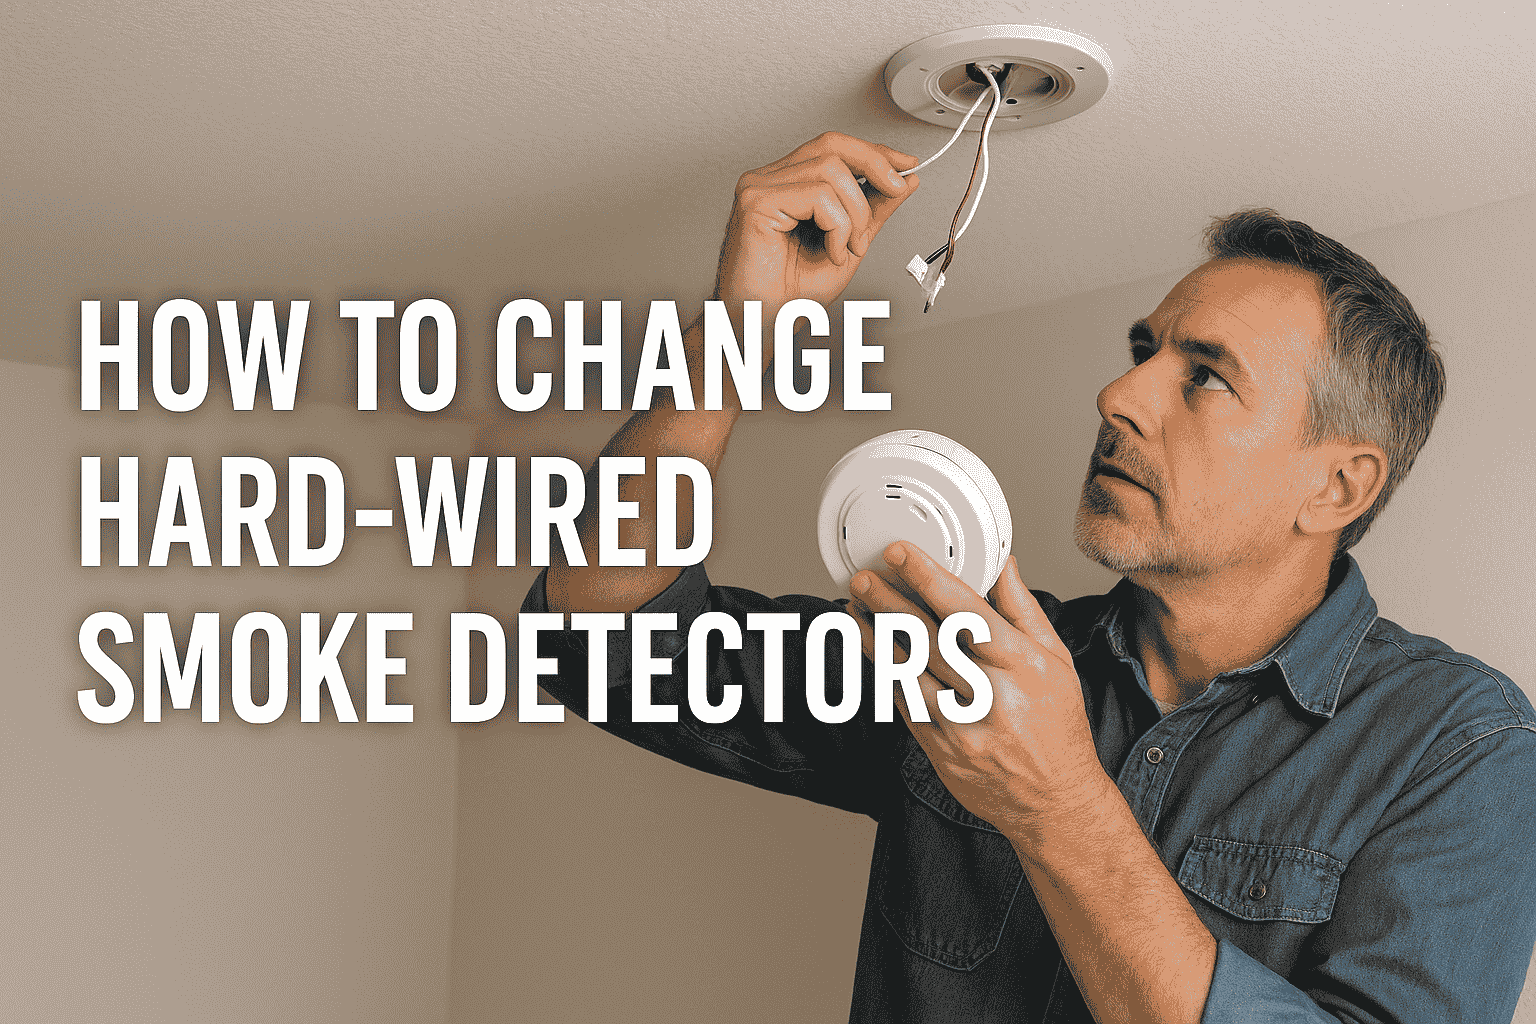
How To Replace A Hardwired Smoke Detector

Alright, let’s talk about something that sits quietly on your ceiling, rarely asks for attention, but is super important: your smoke detector. Specifically, those hardwired ones. You know, the ones that aren’t just running on a little battery, but are actually plugged into your home’s electrical system. Sounds a bit intimidating, right? Like something only a professional electrician with a magic wand could touch?
Well, I’m here to tell you to take a deep breath, maybe grab a cup of coffee, because replacing a hardwired smoke detector is totally doable for the average person. It’s less like performing brain surgery and more like changing a slightly trickier light fixture. And honestly, it’s a tiny bit empowering when you get it done!
Why Bother with the Change?
You might be thinking, "My smoke detector has been up there since I moved in, and it still chirps sometimes... isn't that good enough?" Let's unpack that.
Must Read
The Annoying Chirp (and What It Really Means)
We've all been there: 3 AM, dead silence, then a BEEP... (long pause)... BEEP. It’s like your smoke detector is staging a tiny, incredibly irritating concert in your hallway. Most of the time, that's just a low battery warning. But if your hardwired detector is old, that chirp could also be a sign it’s reaching the end of its life, battery or not. Think of it as your car making a funny noise – you can ignore it, but eventually, you’ll be stranded.
Out with the Old, In with the Smart
Technology moves fast, even for smoke detectors! Your old detector might be as ancient as a flip phone compared to today's smartphones. Modern smoke detectors are fantastic. Many have a longer lifespan (often 10 years!), better sensing technology to reduce false alarms (no more screaming at burnt toast!), and can even be interconnected wirelessly. This means if one goes off, they all go off – giving you precious extra seconds. It's like upgrading from a single flashlight to a whole house floodlight system.
Peace of Mind (Priceless, Really)
Ultimately, this isn’t just about silencing a chirp or getting fancy tech. It's about protecting your home and, more importantly, your loved ones. A functional, modern smoke detector is your unsung hero, constantly vigilant, ready to shout for help if smoke or fire ever threatens. Caring about its upkeep is a bit like making sure your car's brakes work – you hope you never need them, but you’re eternally grateful when you do.
Okay, I'm In! What Do I Need?
Before you dive in, let’s gather our tools. It's like preparing for a baking project – you wouldn't start without your flour and sugar!
- A New Smoke Detector: Make sure it’s a hardwired model, and ideally, compatible with your existing wiring harness (check the manufacturer's info!).
- A Ladder: Or a sturdy step stool. Safety first!
- A Screwdriver: Probably a Philips head, maybe a flathead.
- Wire Nuts: Your new detector should come with these, but it's good to have a few spares.
- Needle-Nose Pliers (Optional): Handy for twisting wires.
- Voltage Tester (Recommended!): To double-check the power is off. Think of it as a little insurance policy.
The Big Moment: Let’s Get This Done!
Ready? Here’s the step-by-step, no-sweat guide.

1. Power Down! (Seriously, do this!)
This is the most important step. Go to your electrical panel (usually in the basement, garage, or a utility closet). Find the breaker that controls the circuit where your smoke detector is. It might be labeled "Smoke Detectors," "Lighting," or for a specific room. Flip that switch to the "OFF" position. If you're unsure, you can always flip the main breaker for a few minutes, though that's a bit overkill. Just make sure the power is definitely off. Use your voltage tester on the wires once you expose them to be absolutely certain.
It's like turning off the water main before you try to fix a leaky faucet – you absolutely don't want any surprises!
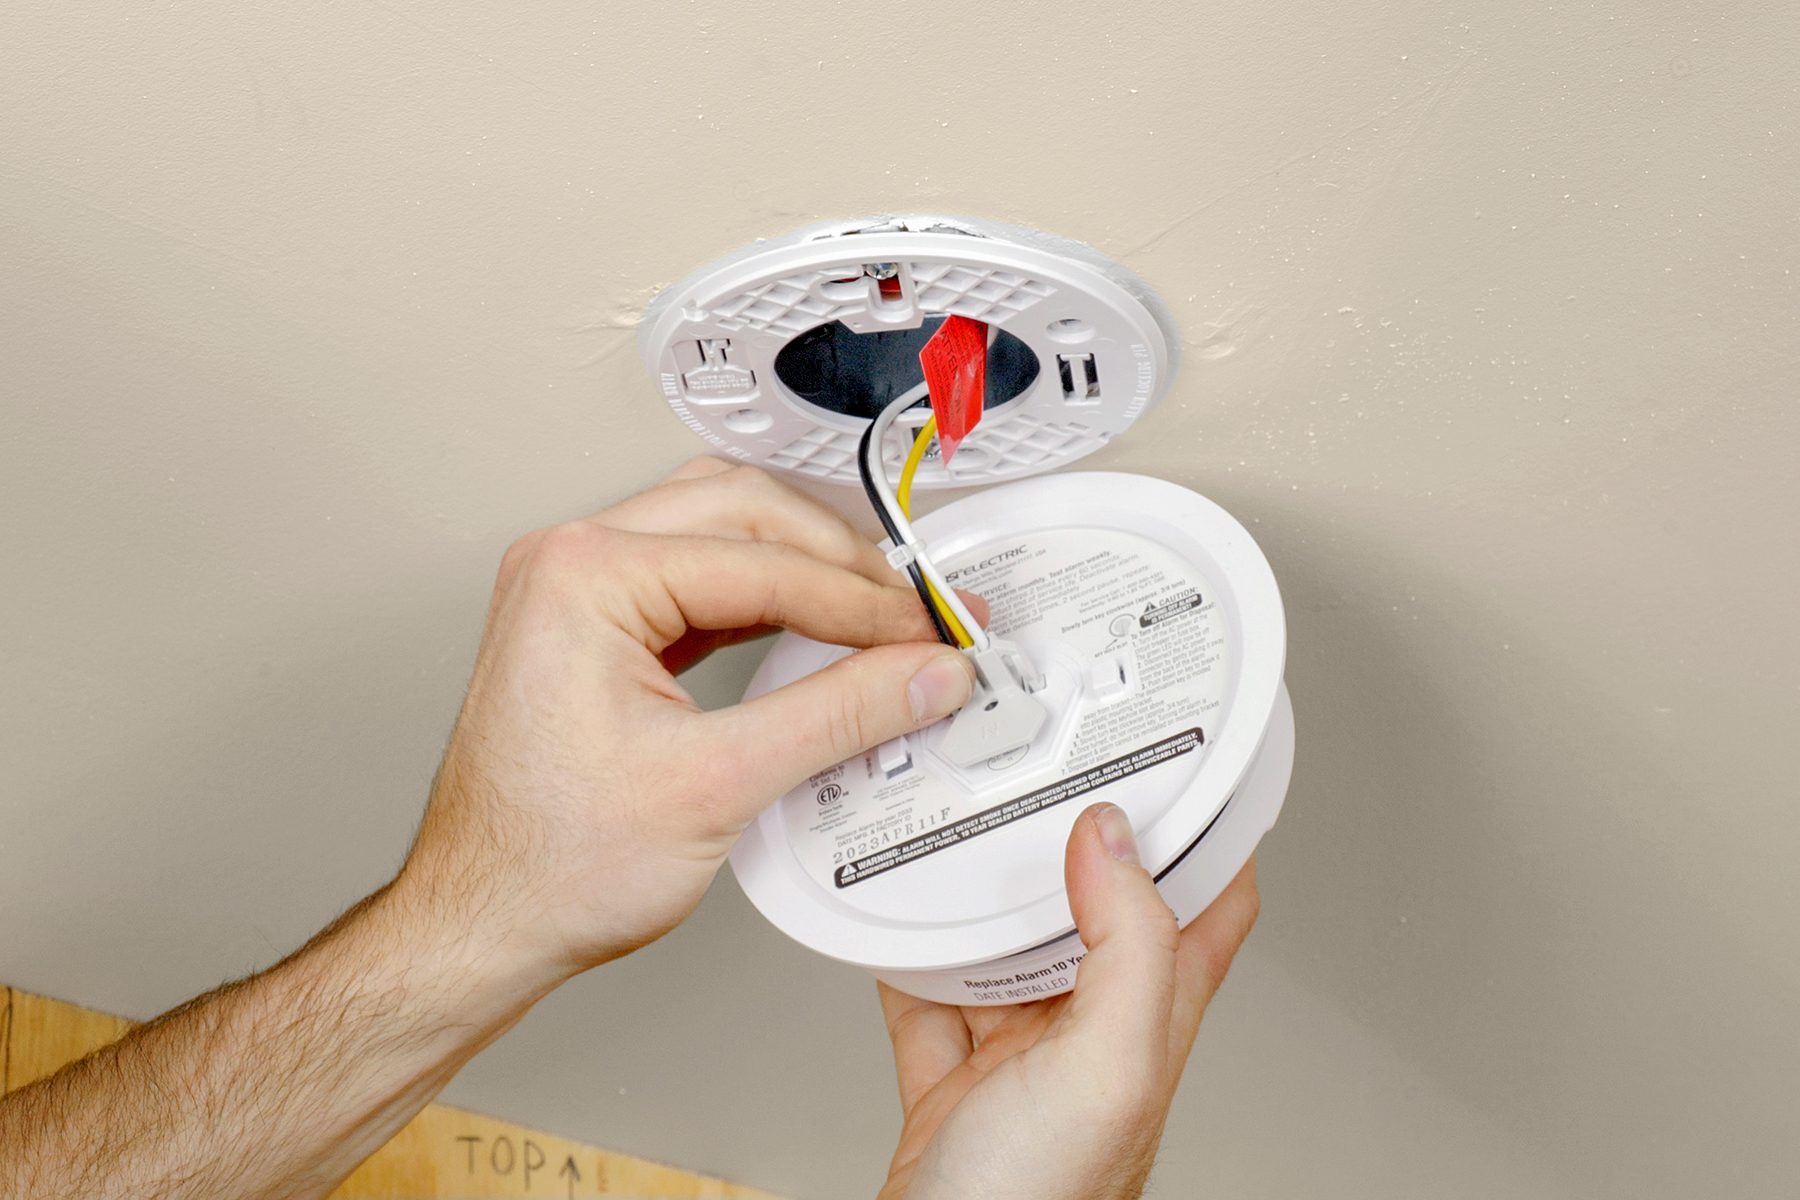
2. Disconnect the Old Guard
Carefully twist your old smoke detector counter-clockwise to detach it from its mounting bracket. Then, you'll see a wiring harness. This is usually a clip or connector. Disconnect that. You'll then have the wires exposed from your ceiling (usually black, white, and sometimes red or orange). Unscrew the wire nuts holding these wires together. Gently pull them apart.
3. Mount the New Bracket (If Needed)
Your new detector might come with a slightly different mounting bracket. If so, unscrew the old one and screw in the new one. It's usually just two screws.
4. Wiring Time! (It's Like Matching Socks)
This is where it looks tricky but really isn't. You'll see wires coming from your ceiling and wires coming from your new smoke detector's wiring harness.
- Black to Black: These are your "hot" wires.
- White to White: These are your "neutral" wires.
- Red/Orange to Red/Orange (if applicable): These are your interconnect wires, allowing your detectors to "talk" to each other.
- Green/Bare Copper: This is your ground wire. Connect it to the ground wire on the new detector's harness or to the metal electrical box if there's no harness ground.
Twist the corresponding wires together securely, then cap them with a wire nut. Give them a gentle tug to make sure they're firm. Think of it like connecting LEGO bricks – you want a good, tight fit.

5. Connect and Mount the New Detector
Once the wires are connected with wire nuts, plug the new detector's wiring harness into the back of the detector. Gently tuck the wires into the electrical box in the ceiling, then align your new smoke detector with its mounting bracket. Twist it clockwise until it clicks securely into place.
6. Power Up and Test!
Go back to your electrical panel and flip that breaker back to the "ON" position. Head back to your smoke detector. It might chirp or blink as it powers up. Once it's settled, press and hold the "Test" button. It should let out a loud, clear alarm. If you have interconnected detectors, the others should go off too! Voilà! You've done it!
A Little Pat on the Back
There you have it! You've successfully replaced a hardwired smoke detector. It might have seemed daunting at first, but with a little guidance, you saved yourself some money, boosted your home's safety, and probably silenced that annoying 3 AM chirp. You’re not just a homeowner; you’re a home hero, one safe step at a time!