How To Remove Honeywell Home Pro Series Thermostat
Alright, let's talk thermostats. Specifically, that Honeywell Home Pro Series sitting on your wall. Maybe you’re upgrading to something smart enough to make coffee, or perhaps you’re just trying to paint that wall it’s been hogging. Whatever the reason, the thought of removing it can feel a bit like performing surgery on a small, plastic alien. But fear not, intrepid DIYer! It’s actually pretty straightforward, more like wrestling a stubborn jar lid than defusing a bomb.
You’re probably looking at it right now, wondering if it requires a secret handshake or a special decoder ring. Relax. This isn't rocket science, and we're going to get through this together, without any shocking surprises (unless you count how easy it actually is).
Safety First, My Friend (or, Don't Be a Hero!)
Before we touch a single screw, button, or mysterious tab, we need to address the elephant in the room: electricity. Think of your thermostat as a tiny, low-voltage gatekeeper to your home’s comfort system. While the wires themselves aren't usually a full-on "fry an egg" situation, it's always, always best to turn off the power to your furnace or air handler.
Must Read
Head to your circuit breaker box. It's usually in the basement, garage, or a utility closet, looking like a forgotten metal chessboard. Find the breaker labeled "Furnace," "AC," or sometimes just "HVAC." If they’re all labeled "Mystery Box #1" and "What Even Is This?", you can generally turn off the main breaker, but then you'll be doing this in the dark – an added challenge for the brave! Once you’ve flipped that switch, confirm the power is off by trying to adjust your thermostat. If the screen goes blank or nothing happens, you're golden. Safety first, folks; we don't want any impromptu dance-offs with 120 volts.
The Great Detachment – Unmasking the Thermostat
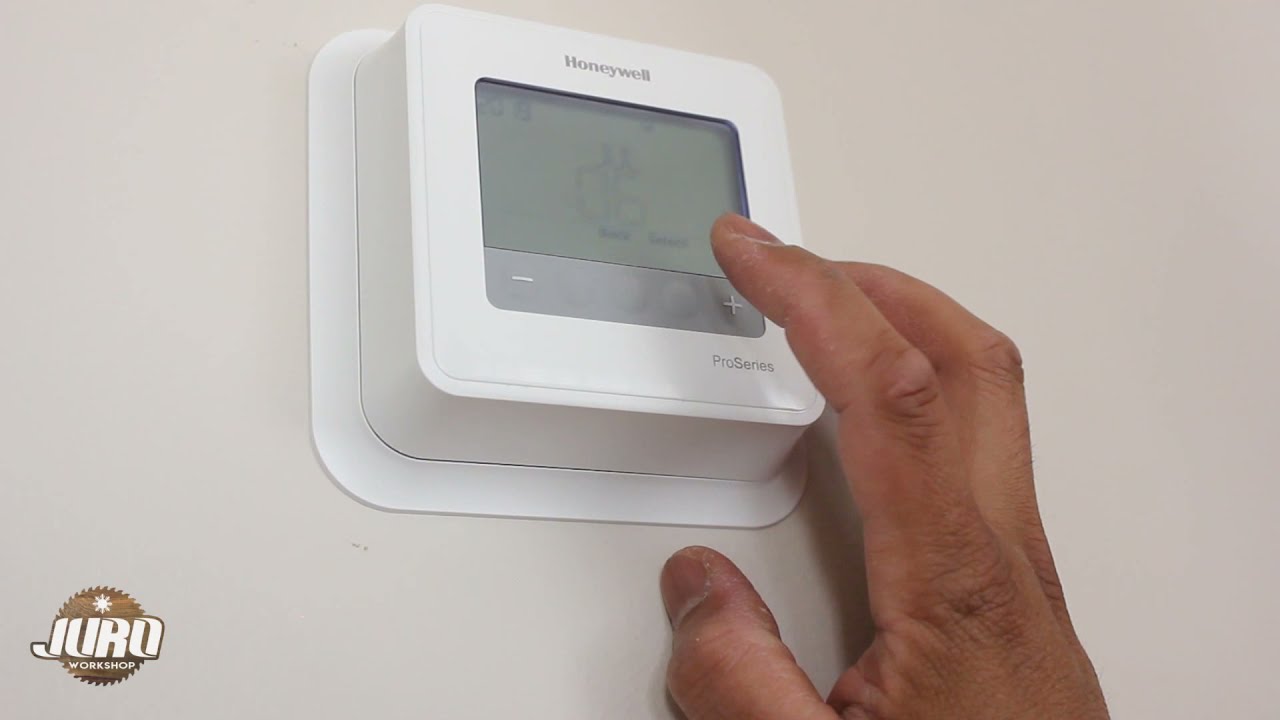
Now that we're safe from any accidental zaps, it’s time to tackle the main event: getting that thermostat off its perch. The Honeywell Home Pro Series models are generally designed to be user-friendly, which means they usually pop right off a mounting plate.

Most Pro Series thermostats have a small tab, a button, or sometimes even a hidden screw at the bottom or sides. This is often the trickiest part, like trying to find the secret button on a new gadget. Look carefully for a small release tab or button. Sometimes it’s a gentle push-in, other times it's a slide. You might need to gently pry a little with a flathead screwdriver at the very bottom, but always be gentle! You’re not trying to open a can of paint with a crowbar here.
Once you find that sweet spot, you should feel the main thermostat unit lift or pivot away from its backplate. It’ll usually hinge from the top or just slide straight up and off. That satisfying click or gentle resistance giving way is your cue. Victory! The main brain of your thermostat is now in your hand.

Operation Spaghetti Junction – Wires and Wonders
With the face of the thermostat removed, you’ll be greeted by a small bundle of colorful wires, looking suspiciously like a child's art project gone rogue. Don't panic. This isn't a bomb, and you're not going to set off any alarms.
Here’s the absolute, non-negotiable, most important tip for this step: take a picture (or three!) with your phone. Seriously, future you will thank present you. Snap photos of how each wire is connected to its corresponding terminal (labeled R, G, Y, W, etc.). This is your visual cheat sheet, your Rosetta Stone for the wiring labyrinth. Trust me, trying to remember "Was yellow on Y or G?" five minutes from now is a recipe for a headache.

Once you’ve documented your wiring like a forensic expert, it's time to disconnect. The wires are usually held in place by small screws or push-in terminals. If they're screws, use a small Phillips or flathead screwdriver to loosen each one, then gently pull the wire out. If they’re push-in terminals, there’s usually a small button or tab you press to release the wire. Keep track of which wire went where, even if you took pictures. You can use masking tape and a marker to label them as an extra precaution, like "R for Red," "Y for Yellow," etc. It sounds silly, but it saves so much grief.
The Bare Wall Reveal – Removing the Backplate
Now that the wires are dangling freely (and safely!), you'll just have the thermostat’s backplate screwed to the wall. This is usually held on by two or three small screws. Grab your trusty screwdriver again, and unscrew those last few fasteners.
Be careful when removing the screws; these little escape artists have a knack for vanishing into the deepest, darkest corners of your floor, destined to become relics for future archaeologists (or your vacuum cleaner). Once the screws are out, the backplate should lift right off. Congratulations! You've officially liberated your wall.
Victory Lap (and What's Next)
You’ve done it! Your Honeywell Home Pro Series thermostat is now a standalone unit, ready for its next adventure (or the recycling bin). You’ll probably see a small hole where the wires came through, and perhaps a slightly faded patch of paint where your thermostat once stood proudly.
Now you can patch, paint, or install your shiny new thermostat with the confidence of a seasoned pro. See? It wasn't so scary after all. Just a little common sense, a dash of patience, and a whole lot of knowing where to press (or photograph).