How To Remove Adt Motion Sensor From Wall
Ever gazed at an old ADT motion sensor on your wall and thought, "You know what? It's time for a change"? Whether you've upgraded your security, you're embracing a minimalist aesthetic, or you're simply ready to reclaim that prime wall real estate for a new piece of art, removing that little sentry doesn't have to be a daunting mission. Think of it as a small act of architectural liberation, a tiny triumph in your personal home improvement saga. Let's make this an easy-breezy DIY win!
First Things First: Power Down!
Before you channel your inner home improvement guru, let's talk safety. This isn't just about avoiding a jolt; it's about being a smart DIYer. For wired sensors, it’s always a good idea to locate your home's main circuit breaker panel (often in a basement, garage, or utility closet) and switch off the power to the circuit feeding your security system. If you’re unsure, a little detective work with a circuit tester can confirm. For wireless sensors, your main concern is just the internal battery. Easy peasy!
Wireless Wonders: The Battery-Powered Breakup
Most ADT motion sensors you'll encounter are the wireless type, which makes this whole process wonderfully straightforward. Think of it like unwrapping a present – you know there’s something interesting inside!
Must Read
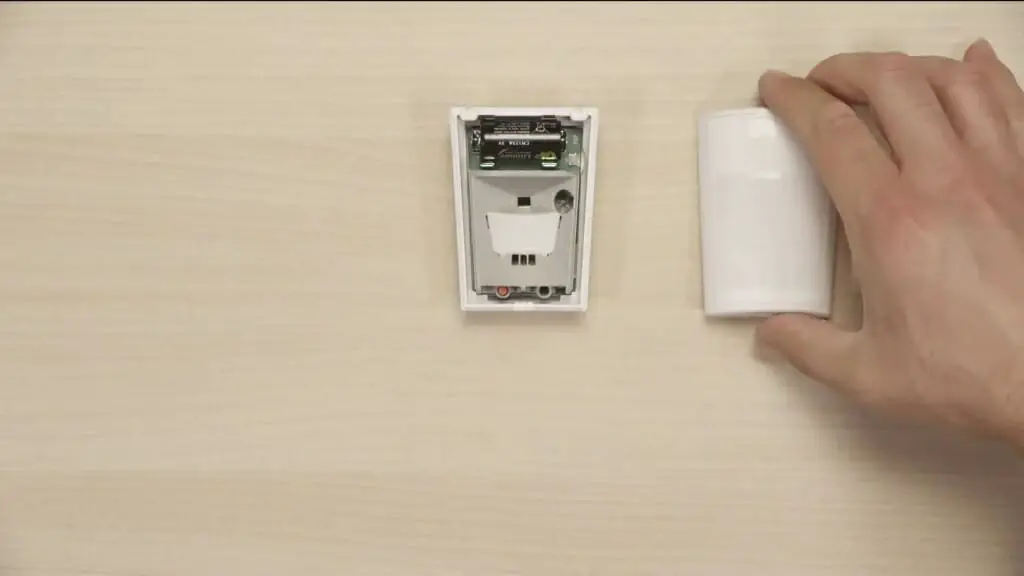
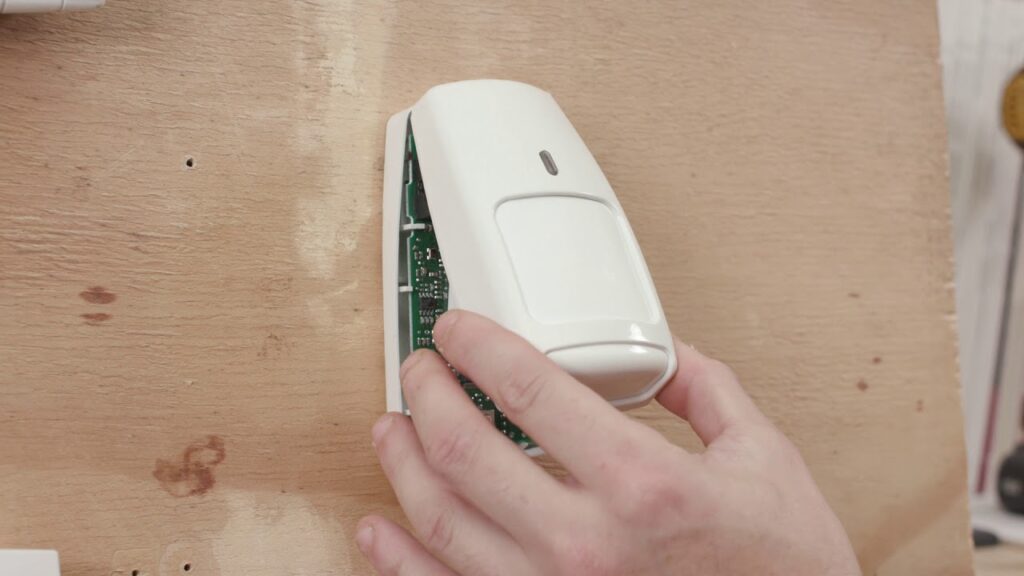
Step 1: Open Sesame! Look for a small tab or a screw at the bottom or side of the sensor. You might need a tiny flat-head screwdriver or even just a fingernail to gently pry open the casing. It’s usually designed to snap open. Don't force it; a gentle twist or push is usually all it takes. Once it’s open, you’ll see the inner workings, often including batteries.
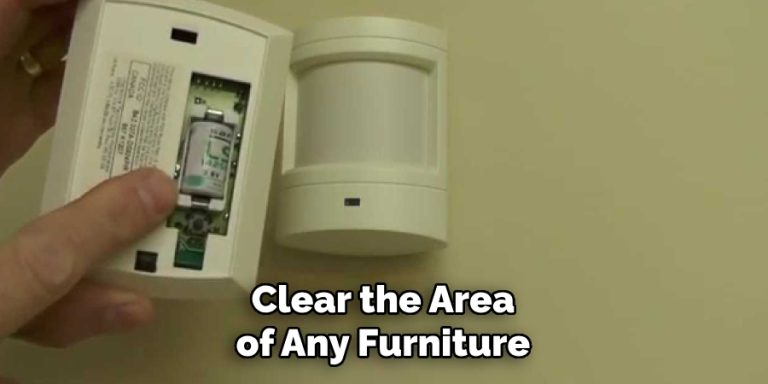
Step 2: Battery Banishing Locate the batteries (often AA or AAA, sometimes a specialized CR123A battery). Pop them out. This effectively "kills" the sensor, ensuring it won't send any more signals to your old system. Think of it as retiring a trusty old robot.
Step 3: Unscrew and Unhook With the cover off and batteries removed, you'll typically see a backplate screwed directly into the wall. Grab your screwdriver – often a Phillips head – and carefully remove the screws. Once the screws are out, the backplate should lift right off. Voila! You've successfully detached your wireless sentinel.
Wired Warriors: A Little More TLC
If your sensor has wires disappearing into the wall, you're dealing with a wired unit. Don't fret; it's still totally doable, just with a touch more finesse. Remember our power-down advice from earlier? This is where it truly shines.
Step 1: The Grand Reveal Just like with the wireless sensors, gently open the casing. You'll likely see a small terminal block with a few wires connected. These are usually low-voltage wires, but safety first!
Step 2: Disconnect with Care You’ll see small screws holding the wires in place. Use your tiny screwdriver to loosen these screws and gently pull the wires free. You might have two, four, or even six wires, usually thin and color-coded. There's no need to cut them unless you're absolutely sure you know what you're doing and the power is off.

Step 3: Insulate and Integrate Once disconnected, it's good practice to secure the loose ends of any wires that disappear into the wall. A bit of electrical tape wrapped around the bare wire ends or small wire nuts will keep them safe and sound behind the wall, preventing any accidental shorts down the line. Consider them retired, but still neatly tucked away.
Step 4: The Final Unscrew Just like with the wireless version, remove the screws holding the backplate to the wall. The entire assembly should now come free. Congratulations, you've liberated your wall!
The Patch-Up Party!
Now that your wall is free of its technological burden, you'll likely have a few screw holes to contend with. This is your chance to make the wall truly yours again! A little spackle, a quick sand, and a touch of matching paint will make those holes disappear like magic. It's the equivalent of giving your wall a fresh canvas for its next artistic endeavor – perhaps a new gallery wall, a floating shelf, or simply the serene beauty of an unblemished surface.
Why Bother? The Aesthetic Payoff!
Removing that old sensor isn't just about a practical task; it's about reclaiming your space. It's about decluttering your visual landscape, much like Marie Kondo taught us to declutter our drawers. That small, often unnoticed device, once removed, leaves room for a cleaner line, a more personal touch, or simply the satisfaction of having tackled a little home project. It’s a small victory that contributes to the overall peace and aesthetic pleasure of your living environment.
Life is full of little projects, and each completed one brings a sense of accomplishment and control over our surroundings. Whether it's removing an old security sensor, hanging a new picture, or simply decluttering a corner, these small acts of intentionality contribute to a more harmonious and personalized home. So, next time you spot something that's just "there" but no longer serves a purpose, remember: a little effort can go a long way in making your space truly reflect you.