How To Make Your Own Solar Panel
Ever looked at the sun blazing down and thought, "Gee, I wish I could steal some of that energy?" Well, my friend, you totally can! And no, I'm not talking about strapping a bunch of expensive, giant panels to your roof just yet. We're going to dive into something much more fun and hands-on: making your very own, small-scale solar panel right at home!
Think of it! Powering a little LED light, charging your phone on a sunny day, or just having the ultimate brag-worthy DIY project. It's like being a wizard, but with fewer robes and more solder. Plus, it's a fantastic way to understand how green energy works. Ready to get your hands a little dirty (and maybe a little shiny from solder)? Let's go!
What Even Is This Magical Solar Panel We're Building?
Before we grab our tools, let's set some expectations. We're not building a beast that'll run your fridge. This is more about creating a fun, educational, and genuinely useful small power source. It's perfect for charging gadgets, powering small outdoor lights, or just showing off your mad science skills at a barbecue. Think of it as your sun-powered sidekick!
Must Read
Your Super Speedy Shopping List (Don't Worry, It's Not Long!)
Alright, time for the ingredients! Don't fret, most of this stuff is pretty easy to find online or at your local hardware store.
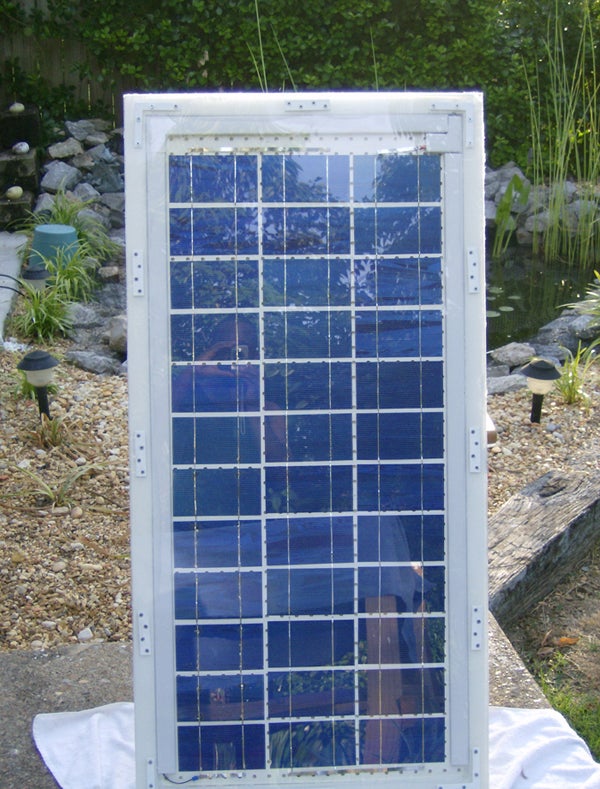
- Solar Cells: These are the stars of the show! You'll want to buy individual photovoltaic cells, usually monocrystalline or polycrystalline. Look for "broken" or "blemished" cells online – they're way cheaper and still work great for DIY projects. Aim for around 30-40 cells, depending on the power you want. Pro tip: Buy pre-tabbed cells if you can; it saves a ton of fiddly soldering!
- A Sturdy Backing/Substrate: Think a sheet of Plexiglas, Lexan, or even a nice piece of sealed wood. This is where your cells will hang out.
- Soldering Iron and Solder: Your new best friends! If you've never soldered before, watch a quick YouTube tutorial. It's easier than it looks, promise!
- Bus Wire and Tab Wire: These are super thin, flat copper wires used to connect your solar cells.
- Silicone Sealant or Epoxy Resin: To waterproof your masterpiece. Because rain is rude to electronics.
- A Multimeter: Essential for testing your connections and seeing your hard work pay off. It's like a report card for your panel!
- Blocking Diode (e.g., Schottky diode): This little hero prevents power from flowing back into your panel at night, draining your battery. Crucial!
- Output Wires: For connecting to whatever you want to power.
- An Optional Frame: Wood or aluminum, just to give your panel a nice, finished look and extra protection.
Let's Get Building! Your Step-by-Step Solar Safari
Step 1: Handle Your Cells with Care (They're Delicate!)
Solar cells are a bit like fancy potato chips – super fragile. Unpack them gently. Seriously, treat them like newborn kittens made of silicon. Lay them out on a clean, flat surface.
Step 2: Solder Away! Connecting Your Cells in Series
This is where the magic (and a bit of heat) happens. You'll be connecting your cells in a "series" – negative to positive, positive to negative, like a little solar cell train. This increases your voltage. If you have pre-tabbed cells, you're just connecting the tabs. If not, carefully solder the tab wire to the front of one cell and the bus wire to the back of the next. Take your time!
Little joke: If your first few solder joints look like tiny alien blobs, you're doing it right! Practice makes perfect.
Step 3: Lay 'Em Out on Your Backing
Once you have a string (or several strings) of connected cells, carefully place them on your chosen backing. Think about your final layout. Make sure there's a tiny gap between each cell to allow for expansion and contraction (science!). You can use a tiny dab of silicone or hot glue on the back of each cell to temporarily hold them in place.
Step 4: Connect Your Strings in Parallel
If you made multiple strings of cells, now you'll connect these strings "in parallel." This increases your amperage (current) while keeping the voltage of one string. You'll use bus wire to connect all the positive ends of your strings together, and all the negative ends together. This creates your main positive and negative output.
Step 5: The All-Important Blocking Diode
Remember that blocking diode? Solder it onto your positive output wire. Its job is to ensure electricity only flows out of your panel, not back in when it's dark. It's like a one-way street for electrons!

Step 6: Weatherproof Your Baby!
Now, to protect your hard work from Mother Nature's moods. Apply a generous, even layer of your silicone sealant or epoxy resin over the entire surface of your cells and connections. Make sure there are no gaps for water to sneak in. This is like tucking your panel into a cozy, waterproof blanket.
Step 7: Frame It Up (Optional, But Recommended!)
Once the sealant is dry, you can attach your optional frame. Not only does it make your panel look pro, but it also adds another layer of protection. Plus, it gives you something sturdy to mount it with!
Voila! Test Your Masterpiece!
Take your multimeter, set it to measure DC voltage, and touch the probes to your panel's positive and negative output wires. Head outside on a sunny day! You should see a voltage reading. Now, switch to amperage (current) and watch those numbers climb. You just made electricity from sunshine! How cool is that?
What Can Your Sunny Creation Power?
Your DIY panel is perfect for charging a small USB power bank, running a string of outdoor LED fairy lights, keeping a small fan going, or even powering a tiny water pump for a bird bath. It might not run your entire house, but it's a fantastic, tangible connection to sustainable energy.
So, there you have it! You've taken silicon and sunshine and turned them into something useful and amazing. You're not just a DIY enthusiast; you're a mini-power plant operator, a sun-harnessing hero! Every time you see that little light glow or your phone charge up, give yourself a pat on the back. You're part of the solar revolution, one handmade panel at a time. Go forth and shine!