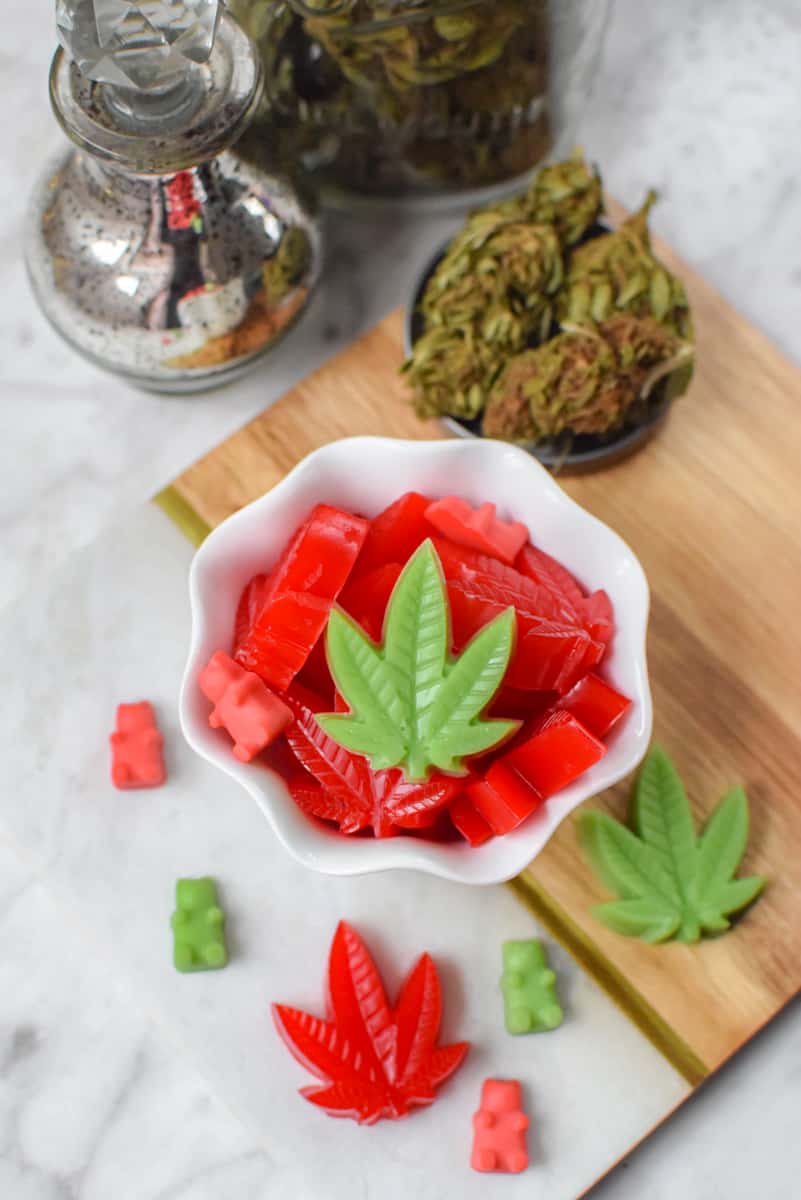
How To Make Weed Gummies From Oil
Alright, gather 'round, fellow connoisseurs of chill! Let's talk weed gummies. Forget that shady gas station stuff that tastes like regret mixed with chemicals. We're making the real deal, the kind that sends you gently floating on a cloud shaped like a gummy bear. And the best part? We're doing it with oil – because who needs flower when you've got liquid gold, am I right?
Now, I know what you're thinking: "Gummies? From oil? Sounds like some high-tech Willy Wonka stuff!" Relax, it's easier than explaining quantum physics to your grandma (though, honestly, both are equally baffling). Just follow my lead, and you'll be nomming on homemade happiness in no time.
Ingredients: The Holy Trinity of Gummy Goodness
First, the shopping list! This ain't rocket science, but getting the right stuff is crucial. Trust me, I've tried to shortcut this process. Once. Ended up with something that resembled rubber cement infused with sadness.
Must Read
- Your precious weed oil: This is the star of the show! Make sure you know the potency. We don't want anyone accidentally launching themselves into orbit. Start slow, my friends.
- Jell-O: Yep, the wiggly jiggly stuff. It's the foundation of our gummy empire. Flavors are your call! I'm partial to cherry because it hides the… herbal essence… quite nicely.
- Gelatin: The unsung hero. It's what gives our gummies that perfect chew. Knox brand works wonders. Don’t skimp, unless you like your gummies resembling flavored soup.
- Water: Hydration is key, even in gummy form! Distilled is best, but tap water will do in a pinch. Just don’t use sparkling water. Unless you're aiming for carbonated chaos.
- Optional: Corn syrup (for extra chewiness – but also extra sugar), citric acid (for that sour kick), food coloring (if you're feeling artistic), molds (because who wants misshapen blobs?).
Gear Up: Tools of the Trade
Okay, you've got your ingredients. Now, let's arm ourselves with the necessary equipment. It's like preparing for a culinary battle… against boredom, and for deliciousness!
- Saucepan: For melting and mixing. A non-stick one is your best friend. Trust me, cleaning gummy residue is a special kind of hell.
- Whisk: To banish clumps and ensure a smooth, dreamy concoction.
- Dropper or Syringe: For precise oil measurements. Unless you have an eagle eye and a steady hand of a surgeon.
- Molds: Silicone molds are the way to go. They release the gummies easily and come in all sorts of fun shapes – bears, worms, dinosaurs… the possibilities are endless!
- Something to transfer the mixture into the molds: A dropper, turkey baster, anything with a spout. You do not want to be pouring scalding hot gummy mixture with a ladle. That’s a trip to the ER waiting to happen.
Let's Get Cooking (But Not Too High… Yet)
Alright, deep breaths. It's time to turn on the stove and unleash your inner gummy guru. Remember to start with small batches. Experimentation is key to perfecting your recipe, and it's better to mess up a small batch than a gummy apocalypse.

- Bloom the gelatin: In a bowl, mix the unflavored gelatin with half of the cold water. Let it sit for about 5-10 minutes until it gets all jiggly. This is like waking up the gelatin from its slumber.
- Combine ingredients: In your saucepan, combine the flavored Jell-O, the rest of the water, and (optional) corn syrup. Heat over low heat, stirring constantly until everything is dissolved. You don’t want it to boil, think gentle sauna not volcanic eruption.
- Add the bloomed gelatin: Once the Jell-O mixture is smooth, add the bloomed gelatin and continue stirring until it's fully incorporated. No lumps allowed!
- Introduce the magic: This is the crucial step! Remove the saucepan from the heat and let it cool slightly (a minute or two). Carefully add your weed oil, using a dropper or syringe for accurate measurement. Stir gently but thoroughly to ensure the oil is evenly distributed. Remember, potency varies, so start with a small amount and adjust accordingly in future batches. Err on the side of caution, unless you want your friends calling you a "master of the cosmos" for the next 12 hours.
- Mold it, baby!: Carefully pour or pipe the mixture into your molds. This can get a little messy, so work quickly and efficiently. A steady hand helps here!
- Chill out: Place the filled molds in the refrigerator for at least 2-3 hours, or preferably overnight, to allow the gummies to set completely. Patience is a virtue, my friends.
- Unleash the gummies: Once the gummies are firm, gently pop them out of the molds. If they're being stubborn, try loosening the edges with a toothpick.
- Optional: Sprinkle with citric acid for a sour kick, or coat with sugar for extra sweetness.
Storage and Dosage: The Responsible Stoner's Guide
Now that you're swimming in a sea of homemade gummies, let's talk storage and dosage. Remember, these aren't your average candies. They pack a punch, so treat them with respect.
- Storage: Store your gummies in an airtight container in the refrigerator. This will keep them fresh and prevent them from melting into a sticky mess.
- Dosage: This is crucial! Start with one gummy and wait at least an hour or two before taking another. Everyone reacts differently to edibles, so it's important to gauge your tolerance. Remember, you can always take more, but you can't untake what you've already taken. Unless you have a time machine. Which, if you do, can I borrow it?
And there you have it! You've successfully created your own batch of weed gummies from oil. Now sit back, relax, and enjoy the fruits (or should I say, gummies?) of your labor. Just remember to be responsible, have fun, and don't blame me if you accidentally start a gummy bear uprising.