How To Make Press On Nails At Home

Ever noticed the perfectly manicured hands flashing across your social media feed? Chances are, many of those flawless sets aren't from a salon, but a clever creation of the wearer themselves! Press-on nails have exploded in popularity, offering a quick, affordable, and endlessly customizable way to express yourself. But beyond just being trendy, crafting your own press-ons opens up a world of creative possibilities.
So, why jump on the DIY press-on bandwagon? The benefits are numerous! For artists, it's a miniature canvas to experiment with colors, textures, and intricate designs without committing to a long-term look. Hobbyists will love the challenge of mastering new techniques and the satisfaction of creating something beautiful and unique. Even casual learners can find joy in the simplicity and speed of press-on application, allowing them to switch up their style on a whim.
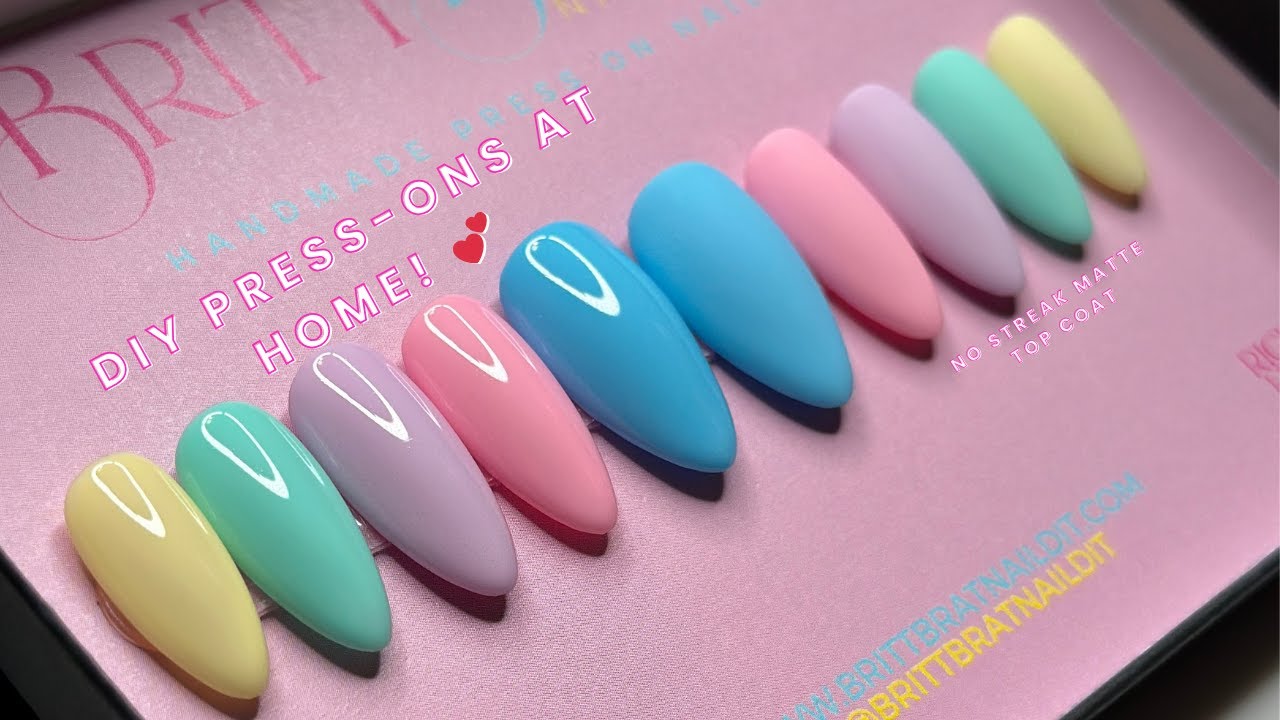
The creative options are truly limitless. Imagine sporting a set of galaxy-themed nails with shimmering glitter and swirling nebulas, or a collection of miniature landscapes painted with incredible detail. Perhaps you're feeling floral? Try pressing dried flowers onto the nails for a natural, whimsical look. For the minimalist, a simple set of ombré nails in your favorite colors can add a touch of elegance. And don't forget themed nails! Think spooky designs for Halloween, festive patterns for the holidays, or even nails inspired by your favorite characters or books. The only limit is your imagination!
Must Read
Ready to give it a try at home? Here are a few tips to get you started:
- Gather your supplies: You'll need blank press-on nails, nail glue or adhesive tabs, nail polish (gel or regular), top coat, and any decorative elements you desire (glitter, gems, stickers, etc.). Don't forget essential tools like nail files, buffers, and cuticle pushers.
- Prep is key: Gently file and buff your natural nails for better adhesion. Push back your cuticles for a clean look.
- Design and decorate: Now comes the fun part! Paint, decorate, and embellish your press-on nails to your heart's content. Remember to allow each layer to dry completely before adding the next.
- Apply with care: Apply a small amount of glue to the back of the press-on nail and carefully press it onto your natural nail, holding it firmly for a few seconds.
- Finishing touches: File and shape the press-on nails as needed for a perfect fit. Apply a top coat for added shine and protection.
Experiment with different techniques, practice your designs, and don't be afraid to make mistakes. The best part about press-ons is that they're easily removable, allowing you to try again and again until you achieve the perfect look. The process of creating your own press-on nails is not just about achieving a beautiful manicure; it's about self-expression, creativity, and the pure joy of making something with your own hands. So, grab your supplies, unleash your inner artist, and get ready to nail your next look!