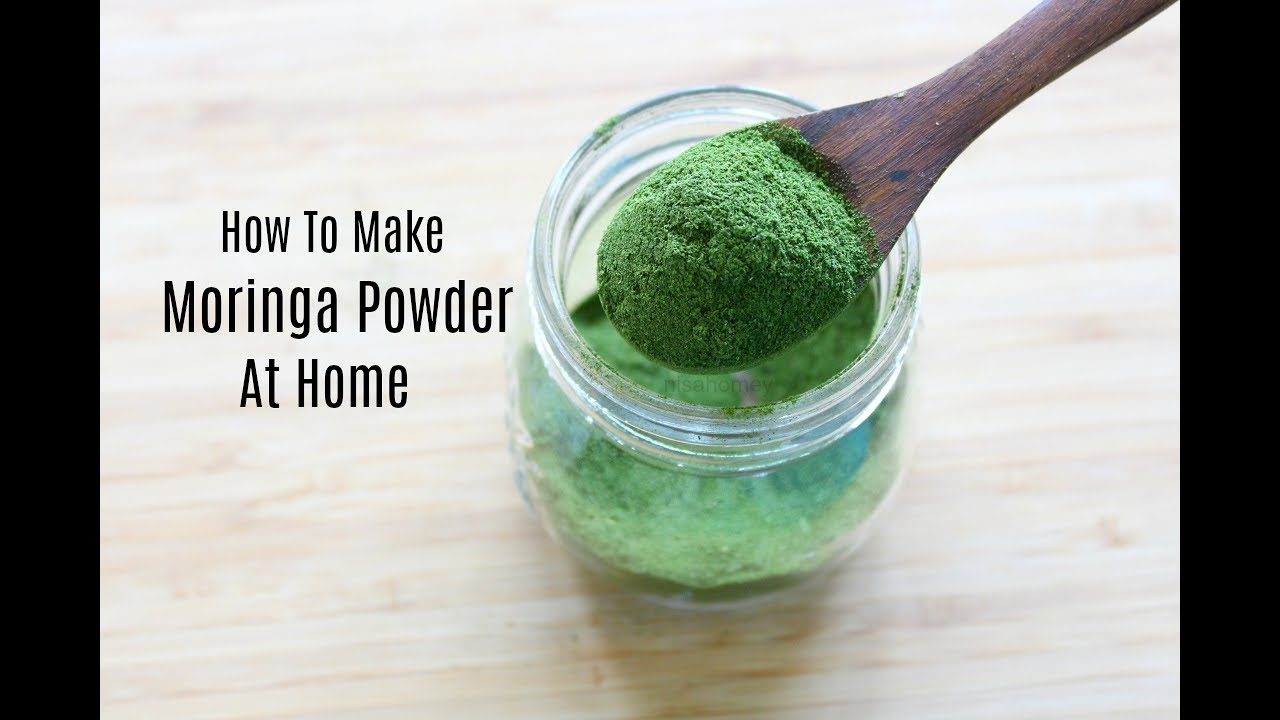
How To Make Moringa Leaf Powder
Okay, so picture this: I'm at the farmer's market, overwhelmed by kale and locally-sourced kombucha. As usual. But then, BAM! This vendor with the brightest smile is practically glowing while peddling...moringa. I'd heard whispers of its magical properties, but honestly, I mostly associated it with that one super-healthy friend who always seems to have boundless energy. You know the one. Anyway, turns out, moringa is a pretty big deal, and making it into a powder is surprisingly easy. So, naturally, I had to try it. And now, I'm sharing the secrets with you!
The main idea? We're diving into how to make your very own moringa leaf powder. Forget overpriced health food store versions (though, no judgement if you're into that!). This is about getting your hands dirty, knowing exactly what you're putting into your body, and feeling like a total domestic goddess/god in the process. Plus, it's kinda fun! Who doesn't love a good DIY project that involves superfoods?
Gather Your Supplies: The Moringa Mission Essentials
Alright, let's assemble our team. You'll need just a few key players for this moringa adventure:
Must Read
- Fresh Moringa Leaves: This is kind of crucial. Look for bright green, healthy leaves. If you can't grow your own (which is a project for another day!), farmer's markets are your best bet. Or, you know, that friend who's already obsessed with moringa? Maybe they'll share.
- Water: For washing those precious leaves. Filtered is always a good idea. (Are we bougie now?)
- Clean Towels or Paper Towels: For drying. Because soggy leaves make for sad powder.
- A Tray or Screen: Something to spread the leaves on for drying. Think baking sheet, wire rack, mosquito screen (if you're feeling adventurous...and clean it first!).
- A Blender, Food Processor, or Mortar and Pestle: To turn those dried leaves into powder. I prefer a blender for speed, but a mortar and pestle is surprisingly therapeutic.
- Airtight Container: For storing your finished powder. Keep it away from light and moisture!
The Drying Game: Patience is a Virtue (and a Necessity)
This is where things get real. And also where patience becomes your best friend. Properly drying your moringa leaves is essential for preventing mold and ensuring a long shelf life. Nobody wants moldy superfood powder. Yuck.
- Wash the leaves: Gently rinse your moringa leaves under cool, running water. Remove any dirt, debris, or unwanted hitchhikers (bugs, mostly).
- Dry the leaves: Pat the leaves dry with a clean towel or paper towel. Get rid of as much excess water as possible.
- Spread 'em out: Arrange the leaves in a single layer on your tray or screen. Make sure they're not overlapping to allow for proper air circulation.
Now, for the drying method. You have a few options:

- Air Drying: The most natural and energy-efficient method. Place your tray in a well-ventilated, shady spot. This can take several days, depending on the humidity. Check them regularly and make sure no mold is growing!
- Oven Drying: A faster option. Set your oven to the lowest possible temperature (around 170°F or 77°C) and spread the leaves on a baking sheet. Keep the oven door slightly ajar to allow moisture to escape. Check them every 30 minutes or so to prevent burning. This should take a few hours.
- Dehydrator: If you're serious about your DIY food projects, a dehydrator is a great investment. Follow the manufacturer's instructions for drying herbs or leafy greens.
The leaves are dry when they are brittle and crumble easily. They should snap when you bend them, not bend and fold. Trust me, you'll know. If they're still flexible, they need more time!
Powder Power: Transforming Leaves into Magic Dust
Okay, the leaves are dry. Now for the fun part: turning them into powder! Grab your blender, food processor, or mortar and pestle.

- Blend, Process, or Pound: Add the dried moringa leaves to your chosen device. Process or pound until you have a fine, green powder. If using a blender or food processor, pulse it in short bursts to prevent overheating.
- Sift (Optional): If you want a super-fine powder, sift it through a fine-mesh sieve. Return any larger pieces to the blender/processor for another round.
Storage Solutions: Keeping Your Powder Fresh
Transfer your finished moringa leaf powder to an airtight container. A glass jar or a resealable plastic bag works well. Store it in a cool, dark, and dry place. Away from sunlight! Proper storage will help your powder retain its potency and flavor for several months. I usually write the date on the container so I know when I made it!
And that's it! You've officially made your own moringa leaf powder. Now go forth and sprinkle it on everything! Smoothies, soups, salads... the possibilities are endless. Just remember: a little goes a long way. Moringa has a distinct flavor, so start with a small amount and adjust to your taste. Congratulations, you're now a moringa master!

