How To Make Chewbacca Bandolier
Alright, settle in, grab a blue milk (or whatever space beverage you prefer), because we're about to embark on a journey even more epic than dodging Imperial cruisers: making your own Chewbacca bandolier! Yes, you heard that right. Prepare to unleash your inner Wookiee fashion designer.
Now, I know what you're thinking: "Isn't that, like, really hard?" Well, let me tell you a secret. While it looks like it requires advanced astrophysics and a Wookiee language proficiency, it's actually surprisingly doable. Especially if you're okay with, shall we say, interpretations of the real thing.
What You'll Need: The Tools of a Wookiee Artisan (Mostly)
Okay, gather 'round, aspiring fur-ball friend. Here’s your shopping list for galactic glory:
Must Read
- A Really Long Belt: This is the backbone of your operation. Think wide, think sturdy. Think...leather-ish. Or, you know, a really convincing faux leather. Bonus points if it’s brown and already a little worn. Makes it look like you’ve been smuggling spice across the galaxy.
- Smaller Belts or Straps: We're talking several here. Different widths are your friend. Scour thrift stores, online marketplaces, maybe even...your dad's closet (with permission, of course! We don't want any intergalactic family feuds).
- Metal Buckles and Fasteners: Think buckles, D-rings, rivets, snaps... anything that makes things look securely attached. Again, a rummage through a craft store or hardware store is your best bet. Pro-tip: rusty or aged-looking ones add authenticity.
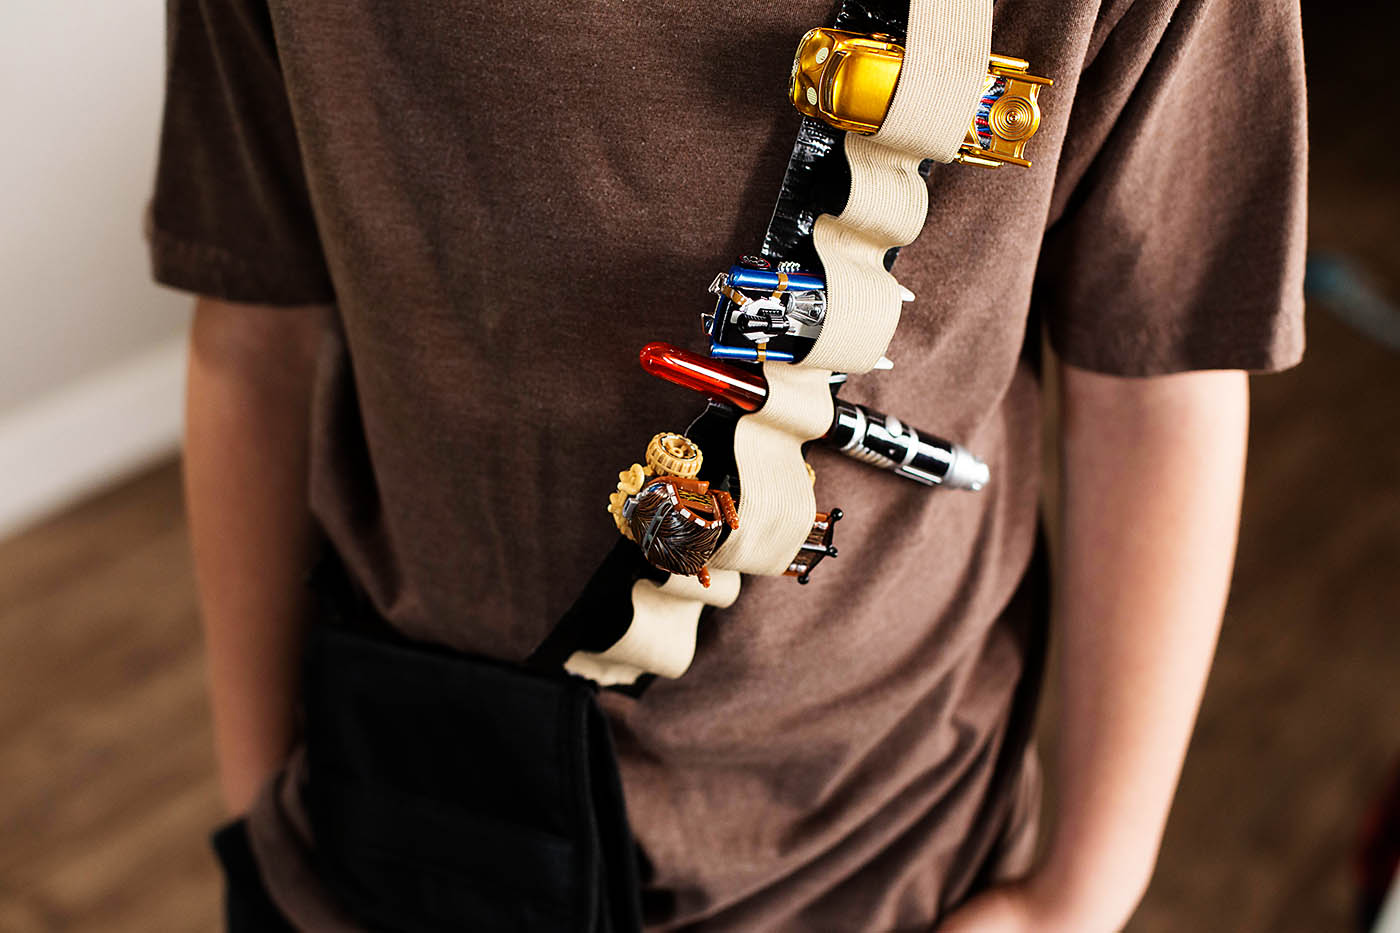
- Something Resembling Energy Cells/Power Packs: This is where you get creative! Think plastic tubes, painted PVC pipes, even those weird cylindrical containers your supplements come in. Spray paint is your friend! We're aiming for "functional," not necessarily actually functional. Unless you are building a blaster, in which case, please send me pictures (and safety instructions!).
- Paint: Brown, silver, black, maybe a touch of red or orange for that "used" look. Weathering is key!
- Glue (Strong Stuff): Leather glue, epoxy, even a high-temp hot glue gun will work. Just make sure it can handle the pressure of a Wookiee stomping around in your basement.
- Tools: A measuring tape, scissors, a hole punch, a screwdriver, maybe even a power drill if you're feeling fancy. And a healthy dose of patience!
Construction Time: May the Force (and Your Patience) Be With You
Alright, let's get down to the nitty-gritty. This is where the magic happens (or, more likely, where you glue your fingers together. But hey, that's part of the fun!).
- Measure Twice, Cut Once: This is an old saying, but it's especially important here. Measure your torso, decide where you want the bandolier to sit, and cut your main belt to size. Remember, you can always cut off more, but you can't add it back! (Unless you're really good with a sewing machine, in which case, you're already way ahead of me.)
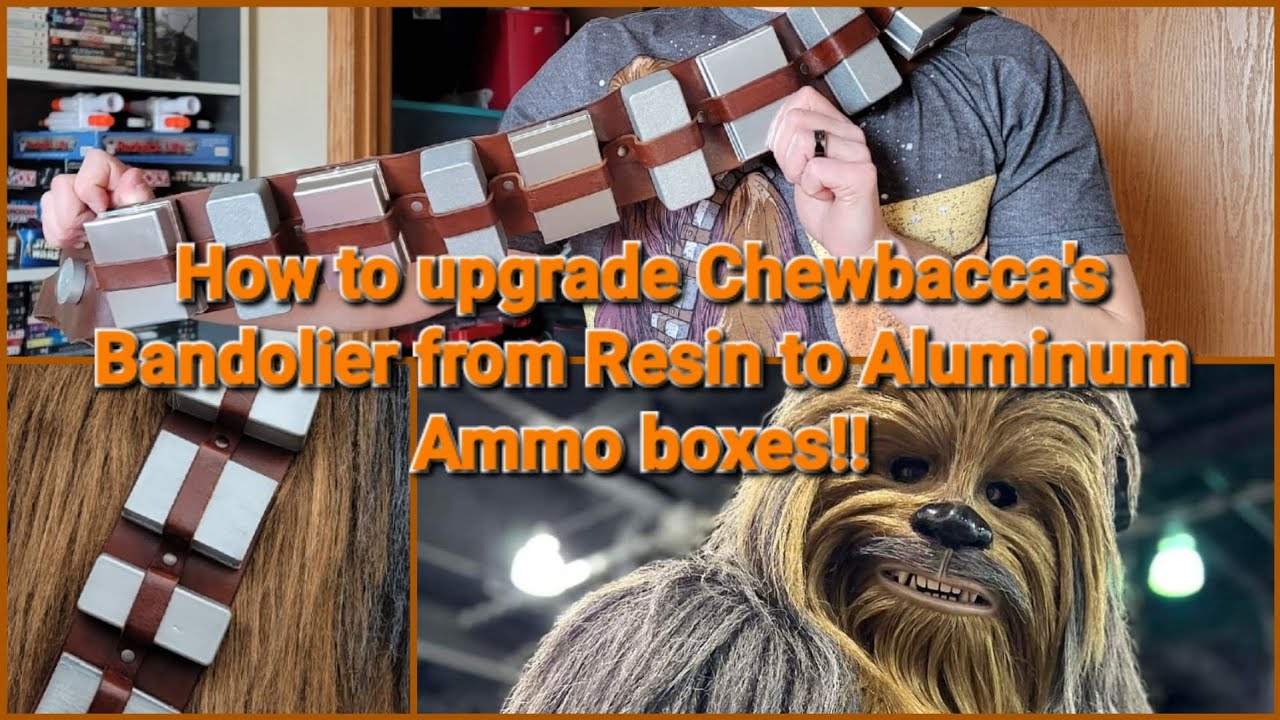
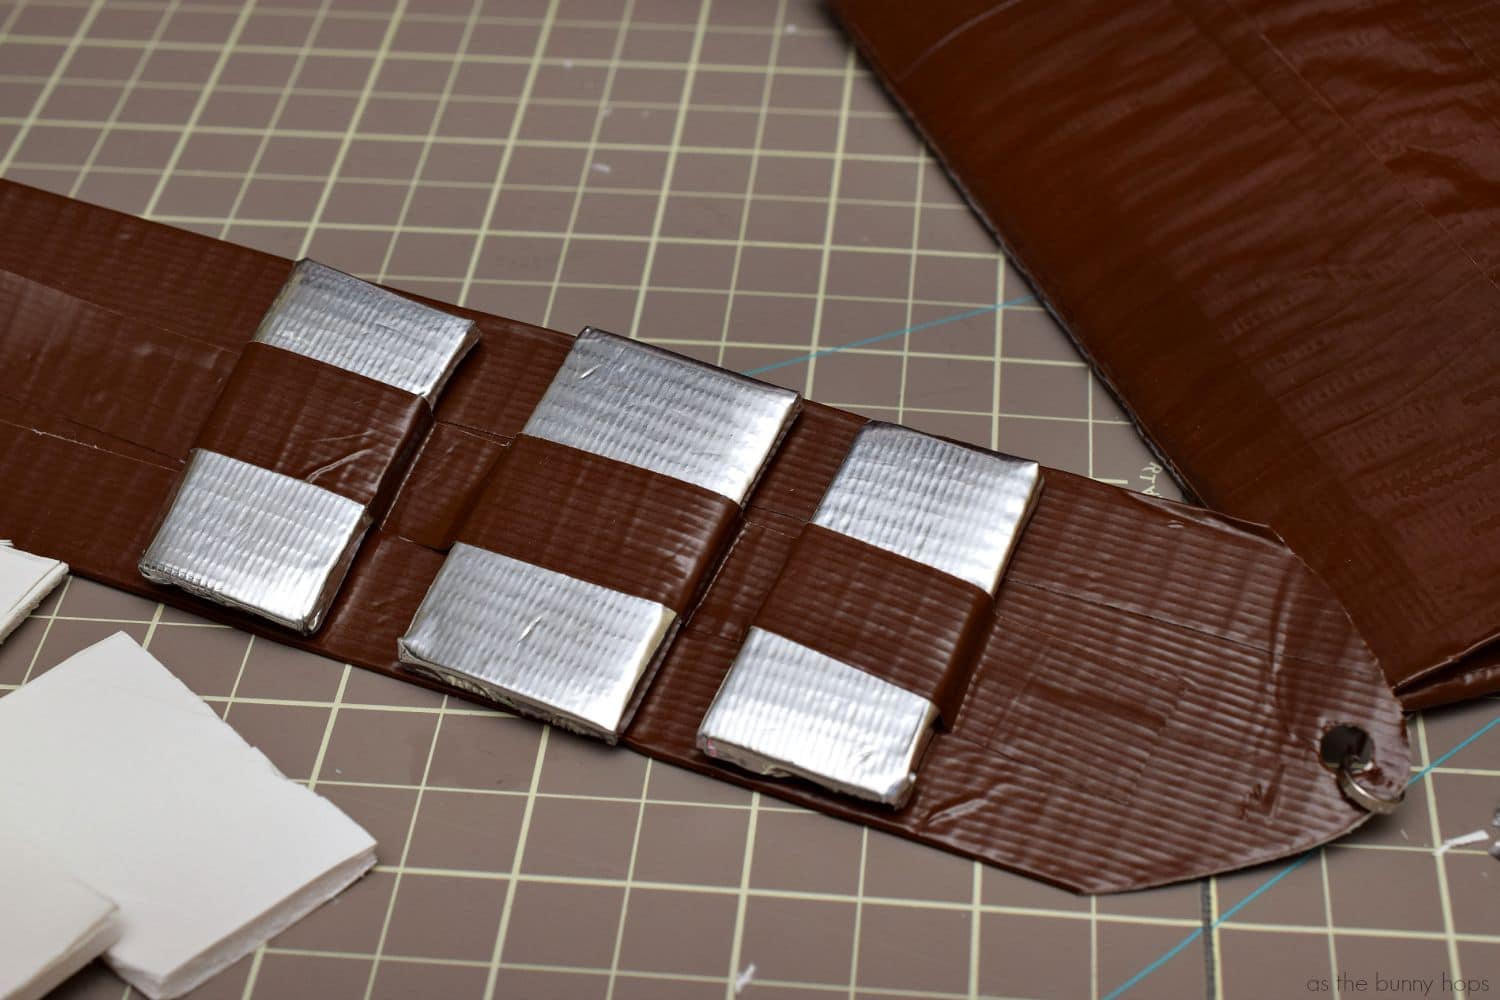
- Attach the Smaller Straps: This is where your smaller belts and straps come in. Arrange them crisscrossing over the main belt, creating the iconic Chewbacca bandolier pattern. This is where you can get creative and add your own personal flair. Remember, no two bandoliers are exactly alike! (Except maybe the ones mass-produced in factories on some distant planet.)
- Secure Those Straps: Use your glue, rivets, buckles, whatever you've got, to securely attach the straps to the main belt. Make sure they're nice and snug. You don't want your energy cells falling out mid-con.
- Attach the "Energy Cells": This is where your painted tubes and containers come in. Attach them to the smaller straps, spacing them evenly along the bandolier. Use strong glue! You want these things to look like they belong there, not like they're about to fall off at any moment.
- Weathering Time! This is the fun part! Use your paint to add weathering effects to the bandolier. A little dry brushing with silver or black can make it look like it's been through a few battles. Don't be afraid to get messy!
- Final Touches: Add any final details you want. Maybe some extra buckles, some bits of metal, maybe even a small Porg plushie (if you're feeling particularly whimsical).
Congratulations! You Are Now a Wookiee Fashion Icon (Probably)
There you have it! Your very own Chewbacca bandolier. Now, go forth and roar! Just try not to rip anyone's arms off in celebration. Unless they really deserve it. (Just kidding... mostly.)
Important Note: This bandolier is for decorative purposes only. It will not actually power a bowcaster. Please do not attempt to hunt Imperial stormtroopers with it. Unless, of course, you are a Wookiee. In which case, carry on.
Remember, the most important thing is to have fun! This is your chance to get creative and build something unique. So, embrace your inner Wookiee, grab your tools, and get building! And may the Force (and a good supply of glue) be with you!