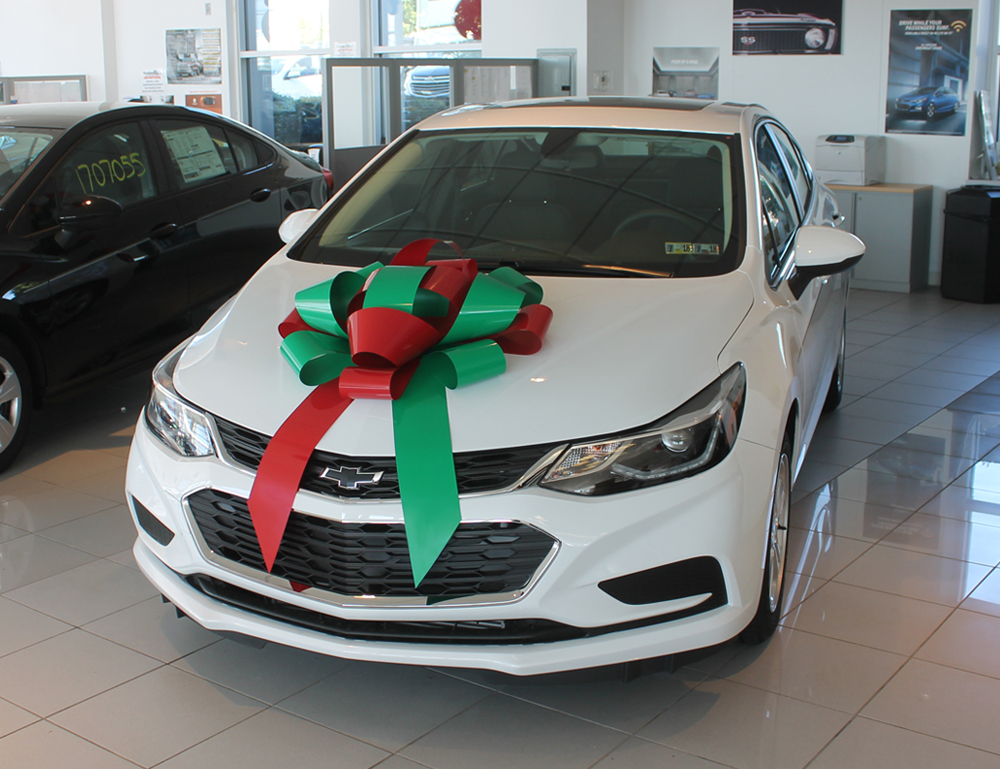
How To Make A Car Bow With Ribbon

Hey there, future gift-giving guru! So, you wanna make a car bow? Awesome! You're about to seriously level up your gifting game. Forget those flimsy, pre-made things – we're talking DIY magic here! Think of the wow factor!
Seriously though, it's easier than you think. You don't need to be Martha Stewart (unless... are you?). Let's get to it!
What You'll Need (aka the Supply Rundown)
Okay, first things first, gotta gather your arsenal. What do we need to conquer this bow-making quest? Let's see:
Must Read
- Ribbon, ribbon, and MORE RIBBON! Seriously, you'll need a lot. Think 20-30 yards. Go big or go home, right? Choose a weather-resistant type - you don't want your masterpiece disintegrating in the rain!
- Scissors: Sharp ones! Dull scissors are the enemy of crafting, trust me.
- Measuring Tape: Unless you’re a human measuring device (are you?), this is pretty crucial.
- Floral Wire or Zip Ties: These are our secret weapons. They'll hold everything together like magic.
- A little bit of patience: Okay, maybe a lot. Just kidding... mostly.
Got it all? Good! Let's rock!
Step-by-Step: From Ribbon to Radiance!
Alright, time for the fun part! Follow these steps, and you’ll be gazing upon your magnificent car bow in no time. Promise!
Step 1: The Base Loop (aka The Foundation of Awesomeness)

Grab your ribbon and create a large loop. How large? Well, that depends on how big you want your bow to be! General rule? Think bigger than you think you want it. It shrinks a little during the process (bow gremlins, maybe?). Secure the center of the loop with floral wire or a zip tie. Tighten it up! Is it sturdy? Good!
Step 2: Layer Up! (More Loops = More Fabulous)
Now, create another loop, a bit smaller than the first. Attach it to the center, right on top of the first one, using more wire or zip ties. Keep adding loops, each a little smaller than the last. Think of it like building a ribbon pyramid of awesomeness. The more loops, the fuller and fluffier your bow will be. We're going for maximum impact here!

Step 3: The Tails (Giving it Some Swag!)
Time for the tails! Cut two long lengths of ribbon (longer than you think you need – you can always trim them later). Attach them to the back of the bow, covering up all that wire/zip tie business. Make sure they're secure. We don't want any tail malfunctions on delivery day, do we?
Step 4: The Final Touches (Making it Shine!)
Okay, stand back and admire your creation. Looking a little… wonky? Don’t panic! Fluff it! Arrange the loops! Trim the tails at an angle for a more polished look. Play around until it looks chef's kiss perfect. Remember, perfection is overrated, but a little tweaking never hurt anyone.
Step 5: Attaching It to the Car (The Grand Finale!)
This is where the magic happens! Use more ribbon or strong tape (the kind that won't damage the car's paint – seriously, test it first!) to attach your masterpiece to the hood or windshield. Make sure it's securely fastened. You don't want your beautiful bow flying off on the highway! That would be… anticlimactic.
Troubleshooting (Because Things Happen!)
Ribbon slipping? Tighten those zip ties or floral wire! Don't be shy!

Bow looking lopsided? Trim those loops and tails strategically. It’s like giving your bow a haircut. A very important haircut.
Feeling overwhelmed? Take a deep breath! It’s just ribbon! Put on some music, grab a snack, and get back to it. You got this!
You Did It! (Celebrate!)
Congratulations! You’ve officially created a car bow that will make jaws drop. Pat yourself on the back, grab a celebratory beverage (non-alcoholic if you’re driving!), and get ready to witness the recipient's sheer joy. You’re amazing!
Now, go forth and spread the ribbon-y love!