How To Make A Back Seat Extender For Dogs

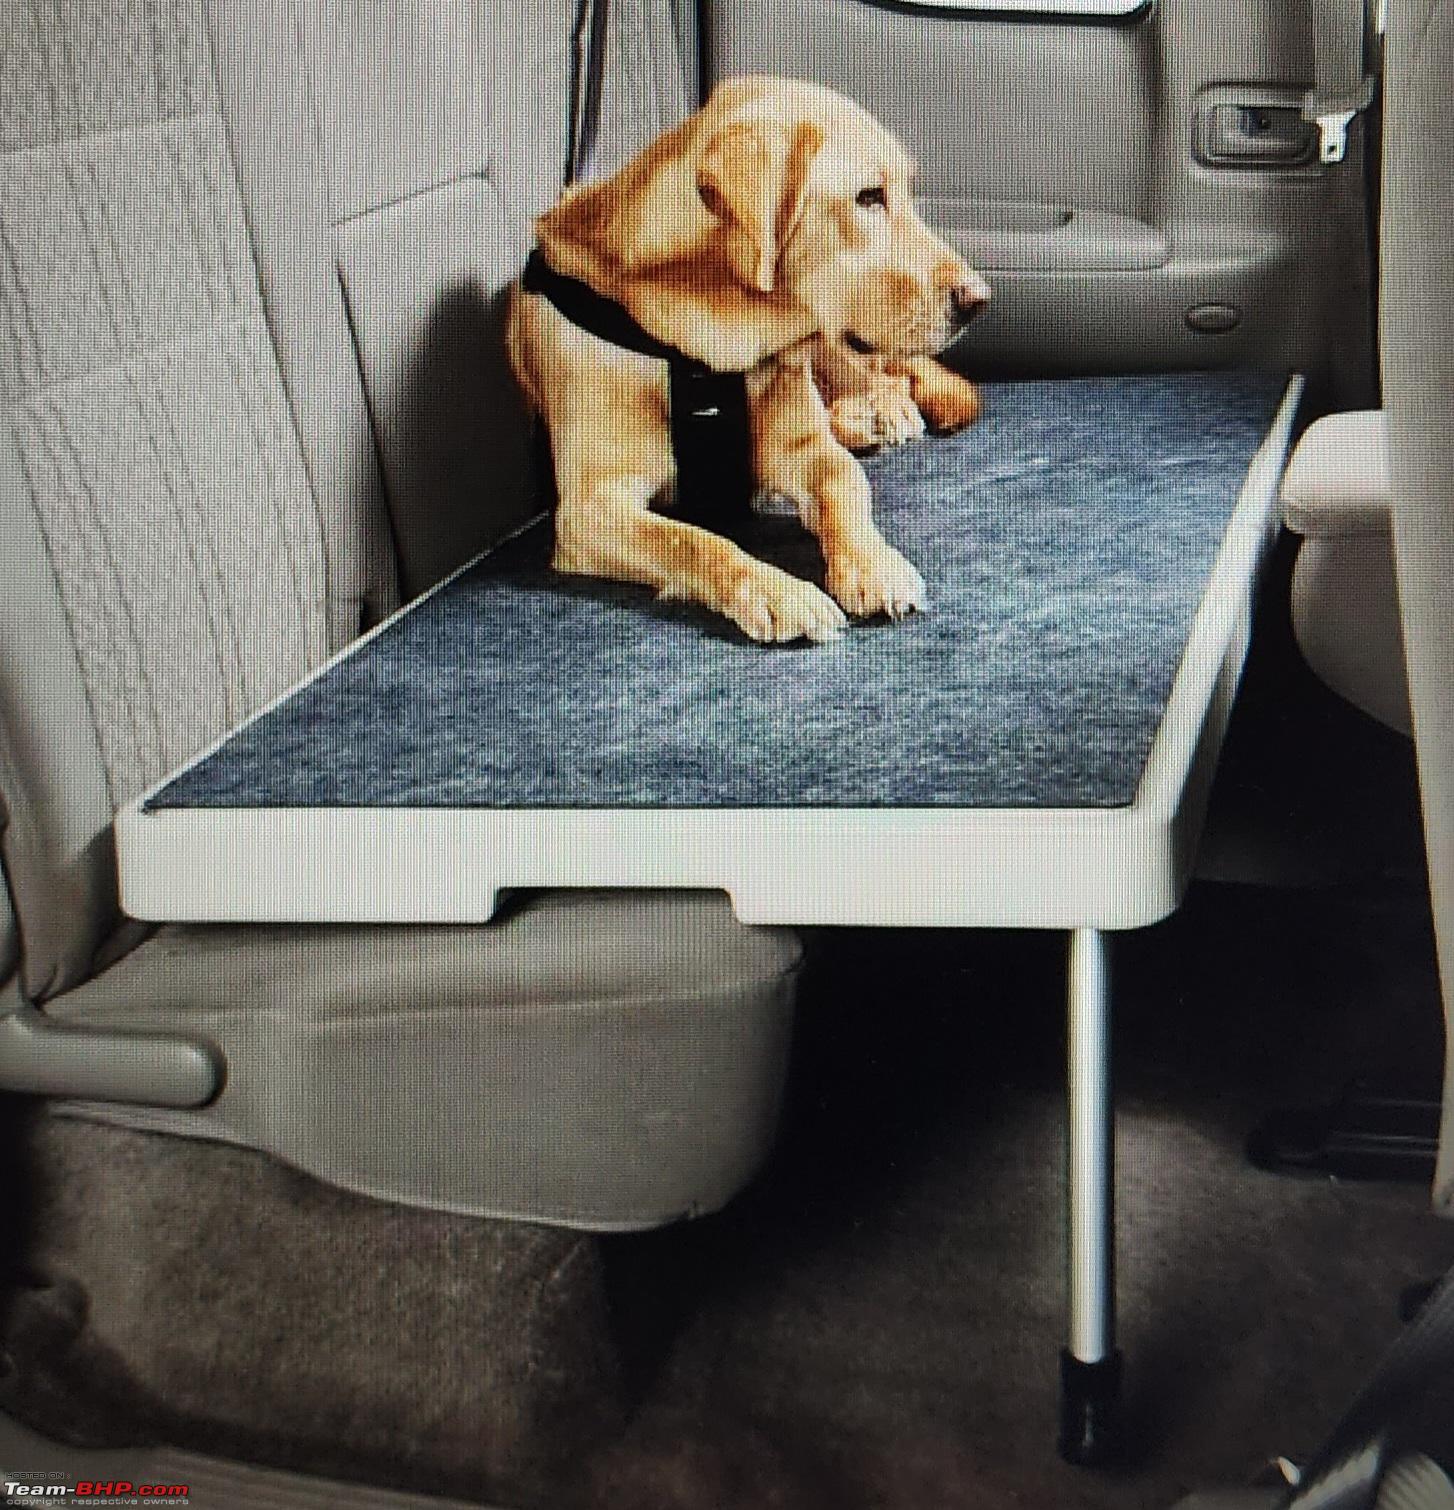
Let's be honest, our furry friends are family. And like any family member, they deserve a comfy ride in the car! Remember that road trip where Fido kept teetering on the edge of the back seat, looking like he was about to audition for a circus act? Yeah, not ideal. That's where a back seat extender comes in handy. Think of it as a personal cloud for your pup, turning that awkward gap between the seat and the front into a luxurious lounging space.
But who wants to shell out big bucks for a fancy store-bought version? Especially when a little DIY magic can accomplish the same thing (and maybe even be cuter)? So, buckle up (pun intended!), because we're diving into the surprisingly simple world of DIY dog back seat extenders. Trust me, if I can do it, so can you!
Why Bother? The Perks of Pampering Your Pooch (and Your Car!)
Okay, maybe you're thinking, "Is this really necessary?" Let's break it down. First, and most importantly, it's about safety. That gap is a hazard. A sudden stop, a sharp turn, and suddenly your dog is tumbling into the footwell. Ouch! A back seat extender eliminates that risk, keeping your precious cargo secure.
Must Read
Secondly, it's about comfort. Imagine trying to sleep on an airplane with only half a seat. Miserable, right? Same goes for your dog. An extender gives them a wider, more stable surface to relax on, making car rides less stressful and more enjoyable. Think of it as upgrading them from economy to first class…doggy style!
And finally, let's not forget the car protection aspect. Dog claws, shedding fur, muddy paws…our cars take a beating. An extender, especially when combined with a seat cover, acts as a barrier, keeping your upholstery cleaner and less prone to damage. It's like wrapping your car in a giant, huggable shield.

DIY Time: The Easy-Peasy Guide to Back Seat Bliss
Alright, ready to get crafty? There are a few ways to tackle this project, depending on your skill level and the materials you have on hand. I'm going to share the easiest method, perfect for beginners.
What you'll need:
- A sturdy piece of plywood or thick cardboard cut to fit the gap between your back seat and the front seats. Measure carefully! You want it to be snug, but not so tight that it's difficult to install. Think of it like finding the perfect fitting puzzle piece.
- Strong fabric, like canvas, denim, or even an old blanket (repurposing is awesome!). Enough to cover the board with some extra for wrapping around the edges.
- Batting or foam padding. This is the secret ingredient for ultimate comfort!
- Staple gun and staples (or strong adhesive).
- Scissors or a utility knife.
- Measuring tape.
Step-by-step instructions:

- Measure and Cut: Accurately measure the space between your back seat and the front seats. Cut your plywood or cardboard to this size. This is the most important step!
- Padding Party: Lay the fabric wrong-side up on a flat surface. Place the batting or foam padding on top, followed by the plywood or cardboard.
- Wrap it Up: Fold the fabric edges over the board, pulling them taut and securing them to the back with a staple gun or strong adhesive. Think of it as wrapping a gift, but for your dog's butt! Make sure to pull the fabric tight to avoid wrinkles.
- Finishing Touches: Trim any excess fabric. And voila! You have a basic back seat extender.
Pro Tip: For extra stability, you can add some wooden supports underneath the board, especially if you have a larger dog. You can also sew on some fabric straps with buckles to secure the extender to the headrests of the front seats. This will prevent it from sliding around during travel.
Making it Paw-sonal: Customization is Key!
Now for the fun part! Let your creativity shine. Use a fabric with a fun pattern, add a waterproof layer for those uh-oh moments, or even embroider your dog's name on it. The possibilities are endless!
Think about your dog's personality. Is he a classy canine who would appreciate a sophisticated tweed? Or a playful pup who would love a bright, colorful print? Tailor the extender to match their unique style.
And don't forget about functionality! Consider adding pockets for storing dog treats, toys, or even a water bottle. A little extra storage is always a plus, especially on long trips.
Building a back seat extender is a fun, easy, and affordable way to show your furry friend how much you care. Not only will it make car rides safer and more comfortable, but it will also protect your car from wear and tear. So, grab your tools, unleash your inner DIYer, and get ready to create a comfy haven for your beloved canine companion. Happy travels!
