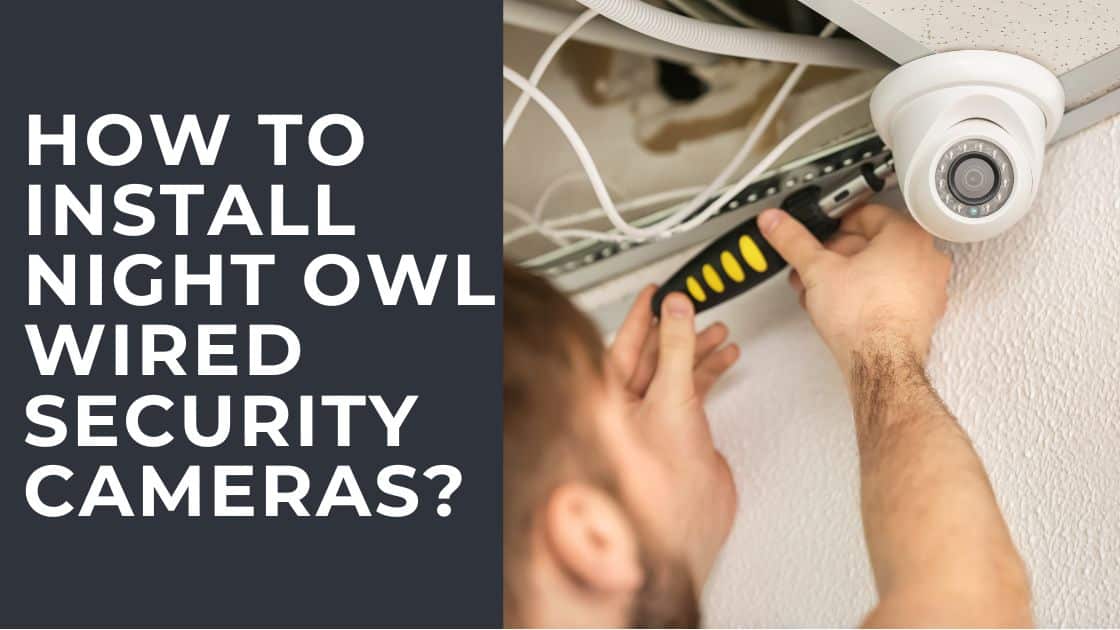
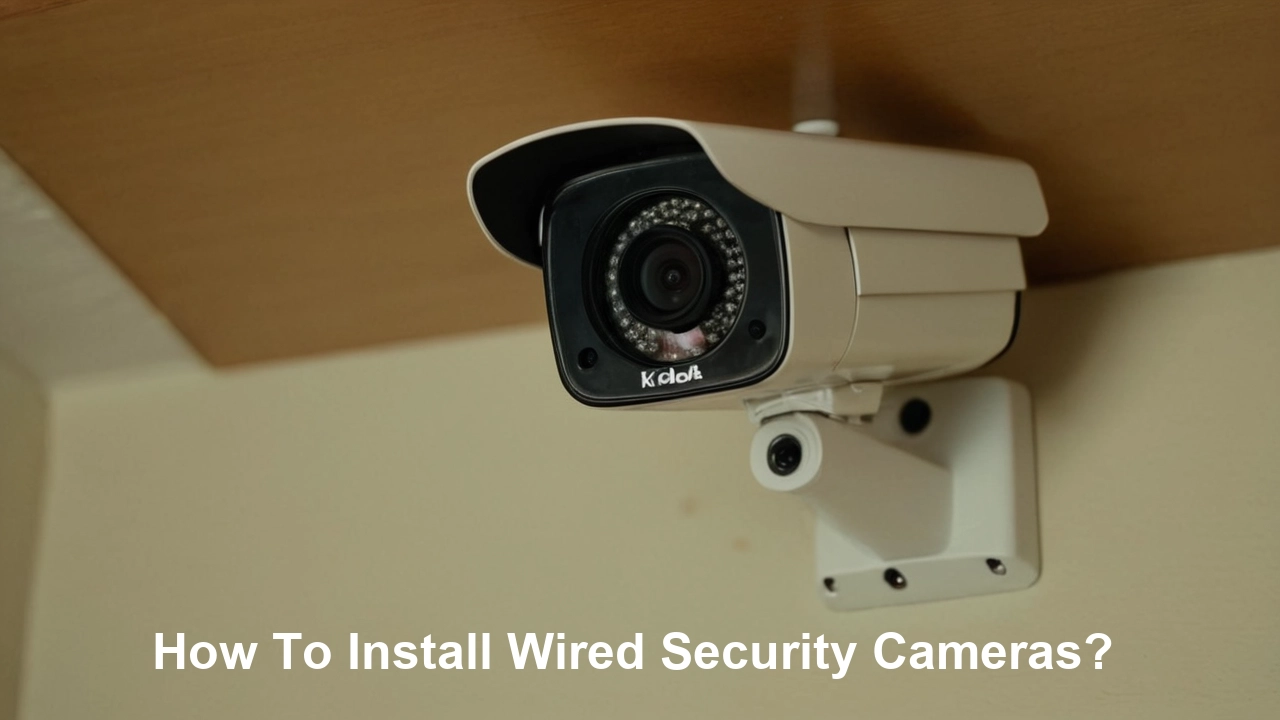
How To Install Wired Security Cameras Outdoors

Ever thought about bringing a bit of movie magic to your own backyard? Installing wired security cameras outdoors is a surprisingly engaging journey. It's less about complicated tech and more about a fun, hands-on adventure.
Picture yourself as the director of your own outdoor drama. You're about to set up the ultimate backstage view of your surroundings. It's truly a special project to dive into.
The Great Scouting Expedition
Your first mission? It's like an exciting treasure hunt around your property. You'll be looking for those prime spots where a camera can really shine.
Must Read
Wander around with a playful sense of curiosity. Imagine all the angles, feeling like an architect designing the perfect visual perimeter. It’s an incredibly creative step!
"Where would I put a tiny, watchful eye to capture the best scenes?"
Consider the mighty oak tree or the corner of your garage. Each spot offers a unique perspective, ready to be discovered. This part is all about imagination and a little bit of playful strategy.
Don't forget to look up high and low. You're searching for vantage points that feel just right, like a secret agent finding their perfect perch. It's a fantastic way to explore your own outdoor space anew.
Mark those chosen spots with a temporary sticky note or a piece of tape. This keeps your ideas fresh and ready for the next exciting phase. Each mark feels like a little victory in your personal project.
Gathering Your Toolkit Treasures
Now for the exciting part of collecting your gadgets! Think of it as gearing up for a grand expedition. You'll need a few trusty companions for this adventure.
First, a good drill is your powerful ally. It makes neat holes for wires and mounts, feeling very satisfying to use. Handle it with a sense of purpose and a smile.
Next, grab your chosen wired cameras. They're the stars of our show, ready to offer their unique perspectives. Hold them up and admire their sturdy design.
You'll also want plenty of outdoor-rated cable. This is the lifeline, the pathway for all the magic to happen. Uncoil it and feel the possibilities.
"A long, winding path for clarity and connection!"
Don't forget simple tools like a screwdriver, some electrical tape, and cable ties. These are your helpful sidekicks, always ready to lend a hand. Every piece has its own little job.
A sturdy ladder will be your trusty steed for reaching those high, important places. Make sure it's stable and makes you feel confident up top. Safety first, with a dash of daring!
Finally, gather your video recorder – often called a DVR or NVR. This is the brain of the operation, where all your visual stories will be stored. It’s a very cool piece of tech.
Having everything laid out makes the next steps feel smooth and effortless. It’s like preparing your artist's palette before creating a masterpiece. What a truly rewarding feeling!
The Thrill of the Wire Run
Mapping Your Masterpiece
Here's where the real fun begins – planning the wire's journey. It’s like designing a secret passageway for information. You're aiming for a path that's both clever and discreet.
Walk your chosen route, imagining the cable gracefully flowing along walls and eaves. Think about how to keep it safe from the elements and out of sight. This takes a bit of playful engineering.
"A hidden path is a happy path!"
You might consider running cables through an attic or a crawl space. These hidden routes add an extra layer of mystique to your project. It's like discovering secret tunnels in your own home.
Careful planning now saves you a lot of head-scratching later. It's all part of the charming challenge. Each decision feels like a mini-puzzle solved.
Drilling and Threading Adventures
Time to bring out that powerful drill again! You’ll be creating small, neat openings for your wires to pass through. It’s an incredibly satisfying sensation.
Pick a drill bit that's just the right size for your cable. You want a snug fit, like a custom-tailored suit for your wire. Precision adds to the fun!
Carefully drill pilot holes from the outside, angling slightly downwards. This helps keep moisture out, making your installation super robust. It's a small detail that shows great care.
"Drill with purpose, thread with grace!"
Now comes the threading! This can feel like a playful game of hide-and-seek with your wire. Push it gently through the drilled holes, coaxing it along its path.
For longer runs, a fish tape can be your best friend. It’s a long, flexible tool that helps pull cables through tight spots. Using it feels like a clever trick!
Guide the cable with a gentle touch, ensuring it doesn't snag or twist. Each successful pull brings you closer to your goal. It's a truly gratifying process.
Once through, give yourself a little pat on the back. You've just mastered a key part of the adventure. The wire is now ready to connect your outdoor world to your indoor hub.
Securing the Lifeline
With the cables threaded, it's time to make them look tidy and professional. This step adds a touch of polish to your handiwork. Aesthetics matter, even for wires!
Use cable clips or staples to neatly attach the wires along walls or under eaves. Space them out evenly for a clean, attractive look. It’s like dressing up your home with a neat, functional trim.
Ensure the cables aren't dangling loosely, which could be a trip hazard or just look untidy. A well-secured cable is a happy cable! This attention to detail makes your project truly stand out.
"Neatness brings joy to the outdoor canvas!"
If running wires along brick, consider using specialized masonry clips. They ensure a firm, long-lasting hold. These little gadgets make a big difference in durability.
For any exterior holes, use outdoor-rated sealant to close them up tight. This keeps unwanted moisture and critters out, safeguarding your beautiful work. It’s a final, protective hug for your cables.
Take a moment to step back and admire your clean wire runs. They blend seamlessly with your home's exterior, almost disappearing. It’s a testament to your careful planning and execution.
Mounting Your Mighty Eyes
Now for the moment your cameras have been waiting for! It's time to firmly mount them in their chosen locations. This is where they truly come to life.

Using your screwdriver and the included mounting hardware, attach each camera securely. Make sure they are stable and won't wobble in the wind. A steady camera is a happy camera.
Angle the camera just right to capture the perfect view. It's like framing a photograph, making sure every detail is included. Experiment with slight adjustments until you're delighted with the outlook.
"Each camera, a painter of its own outdoor scene."
Some cameras have adjustable ball joints, allowing for easy fine-tuning. This offers a satisfying level of control over your viewing area. You’re truly the master of your visual domain.
Double-check that all screws are tightened firmly. You want these watchful eyes to stay put, come rain or shine. Their unwavering presence is part of the charm.
Once mounted, connect the newly threaded cables to the back of each camera. These connections are typically simple and snap right into place. It’s a rewarding click!
Tuck any excess cable neatly around the camera base or inside its mount. This keeps everything looking sleek and professional, adding to the overall satisfaction. A clean finish is always a winner.
The Grand Connection Ceremony
You're almost there! It's time to bring all those outdoor visual feeds indoors. This is where the magic of the DVR/NVR unit truly shines.
Carefully connect the other end of each camera cable to the designated ports on your DVR/NVR. Each port is usually numbered, making it a simple match-up game. It’s oddly calming.
Ensure each connection is snug and secure. A good connection means a clear picture. Think of it as creating a strong, unbreakable bond.
"And with a click, the outdoor world comes calling!"
Next, connect your DVR/NVR to a monitor or TV using an HDMI cable. This is where you'll see your outdoor world come alive. Get ready for a spectacular reveal!

Plug in the power adapters for your cameras (if they require separate power) and your DVR/NVR. Feel the hum of electricity, ready to awaken your system. It's an exciting moment of anticipation.
Power everything on, and watch for those glorious images to appear. It's like watching a painting slowly reveal itself, pixel by pixel. The first live feed is an absolute thrill!
This moment of connection is incredibly satisfying. You've transformed wires and cameras into a living, breathing view of your outdoor space. It’s truly a testament to your efforts.
The Joyful Unveiling & Fine-Tuning
And there it is! Your very own live feed, showcasing your outdoor domain. This is the big payoff, the grand finale of your installation adventure. It’s incredibly entertaining to see.
Adjust the angles on your cameras if needed, now that you can see their exact view. This fine-tuning ensures you capture every desired nook and cranny. You're the ultimate editor of your outdoor view.
Explore the settings on your DVR/NVR. You can often name each camera, set recording schedules, and even detect motion. These features add layers of fun customization.
"Your outdoor world, now vividly on display!"
Imagine catching a glimpse of a playful squirrel or the gentle sway of trees in the wind. Every outdoor movement becomes a mini-story unfolding on your screen. It's surprisingly captivating.
The sense of accomplishment from building this system yourself is truly special. You've taken a project from an idea to a fully functional, fascinating reality.
So go ahead, grab a comfy seat, and enjoy the show! Your outdoor wired cameras offer a fresh, engaging perspective on the world right outside your door. It’s a wonderful, ongoing spectacle.
It’s a project that makes you feel resourceful, skilled, and just a little bit like a tech wizard. Enjoy your new outdoor window! It's an adventure that keeps giving back.