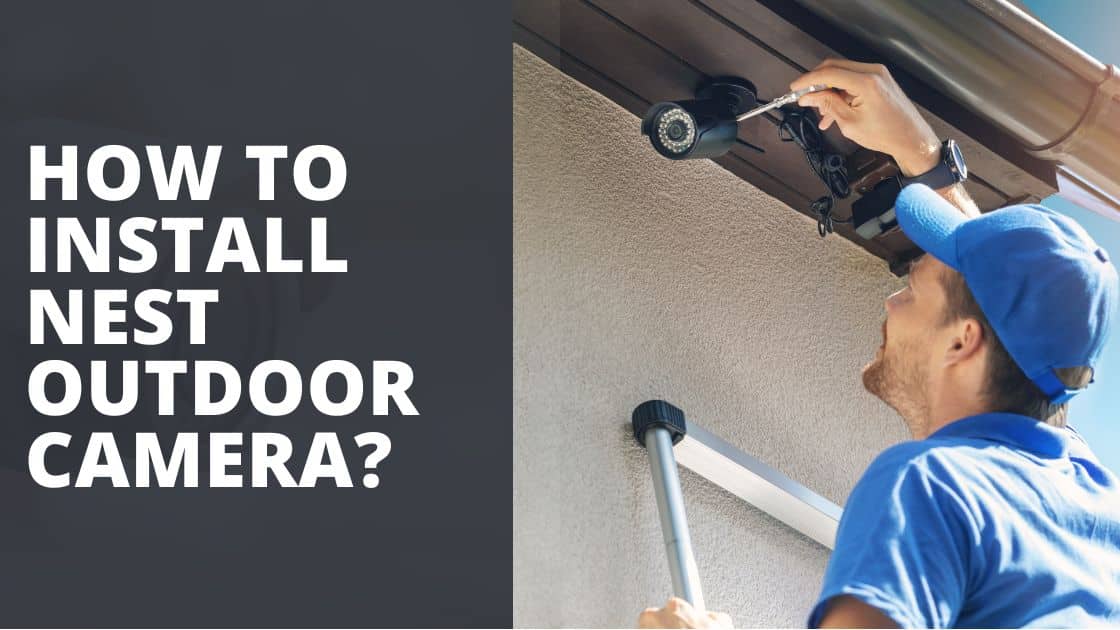
How To Install A Nest Outdoor Camera

Alright, folks, settle in. Grab your beverage of choice, because today we’re embarking on a noble quest: installing a Nest Outdoor Camera. Think of me as your seasoned guide, your Gandalf of home security, minus the beard and the staff, but with probably more coffee stains. You’re about to transform your humble abode into a fortress of digital surveillance, all while making sure that pesky squirrel doesn't get away with another one of your bird feeder's prized sunflower seeds. Or, you know, for actual security. Whichever.
Now, before we get our hands dirty (and possibly a little scraped), let's dispel a myth: installing one of these isn't rocket science. It's more like advanced Lego for adults who also own power tools. The Nest Outdoor Camera is sleek, it's smart, and it looks like a friendly robot cyclops staring intently at your garden gnomes. But getting it up there? That’s where the fun, and occasionally the colourful language, begins.
Your DIY Toolkit: The "Mission Impossible" Briefcase
First things first, gather your arsenal. You’ll need a few bits and bobs, and trust me, having them before you're halfway up a ladder is a game-changer. You’ll thank me later, probably with an imaginary high-five.
Must Read
- A drill (corded or cordless, your preference, just make sure it’s charged if it’s the latter. Nothing worse than a drill dying mid-hole, it's like a bad movie plot twist).
- A drill bit suitable for your wall type (usually a 1/4-inch masonry bit if you have brick or stucco, but check your manual, you rebel).
- A screwdriver (Phillips head, usually).
- A ladder (and a spotter, if you value your chiropractor).
- A pencil or marker for marking.
- The Nest Outdoor Camera kit itself (obviously, unless you're just practicing drilling holes for fun).
- And my personal favourite, a can-do attitude, preferably laced with a healthy dose of patience and a good playlist.
Oh, and one more thing: safety glasses. Nobody wants a rogue bit of brick dust in their eye. You’re not trying to look cool, you’re trying to see what you’re doing when you’re done.
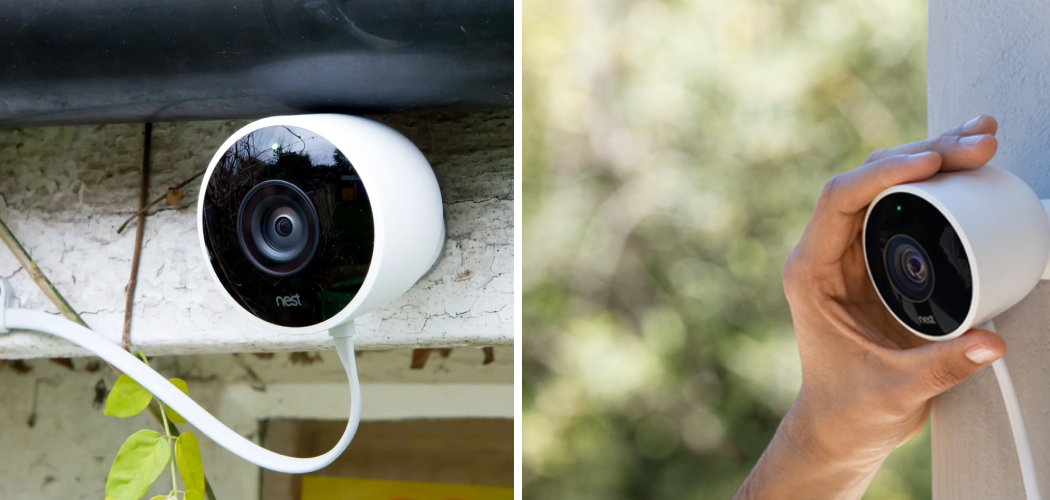
The Great Location Debate: Where to Point Your Robot Eye?
This is arguably the most crucial step, besides actually plugging it in. You need to pick a spot that offers a prime viewing angle, isn't easily tampered with, and – here's the kicker – is within reach of a power outlet. Yes, the Nest Outdoor Camera needs juice. It’s not solar-powered, sadly. Maybe Nest 2.0 will run on good vibes and kale smoothies.
Consider the following:
- Height: Aim for 7-10 feet off the ground. High enough to deter casual mischief, low enough to actually capture useful detail. Too high and your cat will look like a blurry mouse.
- Angle: Think about your property lines. Do you want to see your whole yard? Just the front door? Aim for a wide, unobstructed view. Avoid aiming directly into the sun; that’s just rude to your camera.
- Wi-Fi Signal: This is a biggie. Before you start drilling, take your phone (or the camera itself) to your chosen spot and check your Wi-Fi strength. If it's weaker than a kitten's meow, you might need a Wi-Fi extender or a new spot. There's nothing more frustrating than a smart camera that's dumber than a bag of rocks because it can't connect.
- Power: Remember that long, glorious power cable? It needs to go somewhere. Think about existing outdoor outlets, or if you're brave, planning a discreet route indoors. This is where your inner architect meets your inner electrician (without actually being an electrician, disclaimer).
Pro tip: Hold the camera up to your intended spot and use the Nest app to preview the view before committing. It’s like test-driving a car, but for surveillance.

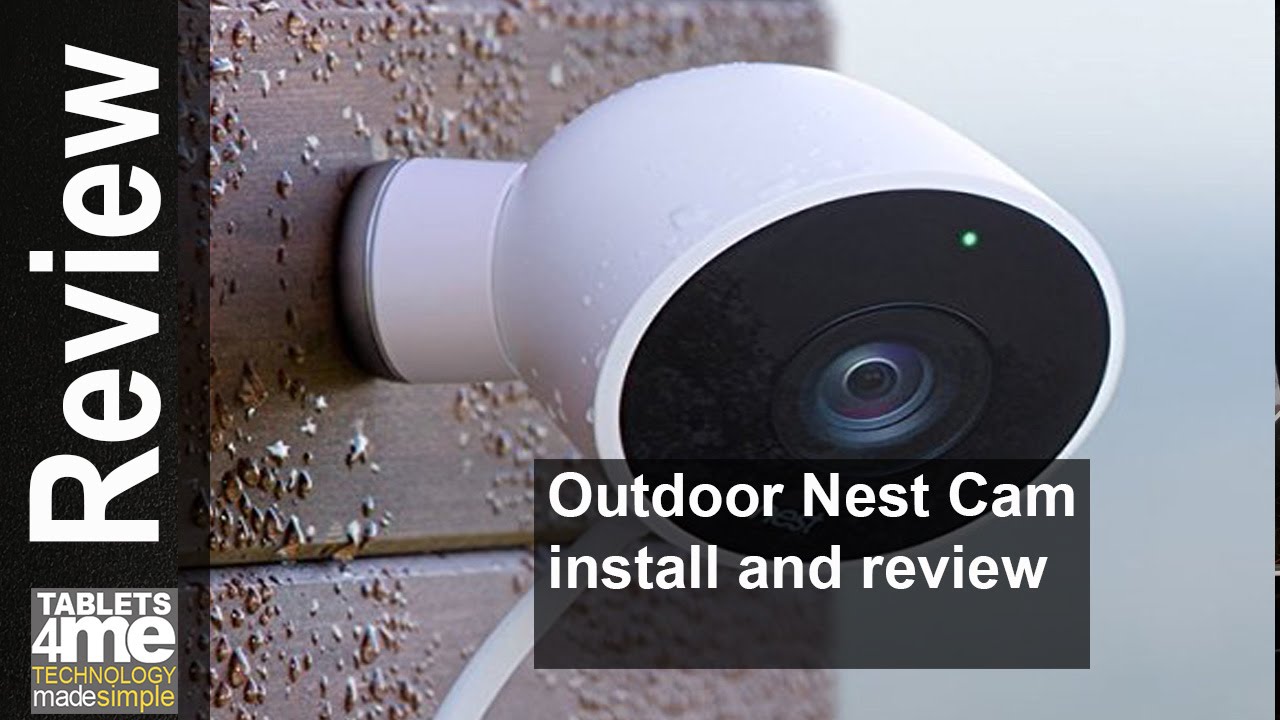
The "Hole-y" Grail: Drilling and Mounting
Okay, you’ve picked your spot. You’ve marked your holes with your trusty pencil. Now comes the moment of truth. Grab your drill. Remember what your grandpa always said (or what I'm telling you now): measure twice, drill once. Or, if you’re like me, measure once, drill, then realize it’s slightly off, measure again, and drill a second, perfectly placed hole right next to the first one. It adds character!
Once your pilot holes are drilled, insert the wall anchors if needed (especially for masonry). These little plastic wonders are like tiny security guards for your screws, ensuring everything stays put. Then, position the mounting plate, screw it in firmly, and attach the camera. It’s usually a satisfying click or twist. Don’t overtighten; you're not building a battleship, just securing a very clever camera.
The Power Play: The Cable Chronicles
This is where things can get a little… spaghetti-like. The Nest Outdoor Camera comes with a generous, weather-resistant power cable. Your mission, should you choose to accept it, is to route this cable neatly and securely to your power source. This might involve:
- Running it along the eaves.
- Drilling another small hole to bring it through an exterior wall (use a silicone sealant to plug the hole afterwards – no drafts, no bugs, no water, easy peasy).
- Using cable clips (often included, or easily purchased) to keep it tidy and prevent it from becoming a tripping hazard for unsuspecting garden gnomes.
The goal here is discretion and protection. You don't want it swinging in the breeze or looking like a tangled mess that an octopus lost a fight with. Take your time. A neatly routed cable makes a huge difference to the aesthetic and longevity.
The Grand Reveal: App Setup and Victory Lap
Camera mounted? Cable routed? Power connected? Excellent! Now for the truly "smart" part. Fire up the Nest app on your phone. It’s usually a straightforward process: tap "Add Product," scan the QR code on the camera (or its packaging), and follow the on-screen prompts. This is where your camera connects to your Wi-Fi, learns its name, and starts its vigilant watch.
Once connected, test it out immediately. Check the live feed. Wave at it. Make funny faces. Walk in front of it. Adjust the angle if needed. Ensure motion detection is working as expected. You’ve done it! You’ve brought a new digital guardian into your home network!
Now, step back, admire your handiwork. You've braved ladders, wrestled with drills, and tamed unruly cables. You are a DIY hero! Celebrate with a beverage (non-imaginary this time), and enjoy the peace of mind that comes with knowing you'll be alerted if that squirrel so much as looks at your bird feeder funny. Go forth, secure citizen!