How To Hook Up A Doorbell Electric Doorbell

Okay, picture this: You’re snuggled up on the couch, halfway through a Netflix binge, headphones firmly in place. Suddenly, you hear... nothing. But then your phone buzzes. It’s a text from your friend, “Hey, I’m at your door!” You scramble, pausing your show, pulling off your headphones, and rushing to greet them, feeling a little silly. Or maybe it’s the delivery driver, patiently waiting, thinking you’re not home, while your package sits outside, vulnerable to the elements (or porch pirates, shudder!).
Sound familiar? Yeah, it’s a classic modern-day dilemma that a good old-fashioned doorbell could totally solve. And guess what? Hooking one up isn't some mythical task reserved for electricians with ancient scrolls and magical tools. You can absolutely do it. Seriously, if you can follow instructions and not stick a fork in an electrical outlet (please don't), you've got this.
Why Bother, You Ask?
Because peace of mind, my friend! No more missed deliveries, no more awkward texts, and no more yelling "COME IN!" from another room. A working doorbell is a small luxury that makes a big difference. Plus, the satisfaction of a DIY project well done? Priceless. Let’s demystify this whole doorbell thing, shall we?
Must Read
What You’ll Need (Your DIY Arsenal)
Before we dive in, let’s gather our tools. Think of it as preparing for a mini-quest:
- A new doorbell kit (chime unit, button, and often a transformer, but check!)
- A screwdriver set (flathead and Phillips, your trusty companions)
- Wire strippers (for, you know, stripping wires)
- A voltage tester (a non-contact one is super handy and highly recommended for safety!)
- Electrical tape (just in case)
- A small drill (if you need to make new holes for mounting)
- And, most importantly, a healthy dose of confidence (you already have this, right?).
Understanding the Players: The Doorbell Trinity
Every electric doorbell system usually has three main components, working in a beautiful, harmonious loop:
:max_bytes(150000):strip_icc()/SPR-how-to-install-a-doorbell-5214163-step-03_30271-2dbd37d14eaa4bac8bde1b94817409cf.jpg)
- The Button: This is the part people push. It completes the circuit. Simple, elegant.
- The Chime: This is the part that makes the delightful "ding-dong" sound. It's usually mounted inside your house.
- The Transformer: This is the unsung hero. Your house power is 120V (or 240V), which is way too much for a doorbell. The transformer steps that down to a safe 16-24V. It's often found near your main electrical panel, in your attic, or even attached to a junction box.
The Nitty-Gritty Steps: Let's Get Wired!
Step 1: Safety First, Always!
Before you even think about touching wires, you need to turn off the power to your doorbell circuit at your main electrical panel. Seriously, don't skip this. Use your voltage tester to double-check the wires you're working with are truly dead. No shocking surprises, please!
Step 2: Locate and Wire the Transformer
If you're replacing an old doorbell, you might already have a transformer. If not, you'll need to install one. It usually connects to a junction box. Connect the 120V (or 240V) house wiring to the "input" side of the transformer. Then, connect two wires (your doorbell wire) to the "output" or "secondary" terminals of the transformer. These are typically labeled 16V or 24V. One of these wires will go to your chime unit, the other will go to your doorbell button. (Keep them separate in your head for now).

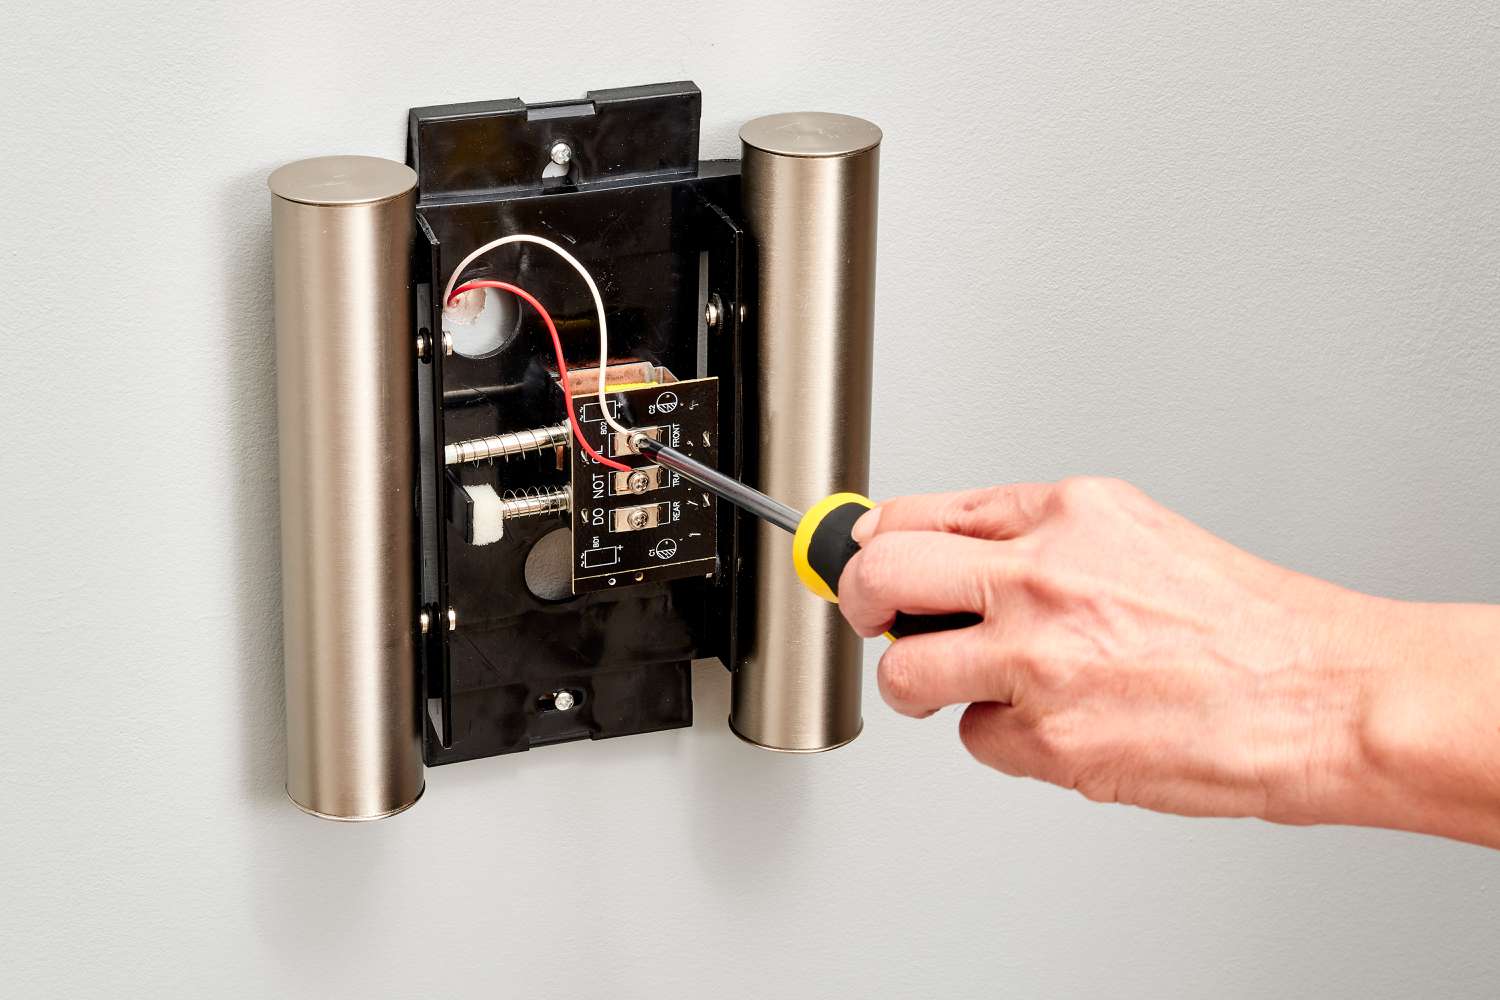
Step 3: Connect the Chime Unit
Most chime units have three terminals: "FRONT," "TRANS," and sometimes "REAR" (if you have two buttons).
- Connect the wire coming from the transformer to the terminal labeled "TRANS" on your chime unit.
- Now, remember that other wire we mentally set aside coming from the transformer? Or, if you have a separate wire run from the transformer straight to the button, that's fine too. We need a wire to go between the chime and the button. This wire will connect to the "FRONT" terminal on the chime unit.
- If you have a rear doorbell, a third wire would go from the "REAR" terminal to that button. But let's keep it simple for now, yeah?
Secure the chime unit to the wall where you want it to live.

Step 4: Wire Up the Doorbell Button
Head to your front door (or wherever you want the button). You should have two low-voltage wires waiting there. These two wires are connected to each other via the button itself.
- One wire comes from the chime's "FRONT" terminal.
- The other wire comes from the transformer (or from the chime's "TRANS" terminal, and then splits off to the button).
Connect one wire to each screw terminal on the back of your doorbell button. It usually doesn't matter which wire goes to which terminal. Mount the button securely to your doorframe.
Step 5: The Moment of Truth (Testing!)
Okay, deep breaths! Go back to your electrical panel and turn the power back on. Head to your front door and push that glorious button. Did you hear a "ding-dong"? Success! If so, give yourself a pat on the back. You earned it!
Troubleshooting (Just in Case)
If it doesn't work right away, don't panic! Here are a few quick checks:
- No sound at all? Double-check all wire connections, especially at the transformer. Is the power definitely on? Is the chime unit wired correctly (TRANS, FRONT)?
- Weak or continuous sound? This might indicate a short circuit. Check for frayed wires touching where they shouldn't, or wires pinched too tightly.
- Button feels loose? Make sure the wires are securely attached and not pulling out.
See? That wasn't so bad, was it? You’ve just leveled up your DIY game and brought the sweet sound of an incoming visitor back to your home. No more awkward texts, no more missed deliveries. Just pure, unadulterated doorbell goodness. Go on, enjoy your newfound superpower!