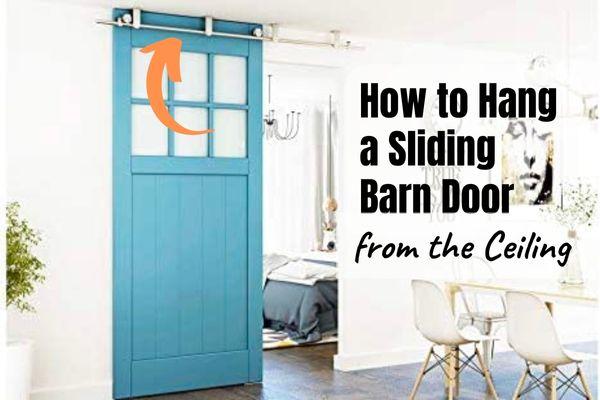
How To Hang A Sliding Door

Alright, friend, pull up a chair, grab that second coffee. We're gonna chat about something that sounds, well, a little intimidating: hanging a sliding door. Scary, right? Like, major DIY project territory. But honestly, it's totally doable. Think of it less as a construction project and more like, oh, I don't know, a giant Lego set for grown-ups. With more swearing, probably.
Seriously though, you've got this. And by "you've got this," I mean we have this, because I'm basically right there with you, cheering you on and probably handing you the wrong screwdriver. It's all part of the fun, eh?
First Up: The Pre-Game Huddle (Tools & Prep!)
Before we even think about touching that beautiful, soon-to-be-sliding door, let's gather our arsenal. You'll need some pretty basic stuff. Think measuring tape – and I mean a good one, not that flimsy plastic thing you found in a crackerjack box. A pencil, because, duh. A drill, obviously. And a level, my friend, the most important level. Nobody wants a door that slowly rolls open on its own, like some kind of haunted house special effect, right?
Must Read
You'll also need the actual sliding door hardware kit. This usually comes with the track, hangers, and all the little bits and bobs. Read the instructions! I know, I know, it's against our primal DIY instincts, but trust me on this one. It'll save you a headache (or three).
The Star of the Show: The Header Board
Okay, this is where the magic (and a little bit of math) happens. Most sliding doors don't just hang directly on your wall. Nope. They need a sturdy header board installed first. Think of it as the invisible hero of your door system. This board gives the track something super solid to grab onto, especially if your wall studs aren't perfectly where you need them. And let's be real, when are they ever?

Measure your door's width. Your header board should be at least twice the width of your door, maybe even a little wider for extra swing room. Mark where it's going, making sure it's perfectly level. I cannot stress this enough. Grab that level. Check it. Check it again. Ask your dog to check it. Whatever it takes! A wonky header equals a wonky door, and that's just sad.
Once it's marked, attach that bad boy to your wall studs. Use long, strong screws, people. We want this thing to hold up to years of enthusiastic sliding, maybe even a kid or two swinging on it (not recommended, but you know). If you can't hit studs, toggle bolts or heavy-duty anchors are your friends. Just make sure it's not going anywhere.
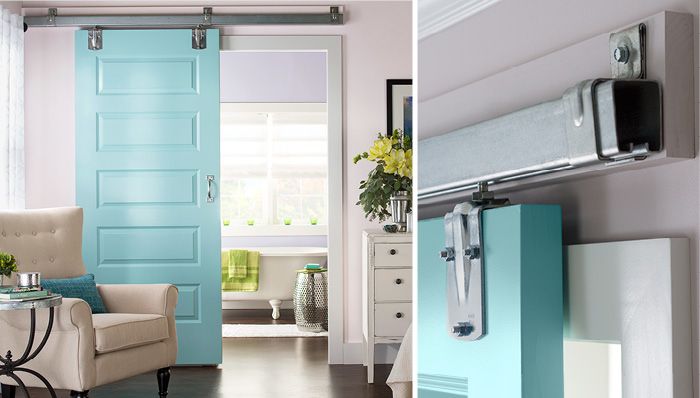
Track Time!
Now that your header board is up and looking all strong and confident, it's time to attach the actual track. This is usually the long metal rail that the door will slide along. Again, follow your kit's instructions for placement on the header board. Some tracks sit on top, some bolt to the front. The key, once more, is to make sure it's straight and level. See a theme developing here? Good.
Drill your pilot holes, then secure the track firmly. Don't be shy with those screws. This track is going to bear the weight of your entire door, so let's make sure it's not going to pull a Houdini on us.
Prepping the Door Itself
While the track is all set, let's get our door ready for its big debut. Most kits come with rollers or hangers that attach to the top edge of your door. Measure carefully to ensure they're spaced correctly and installed straight and parallel to the door's edge. This is crucial for smooth sliding. A little off here, and your door will be all creaky and catchy. Nobody wants that.
Some doors might need a small channel routed into the bottom edge for a floor guide, but many modern kits use a simple fin-style guide. Check your kit – it'll tell you what to do.
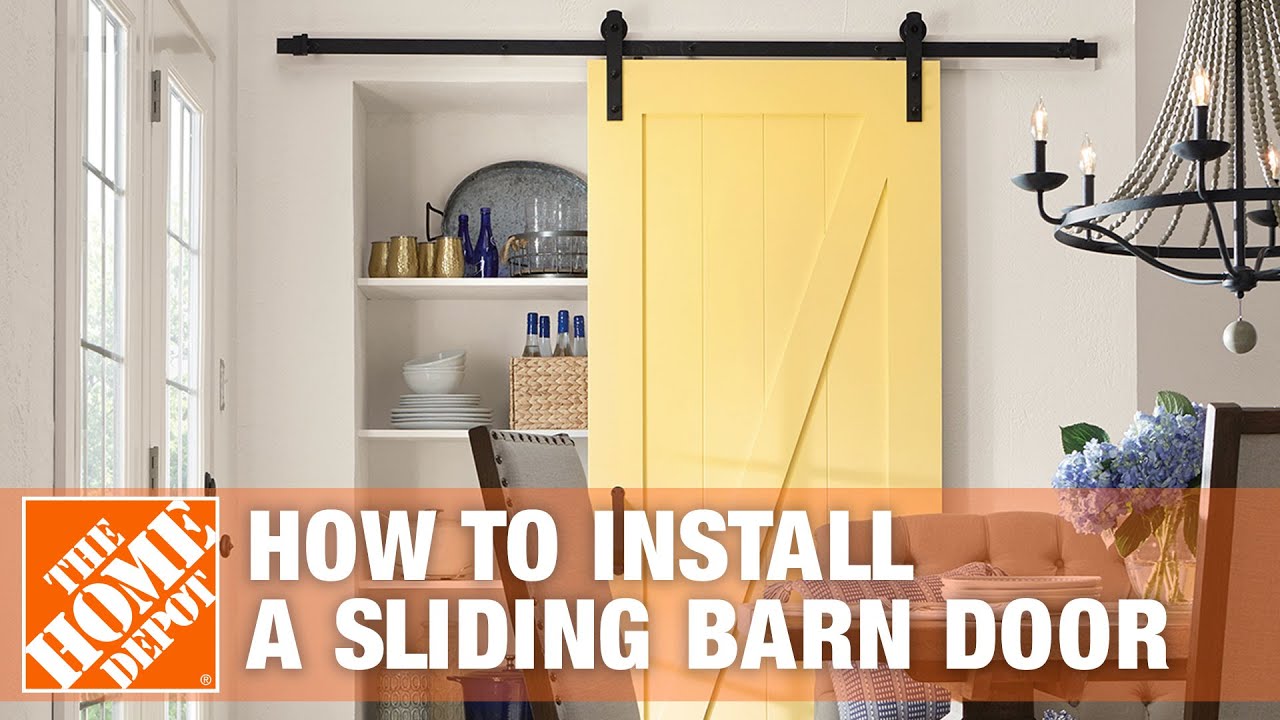
The Big Reveal: Hanging the Door!
Okay, deep breaths! This is the moment. Grab a buddy, because trying to hoist a door by yourself and line up tiny rollers with a track is a recipe for back pain and colorful language. With your friend's help, lift the door and carefully engage the rollers with the track. It might take a little jiggling and a bit of teamwork. Once they're in, give it a gentle push. Does it roll? Does it roll smoothly?
The Finishing Touches (and Anti-Swing Measures)
Almost there! Now, remember that floor guide we talked about? This little guy keeps your door from swinging wildly away from the wall like a saloon door in an old Western. Install it on the floor, usually near the bottom center of the door's travel path. Make sure it's aligned so the door glides through it without rubbing.
Most kits also include "stop" pieces for the track. These prevent your door from rolling right off the end, which would be... inconvenient. Install those at either end of the track, testing the door's travel to make sure it stops where you want it to.
And then, my friend, take a step back. Admire your handiwork. You just hung a sliding door! Who needs a contractor when you've got a can-do attitude, a handful of tools, and maybe a little bit of caffeine-induced courage? Pat yourself on the back. You totally crushed it. Now, about that celebratory coffee... or maybe something stronger?