How To Factory Reset Google Nest Camera
Hey there, fellow smart-home explorer! Ever found yourself staring at your trusty Google Nest Camera, wondering how to give it a fresh start? Maybe you're upgrading to the latest gadget, selling it to a new home where it can continue its noble watch, or perhaps it's just been a bit… moody lately and needs a good ol' digital cleanse. Whatever your reason, you've landed in the absolute right spot!
We're about to embark on a super chill, no-sweat journey to factory reset that camera, making it feel brand new and ready for its next adventure. Think of it as hitting the refresh button on its little digital brain, wiping the slate clean so it can learn new tricks or simply behave itself again. No scary tech jargon here, just friendly advice, like chatting over a virtual coffee!
Why Bother with a Factory Reset, Anyway?
Before we dive into the nitty-gritty, let's have a quick chat about why you might even want to do this. It's not just for kicks, I promise! There are some genuinely good reasons to give your Nest Cam a proper brain scrub:
Must Read
- Selling or Gifting It Away: If your camera is moving on to a new owner (bless its little digital heart, what an exciting new chapter!), a factory reset is an absolute must-do. You wouldn't want your old videos, settings, or Wi-Fi passwords going with it, right? That’s like forgetting to delete your browsing history before selling your computer – a little awkward, to say the least!
- Troubleshooting Tantrums: Is your camera acting a bit wonky? Maybe it’s not connecting, lagging, refusing to record, or just generally having an off day that even a strong coffee can't fix? A factory reset can often clear out any stubborn software glitches and give it a truly clean slate. It's the digital equivalent of a good night's sleep for your device.
- Starting Fresh & Reorganizing: Perhaps you’re overhauling your entire smart home setup, moving to a new home, or just want to wipe the slate clean and reconfigure everything from scratch for ultimate peace of mind. A reset is your best friend here, giving you that satisfying "brand new" feeling without the brand new price tag!
Alright, reasons established! Let's get to the good stuff. Now, Nest Cams are a bit like a family; they have different personalities and sometimes slightly different ways of doing things. But don't you worry, the core idea is pretty consistent. We'll mostly be leaning on the trusty Google Home or Nest app for this magic trick because, let's be real, who doesn't love solving problems with a few taps on their phone?
The Main Event: Resetting via the App (Your Go-To Method!)
For most modern Google Nest Cameras, especially those managed through the shiny Google Home app, the factory reset process is wonderfully straightforward. It’s less about hunting for a tiny, microscopic pinhole button (though some older models might still rock one – we’ll give a quick nod to them later!) and more about a few decisive taps on your phone. Easy peasy lemon squeezy, as they say!

Here's Your Step-by-Step Goodness:
- Open Your App of Choice: First things first, grab your phone and launch the Google Home app. This is where the magic happens for most current Nest devices. If you're still using the old Nest app for an older, beloved camera, that's your port of call. No judgment here, we all have our favorite apps and tech habits!
- Find Your Camera: Once inside the app, navigate to the main screen where all your wonderful smart devices live. Find the specific Nest Camera you want to reset. Give its little icon a gentle tap, like you're waking it up from a peaceful nap.
- Dive into Settings: Look for the familiar gear icon (⚙️) or the word "Settings." This is where all the cool kids hang out to tweak and manage their devices. Tap that bad boy!
- Scroll to "Remove Device": Now, this is the crucial part. Scroll down through the settings until you spot an option like "Remove device," "Delete device," or sometimes even "Factory Reset" itself. It might be hiding near the bottom, so keep an eye out like you're searching for hidden treasure. Tapping this will both remove the camera from your Google account and factory reset it – two birds, one stone! How wonderfully efficient!
- Confirm, Confirm, Confirm: Your app will probably ask you if you're really, really sure about this monumental decision. It's like asking if you're certain you want to delete that embarrassing selfie from 2010. Be brave, confirm your decision! Tap "Remove" or "Confirm" with confidence.
- Unplug the Camera: After confirming your grand plan, the app might instruct you to unplug the camera from its power source. This is like telling it to take a deep breath and let go of all its memories, letting the reset fully take hold. Follow the prompt!
Voila! Just like that, your Nest Camera is officially divorced from your account and has been wiped clean, ready for its next chapter. Give yourself a hearty pat on the back – you're not just a smart-home owner, you’re a bona fide tech wizard!
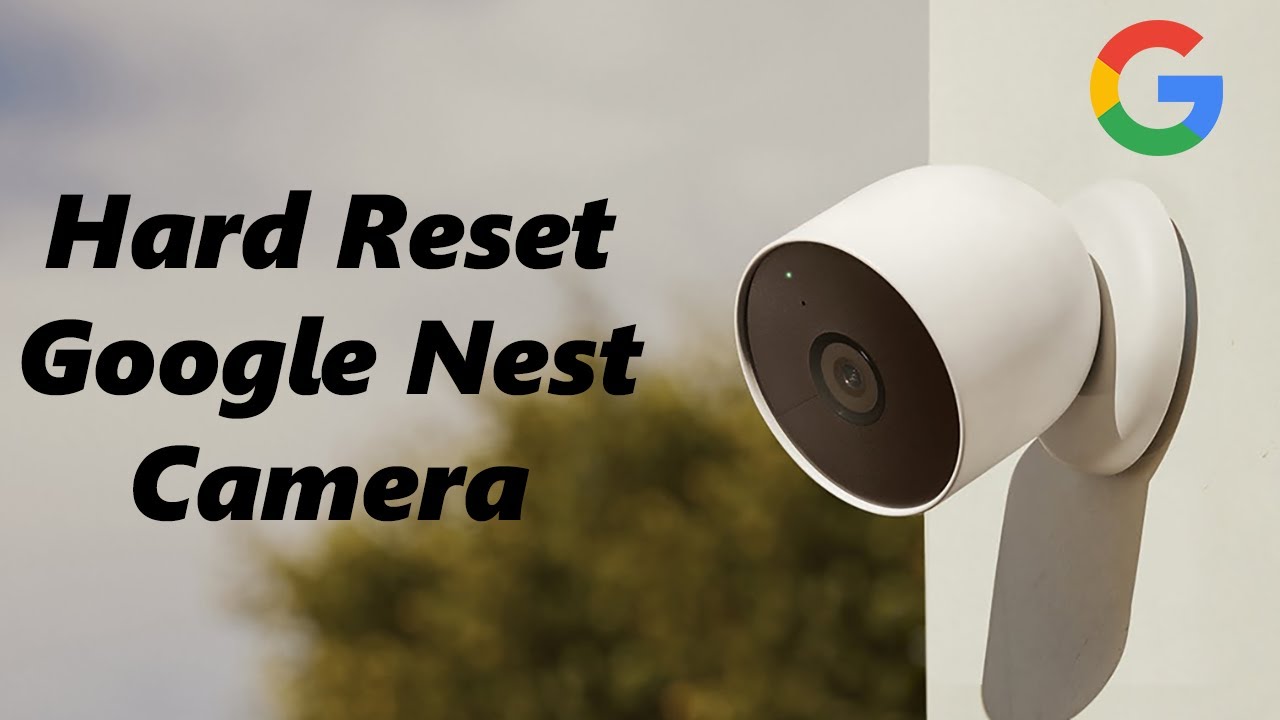
What About the Older, Button-Wielding Warriors?
Okay, a quick shout-out to some of the OG Nest Cams (like the original Nest Cam Indoor or Outdoor) that might still feature a tiny, almost invisible pinhole reset button. If your camera seems to defy the app-based removal (or if you’re trying to reset it without app access, perhaps you inherited it from a friend), this might be your secret path to glory.

Generally, the process involves a few simple steps:
- First, make sure the camera is powered on and ready for action.
- Then, you’ll need to find that elusive reset button (often on the back or bottom, usually a tiny pinhole).
- Grab a straightened paperclip or a thumbtack (gently, please, we don't want to hurt the little guy!) and press and hold the button for about 10-12 seconds. You might see a light flash, hear a chime, or feel a tiny click, indicating the reset is happening.
- After the physical reset, you’d still ideally want to remove it from your account in the app if it's still linked, just to be super-duper thorough.
But honestly, for most current users and devices, the app method is where it's at. It's cleaner, simpler, and far less likely to involve a frantic midnight search for a paperclip while everyone else is asleep.
A Few Friendly Reminders Before You Go:
- Power Up, Buttercup: Always make sure your camera is plugged in and powered on during the reset process. A camera without power is like a superhero without their cape – not much use!
- Patience, Grasshopper: Sometimes things take a moment. Don't go mashing buttons repeatedly or throwing your phone across the room if it doesn't happen instantly. Give it a beat, let the digital magic unfold.
- Internet Connection: Ensure your phone has a stable internet connection when using the app. This goes without saying, but hey, a friendly reminder never hurts, right?
And there you have it! You’ve successfully factory reset your Google Nest Camera. Whether it’s now headed to a new home, solving a stubborn tech glitch that was driving you nuts, or just getting a fresh start for your ultimate peace of mind, you’ve totally nailed it. You’re not just a smart-home owner; you’re a smart-home master, capable of taming even the trickiest tech tantrums! Go forth and conquer your digital domain, one reset at a time. Now, seriously, go treat yourself to a cookie or your favorite beverage – you've earned it!