
How To Draw Bullet Holes Step By Step
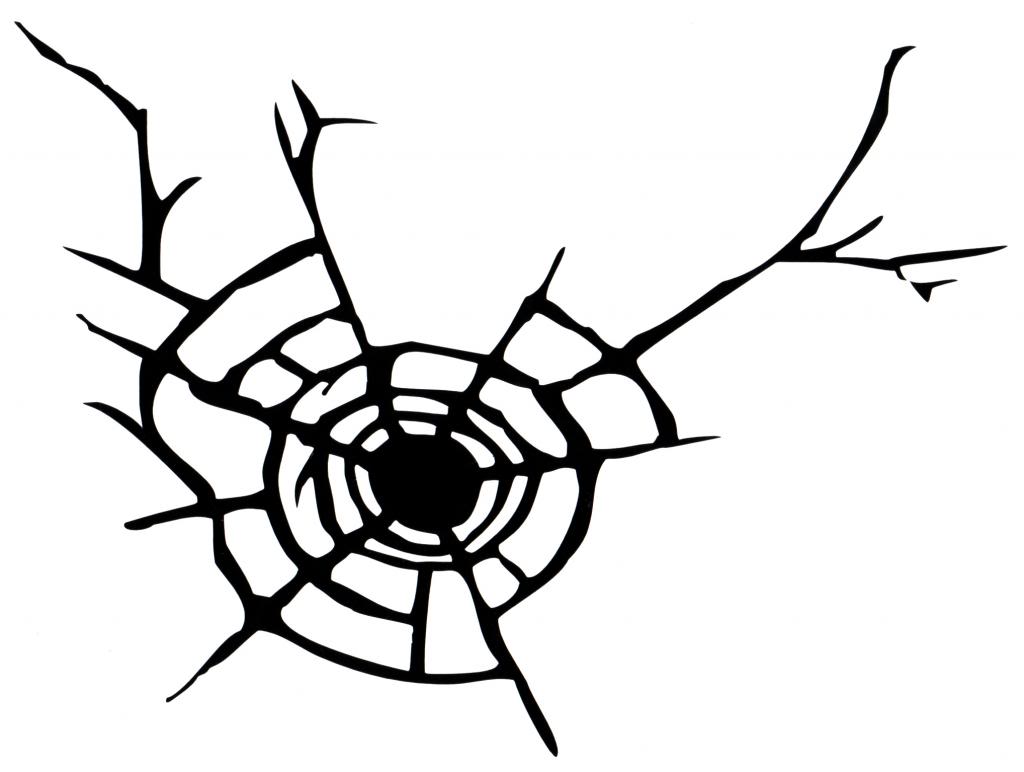
Ever wanted to add a little "oomph" to your drawings? Something to give them that extra edge? Well, buckle up, buttercup, because we're diving headfirst into the thrilling world of drawing bullet holes!
I know, I know, it sounds a bit… intense. But trust me, it's easier than parallel parking a hippopotamus in a phone booth. And way more fun.
Step 1: The Basic Hole
Grab your trusty pencil (or pen, crayon, even a rogue Cheeto dust mark – I don't judge). Let's start with the foundation: a circle.
Must Read
Don’t worry about making it perfect! In fact, slightly wonky is better. After all, bullets aren't exactly known for their pristine artistry.
Think of it like a very, very rough donut. But instead of sprinkles, we’re going to add something a little more… dramatic.
Step 2: The Inner Ring
Inside that circle, draw another, smaller circle. This is where things start to get interesting!
This inner circle represents the actual hole created by the… projectile. Exciting, isn’t it?
Make this inner circle a bit darker than the outer one. This creates depth and makes it look like a real hole, not just a random doodle.
Step 3: The Cracks!
Now for the fun part: adding the cracks! These are the little lines that radiate outwards from the hole, showing the force of the impact.
Imagine throwing a rock at a pane of glass. What happens? Cracks, baby, cracks everywhere! That's what we're mimicking here.
Start by drawing a few longer cracks that extend quite a ways from the main hole. Think of them as the main highways of destruction.

Then, add some shorter, smaller cracks branching off from the main ones. These are the side streets of shattered glory.
Don’t be afraid to overlap the cracks and make them look a little chaotic. Randomness is your friend here! Remember, perfection is boring. Mayhem is magnificent!
Step 4: Debris!
No bullet hole is complete without a little… debris. Think of it as the shrapnel confetti of destruction.
Draw tiny little jagged shapes scattered around the hole, especially near the cracks. These represent bits of material that have been chipped away.
You can make these shapes look like little triangles, squares, or just random pointy bits. The key is to keep them small and scattered.
Imagine throwing a handful of rice at your drawing. That's the general idea, but with more… edgy shapes.
Step 5: Shading and Depth
Time to add some shading! This is where we bring the bullet hole to life and make it look truly three-dimensional.
Imagine a light source shining on your drawing. The parts of the hole that are further away from the light source should be darker.
So, shade the inside of the inner circle to make it look deeper. Also, shade the areas around the cracks and debris to create shadows.

A little bit of shading goes a long way. It adds depth, realism, and a touch of dramatic flair.
Step 6: Surface Texture (Optional, but Awesome!)
If you really want to take your bullet hole drawing to the next level, consider adding some texture to the surface around it.
For example, if you're drawing a bullet hole in wood, you can add some wood grain lines. If it's in metal, you can add some scratches and dents.
This adds another layer of realism and helps to integrate the bullet hole into the surrounding environment.
Think of it as giving your drawing a little bit of extra personality. A touch of "je ne sais quoi," if you will.
Step 7: Experiment!
Now for the most important step: experiment! Don't be afraid to try different things and see what works best for you.
Try drawing different shapes and sizes of bullet holes. Try adding different types of cracks and debris. Try using different shading techniques.
The only limit is your imagination! And maybe the availability of your art supplies.
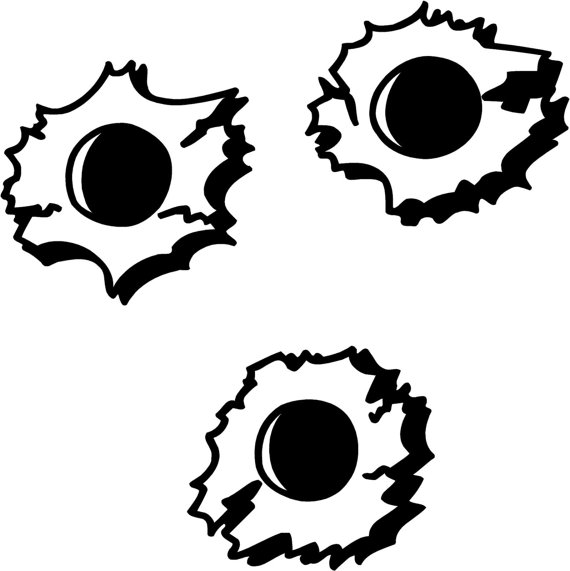
Step 8: Context is King!
A bullet hole on its own is cool, but a bullet hole in context? Now we're talking! Think about where your bullet hole is located.
Is it in a rusty old barrel? A pristine white wall? A zombie? The surrounding environment will heavily influence how your bullet hole looks!
A bullet hole in wood will splinter differently than one in metal. Consider adding splintered wood, dented metal, or maybe even a little green zombie goo!
Step 9: Scale and Size Matters!
Think about the size of the bullet hole. Was this a tiny .22? Or a massive .50 caliber round? The bigger the round, the bigger the hole, the more dramatic the cracks and debris.
Also, consider the distance. A bullet fired at close range will likely cause more damage than one fired from far away. Think about adding a slightly blurred effect to a faraway shot.
Scale is all about perspective! Make sure your bullet hole matches the scale of the object it's in!
Step 10: The "Ricochet" Factor!
Who says a bullet only makes one hole? Consider adding secondary damage from a ricochet! This could be a long scratch, a series of smaller dents, or even another, smaller bullet hole nearby.
A ricochet tells a story. It adds drama and intrigue. Did the bullet bounce off a metal surface? Did it graze something soft?
Adding a ricochet is like giving your bullet hole a sequel! It's an extra touch of realism that will really impress your audience.
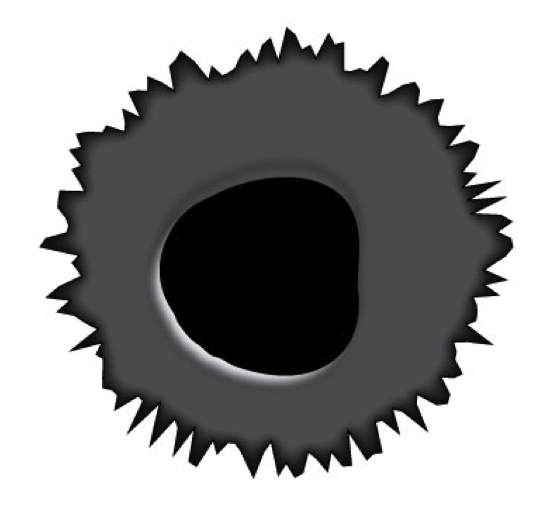
Step 11: Don't Be Afraid to Exaggerate!
Realism is great, but sometimes, a little exaggeration can really sell the effect! Don't be afraid to make the cracks a little longer, the debris a little more dramatic, the shading a little more intense.
Think of it like adding a little spice to your drawing. It makes it more exciting, more visually appealing, and more… well… awesome!
Just don't go overboard! You want to enhance the realism, not completely abandon it. Find that sweet spot and rock it!
Step 12: Practice Makes Perfect (or at Least Pretty Good!)
Like anything else, drawing bullet holes takes practice. Don't get discouraged if your first few attempts don't look exactly like you imagined.
Keep practicing, keep experimenting, and keep having fun! The more you draw, the better you'll get.
And who knows, maybe one day you'll be the world's foremost expert on drawing bullet holes! (Okay, maybe not, but you'll be pretty darn good!).
Final Thoughts
So there you have it! A step-by-step guide to drawing bullet holes. It’s easy, fun, and surprisingly satisfying.
Now go forth and add some "bang" to your drawings! Remember to have fun, be creative, and don't be afraid to experiment.
And most importantly, stay safe and don’t go shooting holes in anything in real life! That’s what drawings are for!