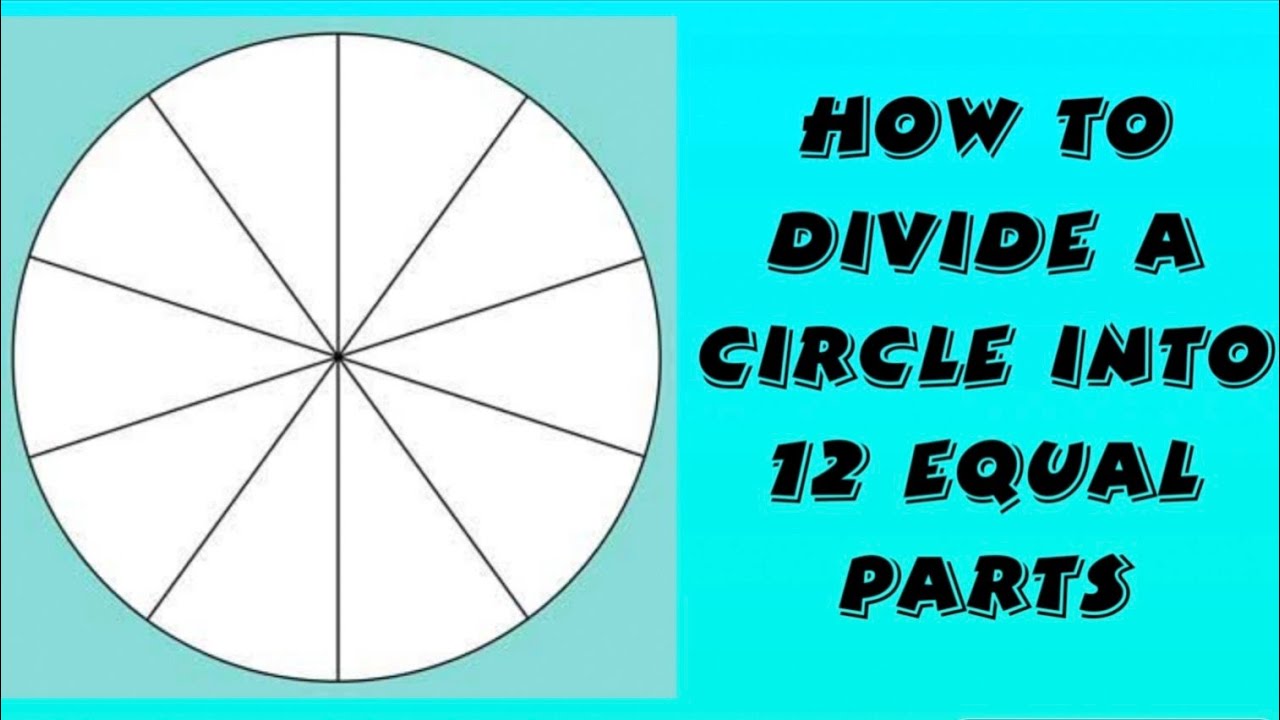
How To Divide A Circle Into 12 Equal Parts

Ever felt the urge to slice a pizza perfectly, create a beautiful mandala, or even design a cool clock face? Knowing how to divide a circle into equal parts, especially twelve, is a surprisingly handy skill! It's not just for mathematicians; it's a fun and accessible bit of geometry that opens up a world of creative possibilities.
Why bother with dividing a circle? For beginners, it's a fantastic introduction to basic geometry concepts and using tools like a compass. Families might enjoy using this technique for art projects, like creating symmetrical designs or dividing chores fairly (think "pizza slices of responsibility!"). And for hobbyists like crafters, woodworkers, or even bakers, accurately dividing a circle is essential for projects requiring precision and symmetry. Imagine perfectly spaced holes for a cross-stitch pattern, precisely cut segments for a wooden bowl, or uniformly iced sections on a cake!
The most common method uses a compass and straightedge (or ruler). Here's the breakdown:
Must Read
- Draw your circle: Use a compass to draw a circle of your desired size. The sharper your pencil, the more accurate you'll be! Mark the center of the circle clearly. This is crucial!
- Draw a diameter: Use your straightedge to draw a straight line through the center of the circle, extending to both edges. This is your diameter.
- Find the 6 and 12 o'clock points: The points where the diameter intersects the circle are your 6 and 12 o'clock positions.
- Swing arcs from the 6 and 12: Without changing the compass width you used to draw the circle, place the compass point on the 12 o'clock position. Draw an arc that intersects the circle. Do the same from the 6 o'clock position.
- Find the 3 and 9 o'clock points: The points where these arcs intersect the circle are your 3 and 9 o'clock positions. Now you have your circle divided into quarters!
- Bisect the arcs to find the in-between points: This is where it gets a little trickier, but stick with it! Now, place your compass on the 12 o'clock position and make a small arc above the circle's edge. Then, without changing the compass width, place the compass on the "3 o'clock" position and make another small arc that intersects the first. Do the same between all quarter sections: 3-6, 6-9, 9-12.
- Join the dots: Use your straight edge to draw a line through the center point from each point you have found on the circle. You will now have lines dividing the circle into 12 equal segments!
Variations and Tips: You can adapt this method to divide the circle into other numbers of equal parts. For example, if you only want to divide it into six, you'd simply skip the final bisection step. Also, use a sharp pencil for accuracy. A dull pencil tip can throw off your measurements. Don’t be afraid to practice. The more you do it, the easier it gets!

Getting Started: Grab a compass, ruler, pencil, and some paper. Don't worry about perfection on your first try. The joy is in the process of learning and creating. Start with a small circle to get the hang of it. You can even find templates online to help guide you.
Dividing a circle into twelve equal parts might seem like a small thing, but it's a fundamental skill that can unlock a world of creative possibilities. So, have fun exploring the geometry of circles and see where your newfound knowledge takes you! The possibilities are endless and, with a little practice, you'll be amazed at what you can create.