Ah, the grand old internet. It’s a bit like air, isn't it? You don't really think about it until it's gone. Or, perhaps worse, until it changes. That’s when the dominoes start to fall, usually right into your smart home.
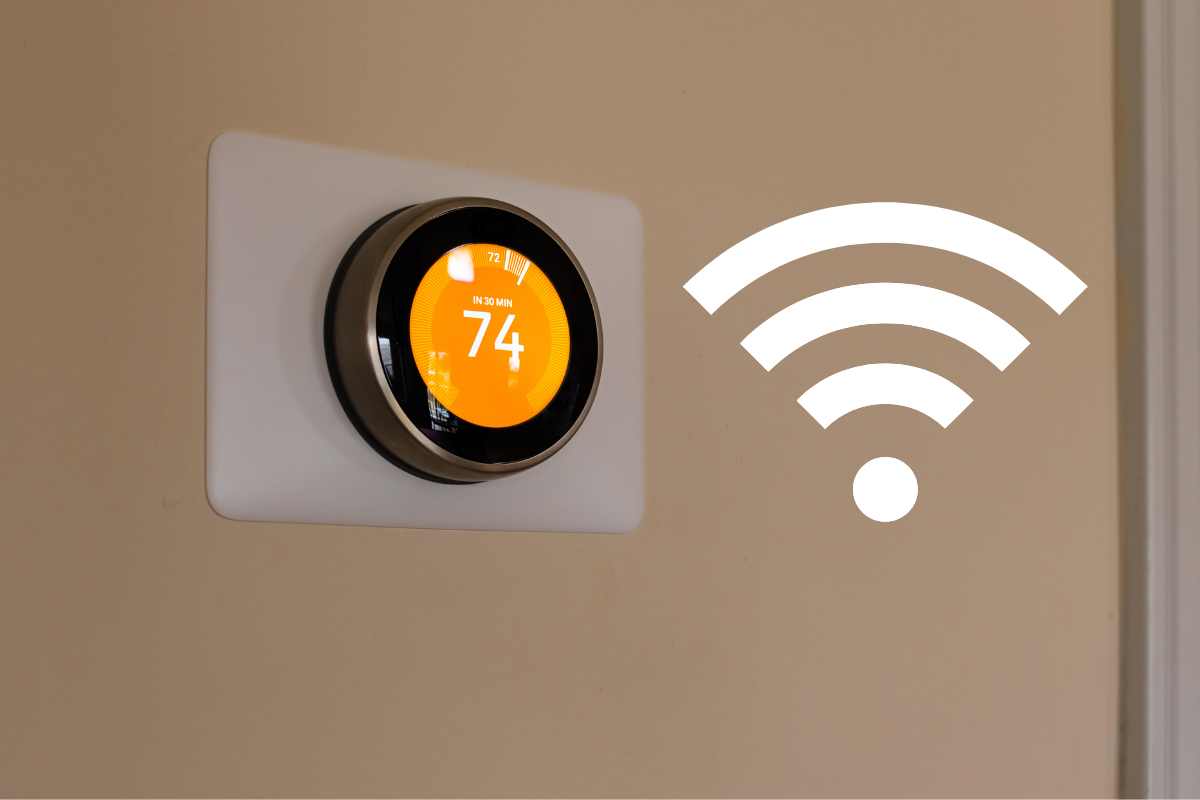
And then there's your beloved, or sometimes quietly resented, Nest Thermostat. It's usually so helpful, so intuitive, so perfectly temperature-controlling. Until, that is, you switch internet providers or simply update your router password.
Suddenly, your smart home feels less "smart" and more like a collection of very expensive paperweights. Your Nest, once a beacon of warmth or coolness, stares back at you with an unnerving silence. It’s like it knows you're about to embark on a mini-quest.
This quest, dear reader, is for the sacred art of changing your Nest's Wi-Fi network. And it's a journey we're going to navigate together, with a few chuckles along the way.
Unpopular Opinion: Smart devices should absolutely, unequivocally, magically just know when your Wi-Fi changes. They should be psychic. It’s 2024, after all!
The Great Wi-Fi Migration: A Nest Adventure
First things first, locate your Nest Thermostat. It’s probably right there on your wall, looking innocent. Don't let its sleek design fool you; it holds the keys to your climate kingdom.
Walk up to it with confidence. Maybe offer it a silent nod of respect. You are about to initiate a very important conversation.
Step 1: Waking the Beast (Gently)
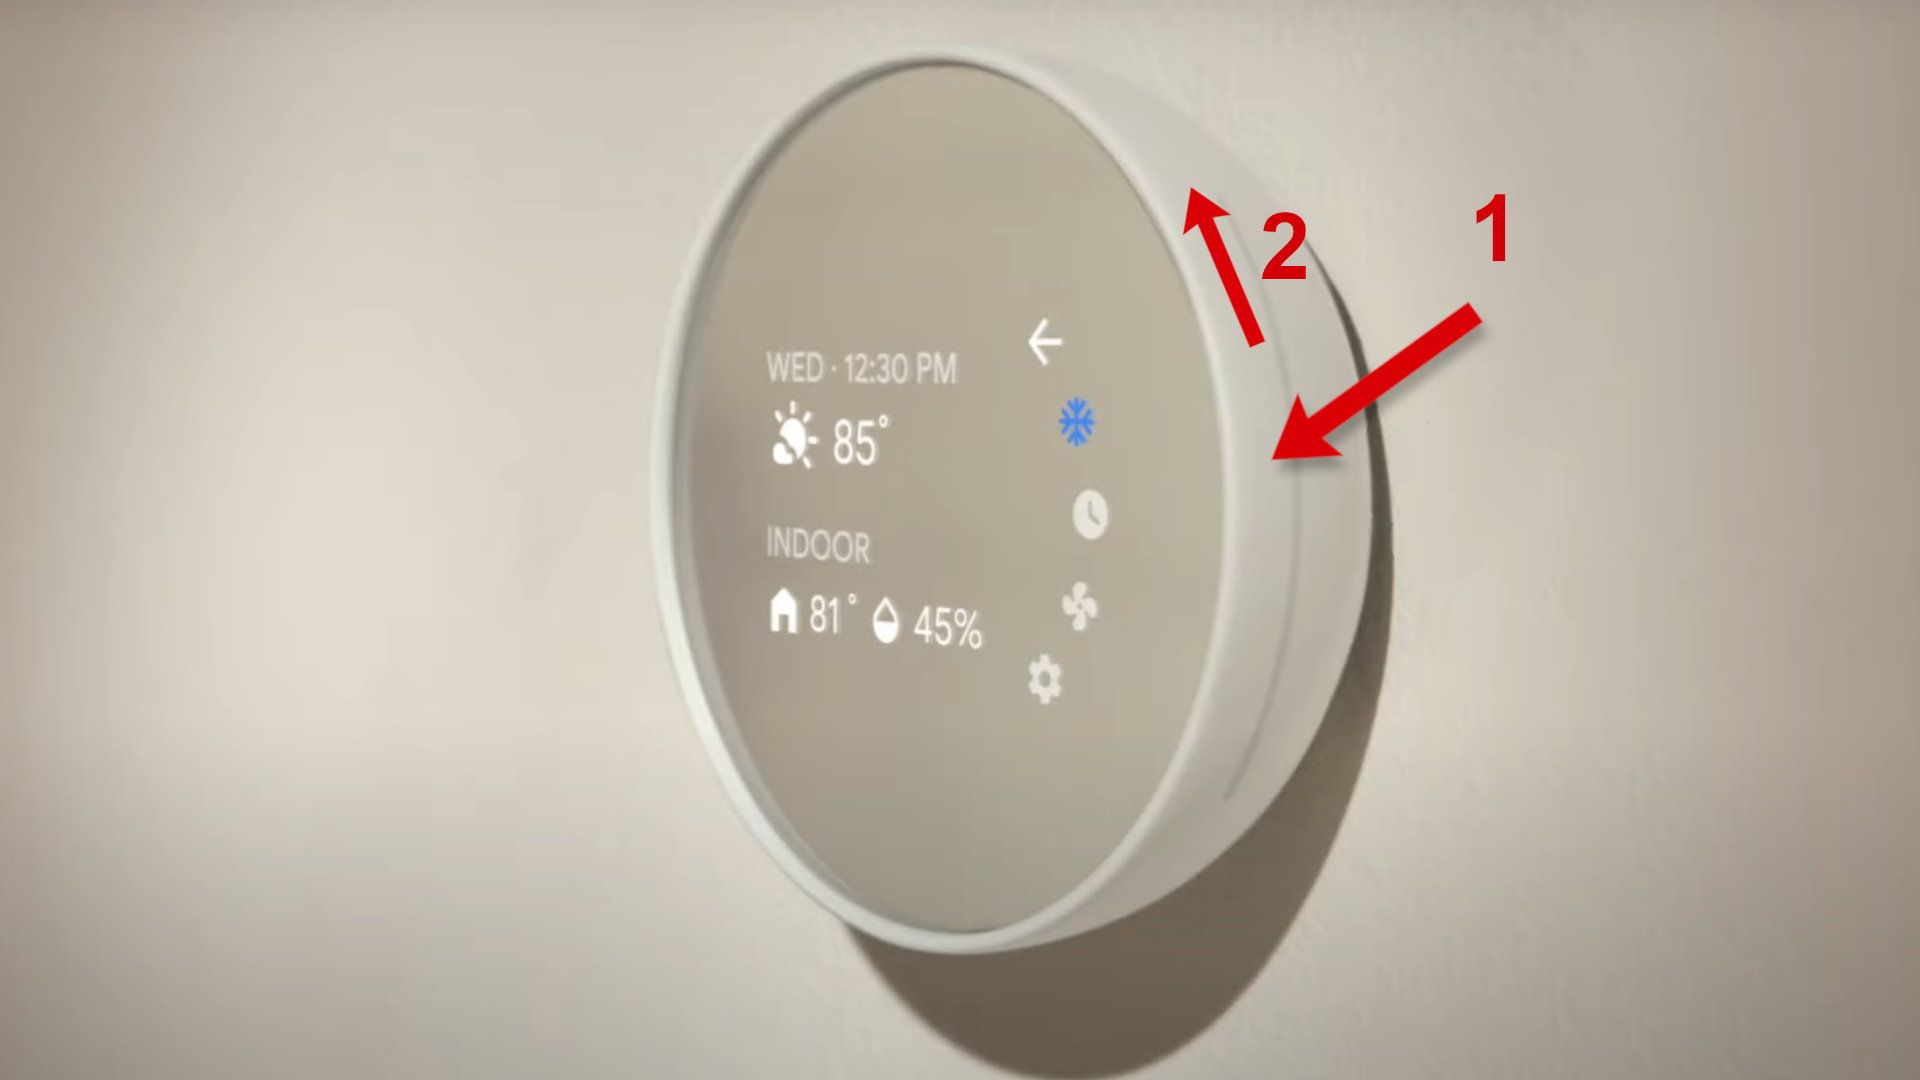
Your Nest might be sleeping, its screen dark. That’s perfectly normal. Give the outer ring a little tap or turn it slightly. The screen should spring to life, dazzling you with its ambient glow.
How to Change WiFi on My Nest Thermostat | CitizenSide
You’ll likely see your current temperature, perhaps a cheerful leaf icon. This is its way of saying, "Hello, human. What trouble are we getting into today?"
Step 2: The Settings Safari
Now, let's dive into the digital jungle. Turn the Nest's outer ring to scroll through the main menu options. You’re looking for the gear icon, the universal symbol for "settings."
It's usually labeled as "Settings". Once you land on it, press the entire Nest display inward like a button. It gives a satisfying little click.
Humor Break: This part always feels like you're cracking a secret code. Just imagine your Nest whispering, "Only the worthy may proceed."
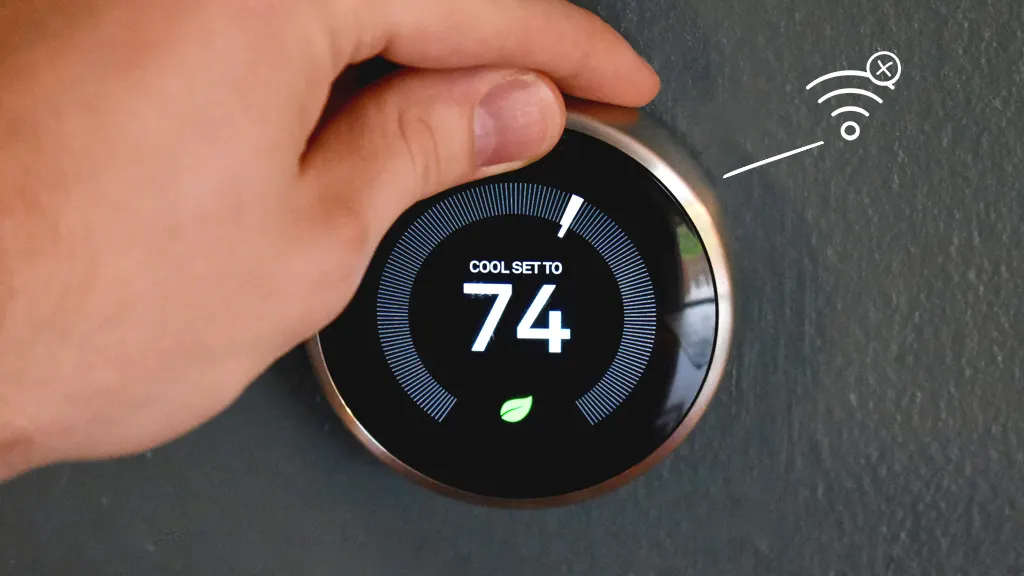
Step 3: The Wi-Fi Hunt (No Actual Hunting Required)
Within the "Settings" menu, you'll find a list of options. Scroll down again using the outer ring. We are on a mission for connectivity, so naturally, we're looking for "Network" or perhaps "Wi-Fi".
(5 Easy Steps) - How To Connect Nest Thermostat To WI-FI?
It might even be subtly hiding. Keep scrolling. It’s there, we promise. Once you find it, press the entire display again to select it.
This is where the magic (or minor frustration) truly begins. Your Nest is now ready to search for new digital horizons.
Step 4: Scanning for New Digital Pastures
The Nest will start scanning for available Wi-Fi networks. This might take a few moments. It’s like it’s taking a deep breath before shouting, "Are there any new networks around?"
A list will appear. This list can sometimes be surprisingly long, featuring your neighbors' mysteriously named networks like "FBI_Van_17B" or "PrettyFlyForAWiFi." Choose your own network name carefully.
Use the outer ring to scroll until your new, glorious Wi-Fi network name is highlighted. Then, you guessed it, press the display to select it.
Relatable Moment: Finding your own Wi-Fi name in a sea of others feels like spotting a friendly face in a crowd. A little sigh of relief is permitted here.
How to connect Google Nest Thermostat to Wi-Fi
Step 5: The Password Gauntlet (Breathe Deeply)
Here it is. The moment of truth. The password entry screen. If your Wi-Fi password is a complex string of uppercase, lowercase, numbers, and symbols, prepare for a tiny battle of wits.
The Nest will present you with an on-screen keyboard. You'll use the outer ring to navigate letter by letter, number by number. Press the display to select each character.
Take your time. There's no rush. Misspelling a single character can lead to endless "Incorrect Password" messages, which, let's be honest, are never fun. Double-check your password on a phone or computer if you're unsure.
Once you've painstakingly entered every character, scroll to the "Done" or "Connect" option and press the display one last time.
Unpopular Opinion #2: Entering complex Wi-Fi passwords on a tiny thermostat screen is a cruel and unusual punishment designed by tech gods who clearly don't live in the real world.
How to Reconnect Nest Thermostat to Wifi: Step-by-Step Guide
Step 6: The Sweet Taste of Connectivity
Your Nest will now attempt to connect. It might say "Connecting..." or "Getting IP Address..." These are all good signs. It’s doing its best, bless its little smart-home heart.
And then, glorious triumph! You'll likely see a message confirming it's "Connected!" or a little Wi-Fi symbol will appear triumphantly in the top corner of the screen. Cue the imaginary fanfare!
You have successfully navigated the digital labyrinth. Your Nest Thermostat is once again tethered to the vast ocean of the internet. It can now talk to the mothership, download updates, and, most importantly, respond to your every temperature whim.
Mission Accomplished!
Pat yourself on the back. You are a true smart-home hero. You conquered the Wi-Fi monster and restored order to your climate-controlled domain. Your fingers may be a little tired from all that clicking and turning, but your home is now perfectly connected.
Next time your Wi-Fi decides to throw a curveball, you’ll be ready. You’ll approach your Nest with the wisdom of a seasoned tech whisperer, knowing that even the most daunting digital tasks can be tamed with a little patience and a dash of humor.
Go forth and enjoy your perfectly connected, perfectly comfortable home. Your Nest, in its silent, digital way, thanks you.