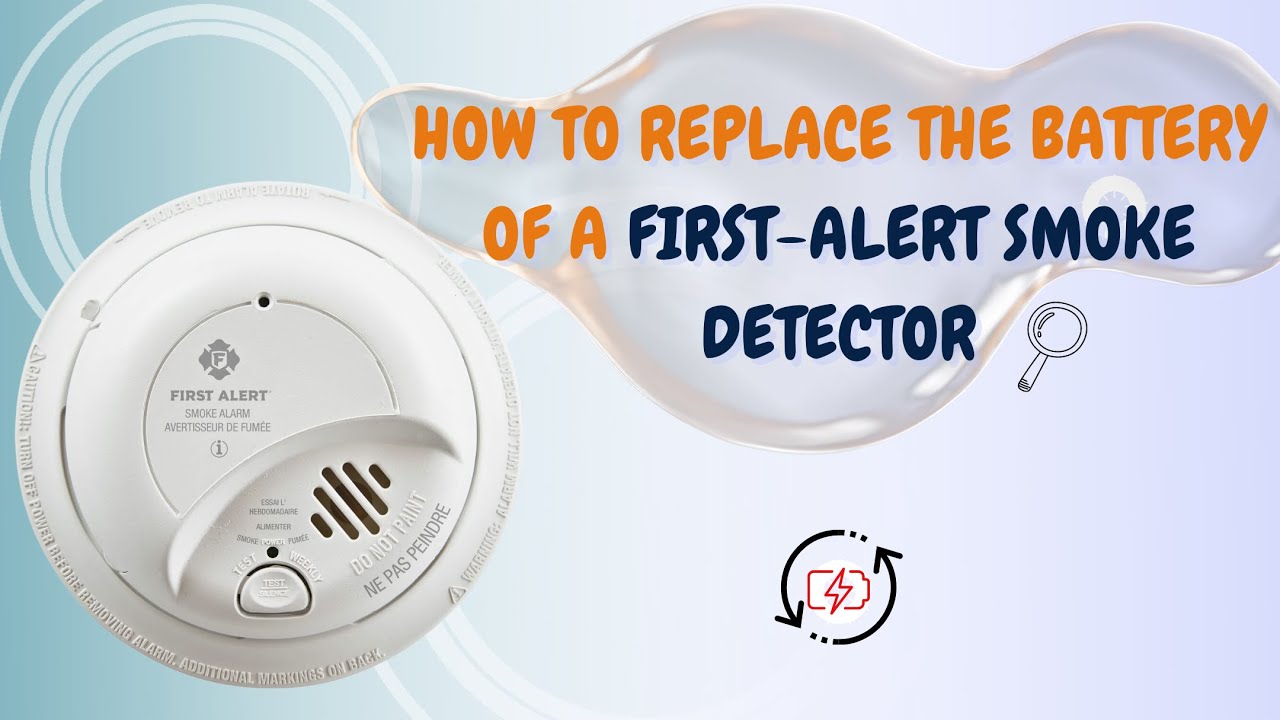
How To Change Batteries On Smoke Detector

Alright, let's talk about that sound. You know the one. It starts subtly, a tiny, insistent chirp that seems to come from everywhere and nowhere at once. It’s the sound of your smoke detector telling you, quite politely (or sometimes, not so politely), that it’s time for a little TLC. And honestly, for many, that chirp can feel like a tiny, persistent nemesis. But what if I told you that dealing with it isn't just a chore, but an opportunity? A chance to feel like a household superhero, even if just for a moment?
Because let's face it, mastering the art of the smoke detector battery change is more than just silencing an annoying sound. It's about safety, peace of mind, and a delightful sense of accomplishment. It’s a small victory that paves the way for bigger ones. And trust me, it’s much easier – and dare I say, more fun – than you think!
Why This Tiny Task Packs a Mighty Punch
First off, the serious stuff: safety. Smoke detectors are our silent guardians, ever vigilant against the unthinkable. A dead battery means a sleeping guardian, and we definitely don’t want that, do we? So, changing that battery isn't just about avoiding the chirp; it's about keeping your loved ones and your home safe and sound. That alone is a pretty powerful motivator!
Must Read
But beyond safety, there’s the joy of silencing the beast. Imagine a world without that random, intermittent beep disrupting your movie night, your peaceful morning coffee, or that critical moment in your work call. Pure bliss, right? You’re not just changing a battery; you’re restoring tranquility to your domain. You're the conductor of quiet!
Your Mission, Should You Choose to Accept It (Spoiler: You Should!)
So, you’re ready to tackle the chirp? Excellent! Here’s your simple, step-by-step guide to becoming a battery-changing champion.

Step 1: Gather Your Tools (Your Hero’s Kit!)
You won't need a utility belt for this, but a few essentials will make you feel prepared. Grab a new 9-volt battery (or whatever specific type your detector uses – check the old one!). You might also need a sturdy step stool or a ladder, depending on how high your smoke detector is playing hide-and-seek. Safety first, always! Don’t try to stretch or stand on precarious furniture.
Step 2: Pinpoint the Culprit (The Chirper!)
Sometimes it’s obvious; other times, it feels like an auditory puzzle. Walk around, listen carefully. The chirp will usually get louder as you get closer. Once you’ve identified the exact detector that’s sounding the alarm, you're halfway there. Go ahead, give it a stern, but loving, look. You're about to show it who's boss!
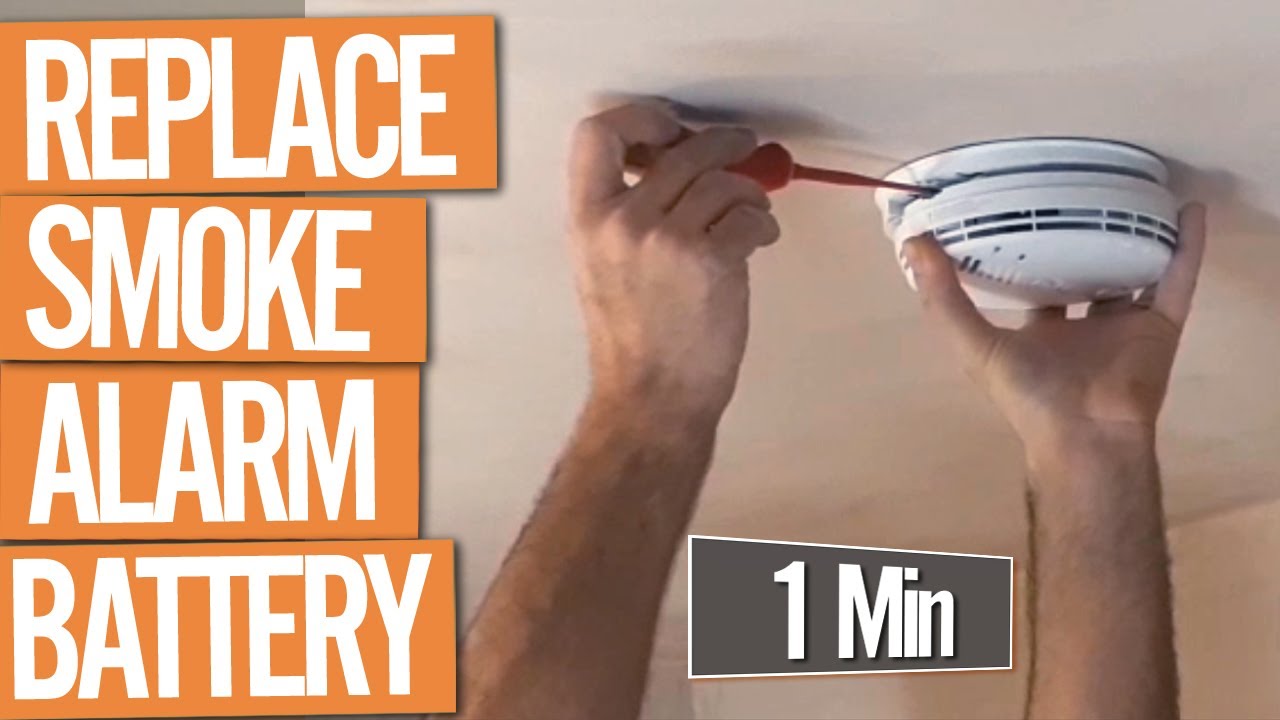
Step 3: Access Granted (Open Sesame!)
Most smoke detectors are designed for easy access. Typically, you'll need to twist the unit counter-clockwise to release it from its mounting bracket on the ceiling or wall. Some might have a latch or clips that you press. Don't be afraid to give it a gentle but firm twist or squeeze. It's built to be opened! Once it's off the bracket, it usually hangs by a short wire – perfectly safe.
Step 4: The Old Out, The New In (The Swap!)
Inside, you’ll see the battery compartment. Gently unclip or slide out the old battery. Take a quick peek at how it was oriented (+ and - terminals) before you put in the new one. This is super important! Make sure to insert the new battery with the correct polarity. Usually, the larger terminal goes with the larger clip, and vice versa. It’s a bit like solving a tiny puzzle, and you’ve got this!
Step 5: Test Your Work (The Moment of Truth!)
Before you reattach the detector, push the "test" button (it's usually a small button on the front). It should emit a loud, piercing alarm. This is a good thing! It means your detector is working beautifully with its new power source. If it doesn't alarm, double-check the battery's orientation.
Step 6: Reattach and Rejoice!
Align the detector with its mounting bracket and twist it clockwise until it locks securely into place. Step back, admire your handiwork, and bask in the glorious silence. You did it! You’ve tamed the chirp, ensured your safety, and saved yourself a potential service call.
Beyond the Beep: How This Makes Life More Fun
Think about it: you just tackled a small household nuisance, safely and efficiently. That feeling of "I did that!" is incredibly empowering, isn't it? It’s not just about changing a battery; it’s about taking charge, learning a practical skill, and building confidence in your ability to handle life’s little challenges.

This tiny act of self-reliance can spark something bigger. It's a reminder that you don't need to call in an expert for every little thing. You have the smarts, the capability, and now, the know-how to handle simple repairs around your home. Every time you silence that chirp, you’re not just getting rid of an annoyance; you're cultivating a mindset of capability. You're thinking, "What else can I learn? What else can I fix?"
Imagine the satisfaction! No more waiting for someone else, no more worrying about that incessant sound. Just you, your hands, and a quiet, safe home. It’s a small step, yes, but it’s a giant leap for your DIY spirit.
So, the next time you hear that familiar chirp, don't groan. Instead, smile. It’s an invitation to a mini-adventure, a chance to flex those problem-solving muscles, and an opportunity to feel genuinely good about yourself. Embrace the chirp! It’s just another friendly nudge from the universe reminding you that you’re more capable than you think. What other small, seemingly daunting tasks are waiting for you to conquer? Go on, give it a try. The world is full of little victories, just waiting for you to claim them!