How To Change An Ac Thermostat

Ah, the thermostat. That enigmatic little box on the wall. It holds the power, doesn't it? The power to make us shiver, or to make us sweat. It often feels like it has a mind of its own, especially when it decides to go on strike. One day, it's happily humming along, telling you it's 72 degrees. The next, it's a blank slate, a silent judge of your comfort levels.
For years, we've been conditioned to believe that changing one of these high-tech marvels requires a secret handshake, a degree in advanced robotics, and perhaps a small offering to the HVAC gods. We eye it suspiciously, convinced it's far too complicated for mere mortals.
Well, here's my slightly unpopular opinion, whispered in hushed tones across suburban living rooms:
Must Read
Changing an AC thermostat is often easier than assembling a piece of flat-pack furniture. Sometimes, it's even less frustrating than trying to pair your phone to a new Bluetooth speaker.
Yes, I said it. Brace yourself. You don't need to be a certified wizard. You just need a dash of courage and a very specific tool. And maybe a tiny piece of paper to doodle on.

The Sacred Tools of Transformation
What do you need for this grand adventure? Prepare to be underwhelmed. Mostly, just a screwdriver. A basic Phillips head, usually. Sometimes a flathead, for good measure. Think of it less as a tool and more as your magic wand. That’s it. No complicated diagnostic equipment. No elaborate schematics. Just a humble piece of metal with a handle.
Oh, and maybe your new thermostat, of course. That's kind of important. And a pen and paper. Trust me on the paper. It’s for the mystical scribbles you’re about to make.
The First Ritual: Appeasing the Electrical Spirits
Before you lay a single finger on that old, possibly defiant box, there is one absolutely, non-negotiably crucial step. It’s like the first rule of Fight Club, but for your house. Go to your electrical panel. Find the breaker for your furnace or AC unit. Flip it. Hear that satisfying click? Good. The power is off. Your system is now dormant. No sparks, no surprises. Just blissful, electrical silence.
Bidding Farewell to the Old Guardian
Now, approach the old thermostat. You might need to gently pry it off its mounting plate. Sometimes there's a small tab to press. Sometimes it just snaps right off. Don't be shy. It's had a good run. Once the cover is off, you’ll see them: the wires. A vibrant, colorful spaghetti of purpose.
This is where your pen and paper come in handy. Before you disconnect a single wire, observe. Each wire will connect to a specific, usually labeled terminal. Take a picture with your phone. Or, if you’re old school like me, draw a little diagram. Label each wire’s color and which terminal it connects to. Red to R. Green to G. Yellow to Y. You get the idea. This is your secret map. This is your key to not having a perpetually freezing living room or a sauna for a bedroom later.
Using your magic screwdriver, carefully loosen the screws holding each wire in place. Gently pull the wires free. The old thermostat is now truly defeated. It’s just a plastic shell, ready for retirement or a starring role in a quirky art project.
Welcoming the New Overlord (of Temperature)
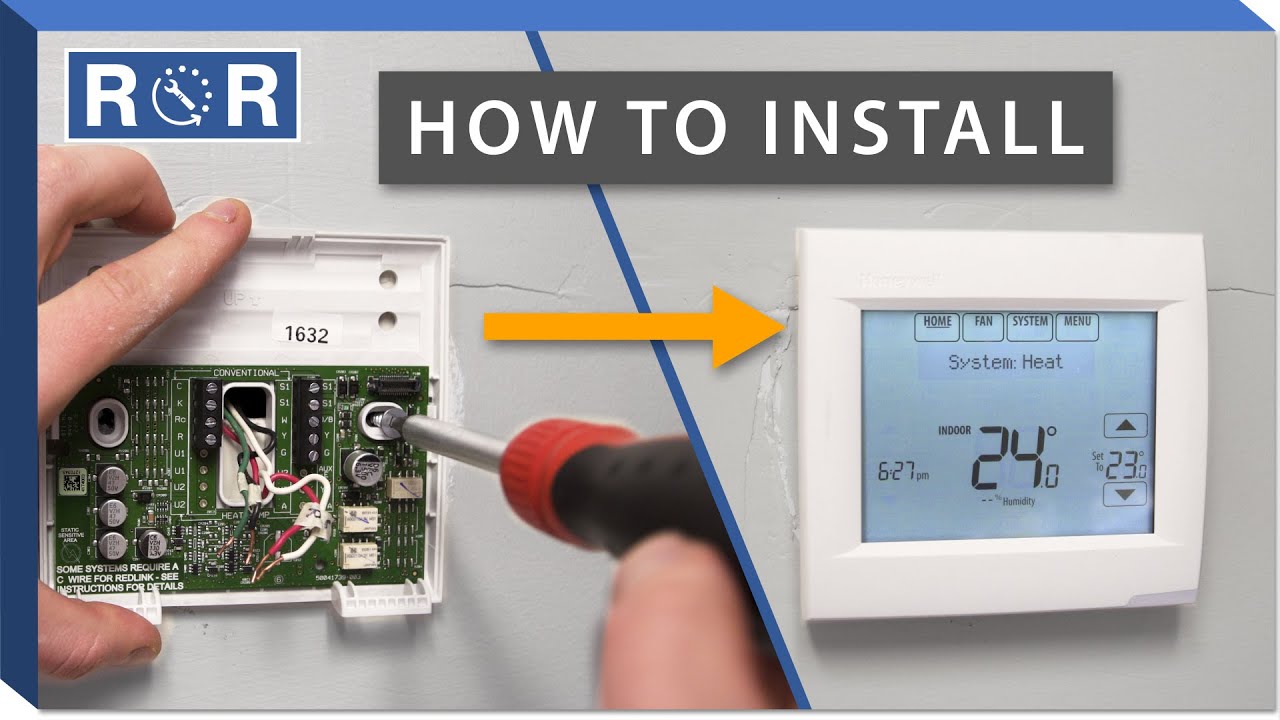
Grab your shiny, new thermostat. Most new models come with a mounting plate. This plate is what actually screws to the wall. Often, it will use the same screw holes as the old one. If not, don’t fret. A little bit of careful drilling (and maybe a level) will sort it out. Secure the mounting plate firmly to the wall. It's the new foundation for your climate control destiny.
Now for the most satisfying part: connecting those colorful wires. Refer to your photo or your scribbled map. Match each wire to its corresponding terminal on the new mounting plate. Gently insert the bare end of the wire into the correct terminal and tighten the screw. Don't overtighten; just snug enough so the wire is secure and won't pull out easily. Double-check everything. Red to R. Green to G. You’re practically a pro now, aren't you?
Once all the wires are connected, carefully snap the new thermostat face onto its mounting plate. It should click satisfyingly into place. Give it a gentle wiggle to ensure it’s secure.

The Moment of Truth: Reawakening the Power
Head back to your electrical panel. Remember that breaker you flipped earlier? It’s time to flip it back on. Hear that quiet hum as your AC unit or furnace awakens? That’s the sound of success. Return to your newly installed thermostat.
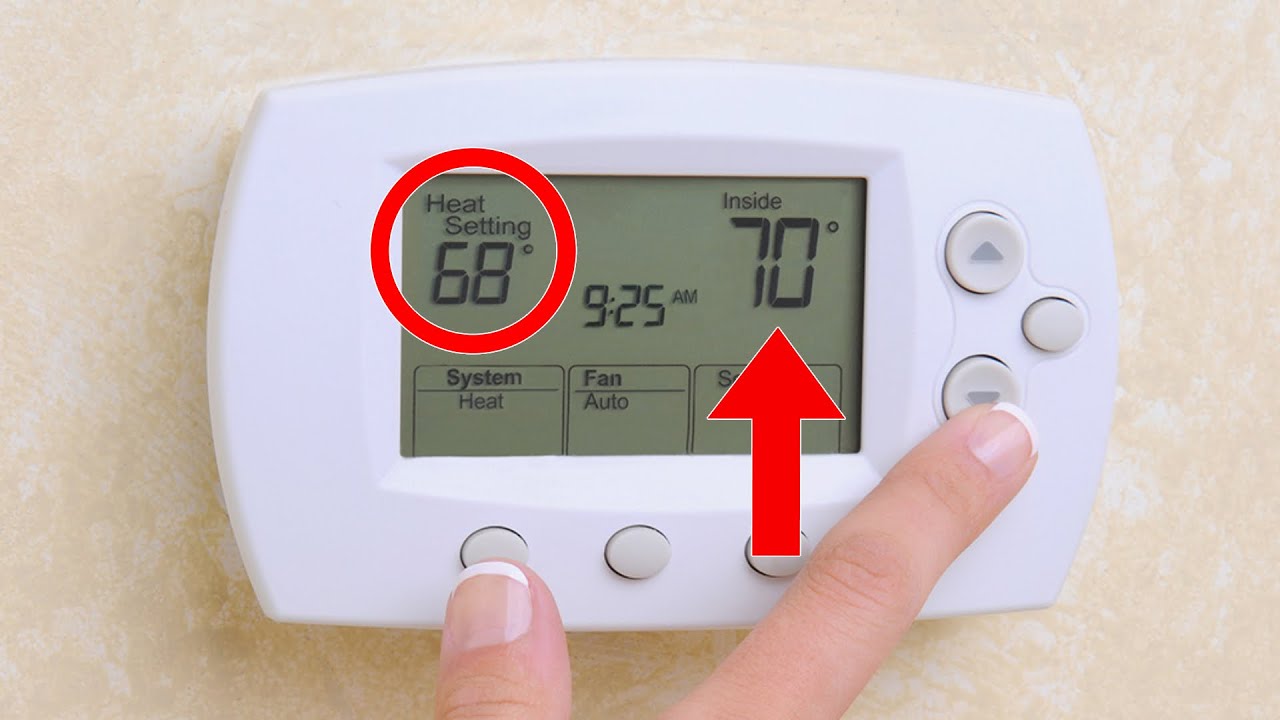
It should flicker to life. Maybe it asks you a few questions about your home setup. Follow the on-screen prompts. Set your desired temperature. Feel the gentle breeze (or warmth) start to flow. You did it! You truly did it.
See? It wasn't a Herculean task after all. It was just a little dance with wires and screws. You've conquered the enigmatic box. You've taken control. Go forth and enjoy your perfectly regulated climate, you magnificent DIY wizard!