How To Change Adt Door Sensor Battery
Okay, imagine this: you’re chilling, maybe perfecting your latte art, when suddenly... beep-boop! A little chirpy sound from your ADT door sensor starts up. It’s not an alarm, but it’s definitely saying something. It’s saying, 'Hey, friend! My energy levels are dipping! Time for a snack!' Fear not, intrepid home hero! This isn't a job for a super-tech guru or a complicated manual; it's a job for YOU! Changing that tiny battery is easier than making a microwave burrito, and honestly, way more satisfying.
The Grand Battery Adventure Begins!
Step 1: The Sleuth Work – Identifying Your Power Source
That little chirp is like a friendly whisper telling you it’s time for some detective work. First things first, you need to know what kind of energy drink your door sensor craves. Most ADT door sensors are pretty good about having their battery type proudly displayed right on the inside cover or even etched on the battery itself. You might see something like CR123A or CR2. These aren't secret codes; they're just battery names, kind of like how some people prefer espresso and others prefer a cappuccino!
Pro Tip: Snap a quick photo of the battery before you remove it! That way, when you head to the store (or your secret battery stash), you’ll know exactly what to grab. It’s like having a cheat sheet for a pop quiz!
Make sure you get the exact match. Trying to squeeze a square battery into a round hole (figuratively speaking, of course!) will only lead to frustration. Once you have your shiny new power source, you’re ready for the main event.
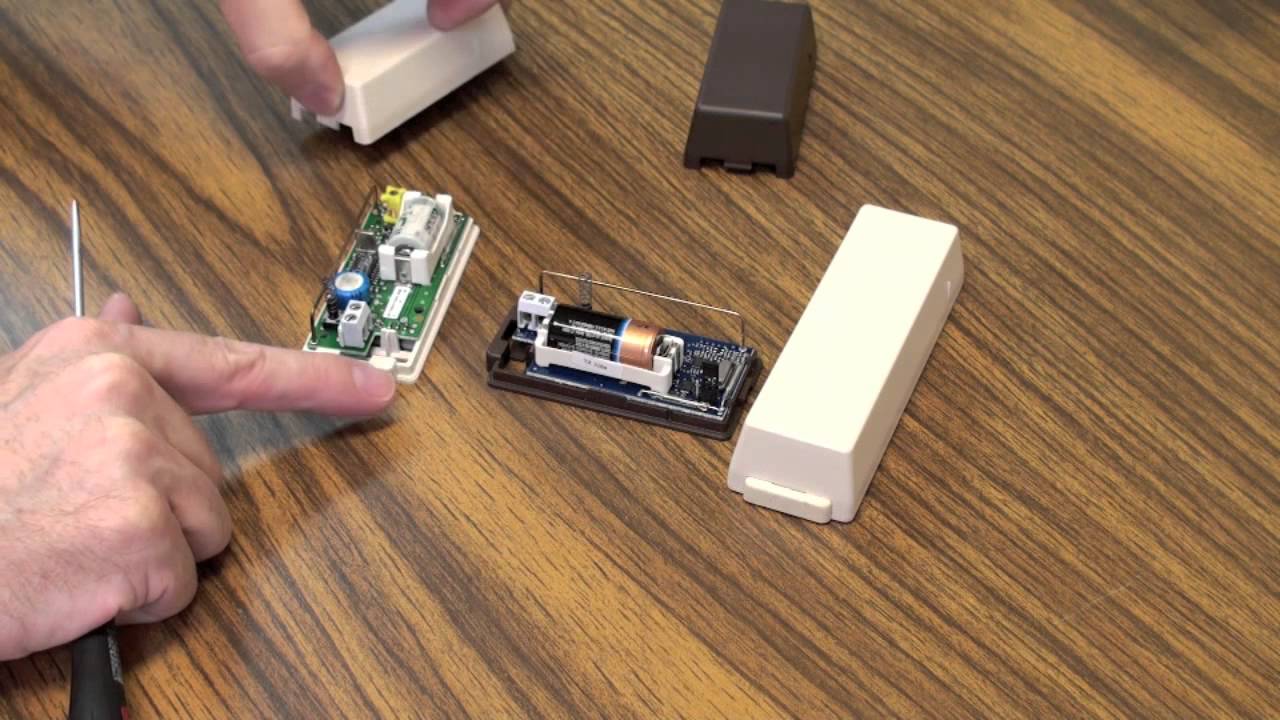
Step 2: The Great Unveiling – Opening Your Sensor
Now, let’s get into that little guardian of your entryway. You’ll usually find a small tab, a tiny screw, or a subtle seam along the side of the sensor. This is where your inner MacGyver comes out! Grab a small, flat-head screwdriver – the kind you might use for eyeglasses – or even a sturdy guitar pick. Think of it as your delicate surgical tool for this crucial operation.

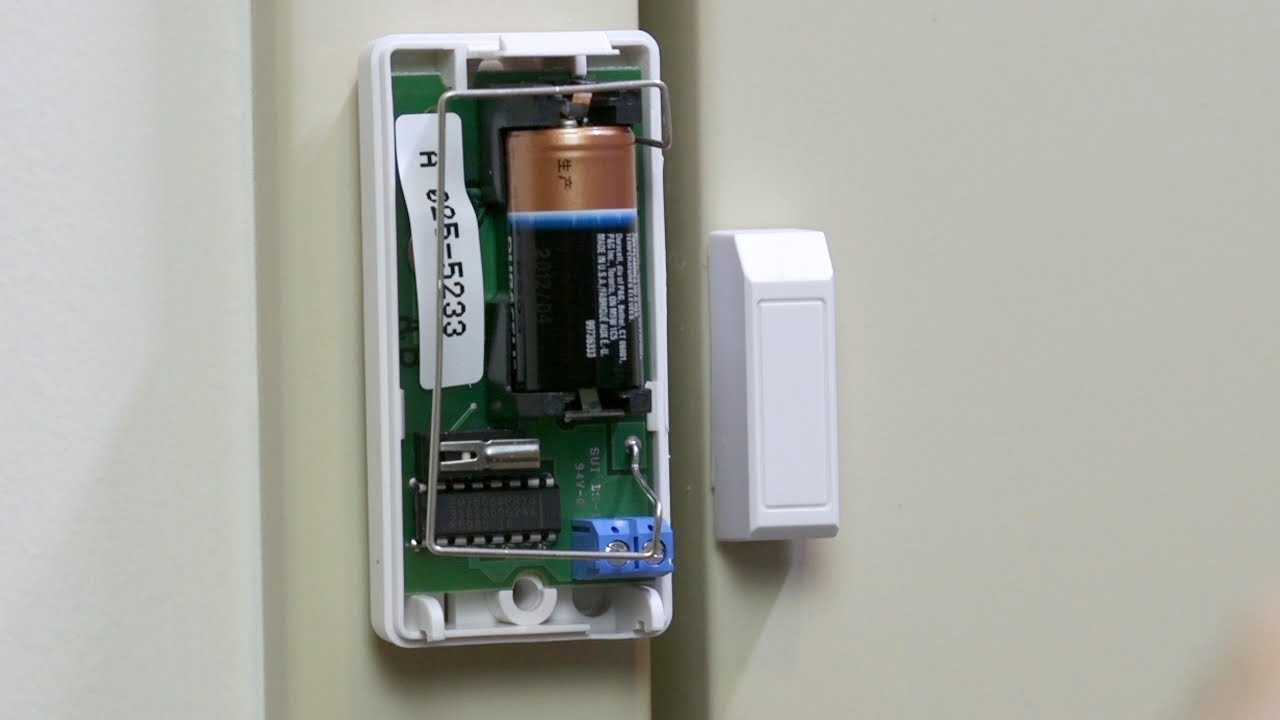
Gently, and we mean gently, pry the cover open. Sometimes there's a little latch you need to depress. No need for Herculean strength here; these sensors are designed to be opened. It’s a bit like opening a fancy clamshell container – a little resistance, then a satisfying pop. Once the cover is off, you'll see the current, slightly exhausted, battery nestled inside.
Step 3: The Swap Meet – Out with the Old, In with the New!
Okay, moment of truth! Look at how the old battery is sitting in its little cradle. See those tiny plus (+) and minus (-) signs? They’re super important! This is the battery's secret language, telling you which way it needs to face. It's like putting batteries in your remote control – if it's backward, nothing happens!
Carefully remove the old battery. Sometimes they just pop right out, other times they might be held by a tiny spring clip. Once it's out, grab your fresh, fully charged replacement. Align it just like the old one was – remembering those crucial plus and minus signs. Give it a gentle press until it clicks securely into place. You can almost feel the surge of new energy, can’t you? That little sensor is practically purring with anticipation!

Step 4: The Grand Reassembly – Clicking It Shut
You’re on the home stretch! With the new battery snugly in its home, it’s time to put the cover back on. Line up the edges of the cover with the base of the sensor. Give it a gentle squeeze or press until you hear a satisfying click. Sometimes it’s a series of little clicks as all the tabs find their grooves. It should feel secure and seamless, just like it did before you started your adventure.
Admire your handiwork! It looks perfect, doesn’t it? Almost as if nothing ever happened, except now that little sensor is buzzing with renewed purpose.
Step 5: The Victory Lap – Testing Your Triumph
Now for the big finish! Open the door your sensor protects. Then, close it. Listen carefully. Did you hear that beautiful, silent moment? Or maybe your ADT control panel just gave you an "all clear" signal, happily acknowledging its door guardian is back in action. No more chirps, no more beeps, just the sweet sound of a fully operational security system.
You did it! You’ve conquered the low battery monster! Give yourself a mental high-five (or an actual one, we won't judge!).
See? You just tamed a tech beast! You’re basically a home security wizard now. Give yourself a high-five, because you just saved the day (and your ears from endless chirping). Next time that little ADT door sensor whispers 'low battery,' you’ll just chuckle, grab your tiny screwdriver, and get to work. You've got this, future tech legends!
