How Do I Calibrate A Nest Thermostat
Alright, let's talk about that little gadget on your wall, the one that promises to make your home a haven of perfect temperature: your Nest Thermostat. It’s smart, it’s sleek, and it often feels like magic, doesn’t it? But every now and then, you might get that tiny, nagging feeling...
“Is it really 72 degrees in here, Nest?” you whisper, as you pull a blanket tighter around you. Or, perhaps, you're fanning yourself with a magazine when Nest insists it's cool as a cucumber. Sound familiar? Don't worry, you're not imagining things, and your Nest isn't lying – it just might need a little friendly chat, a bit of a tune-up, a quick calibration.
Why Bother Calibrating Your Nest? (Beyond Just Being "Right")
Before we dive into the "how," let's chat about the "why." Because, honestly, who wants to spend time fiddling with a thermostat unless there’s a really good reason? Well, dear reader, there are several, and they all lead to a happier, comfier, and even richer you!
Must Read
- Perfect Comfort: Imagine your home being exactly the temperature you want it to be. No more Goldilocks moments – too hot, too cold. Just just right. That’s the dream, and calibration gets you there.
- Energy Savings: When your Nest thinks it’s one temperature but it’s actually another, it might be working harder (or less hard) than it needs to. A perfectly calibrated Nest means it runs more efficiently, which translates to more money in your pocket. Who doesn't love that?
- Empowerment! Seriously. Learning to tweak your smart home tech isn't just practical; it's empowering. You're not just a user; you're a master of your domain! Think of it as gaining a superpower, but for your home comfort.
What Exactly IS Calibration? (It's Simpler Than You Think!)
Okay, let's demystify. Calibration sounds technical, like something only an HVAC wizard would understand. But it's actually super straightforward. Essentially, your Nest has an internal temperature sensor. Sometimes, this sensor can drift a little bit, reading slightly higher or lower than the actual temperature in the room.
Calibration is simply telling your Nest, "Hey, buddy, that 70 degrees you're seeing? It's actually 72. Adjust your perspective!" You're essentially teaching it to see the world (or, well, your living room) with greater accuracy.

Let's Get Calibrating! Your Step-by-Step Guide to Comfort Mastery
Ready to become a home comfort hero? Grab your cape (or a cozy blanket, whatever works) and let's do this!
Step 1: Grab Your Trusty Sidekick (A Reliable Thermometer)
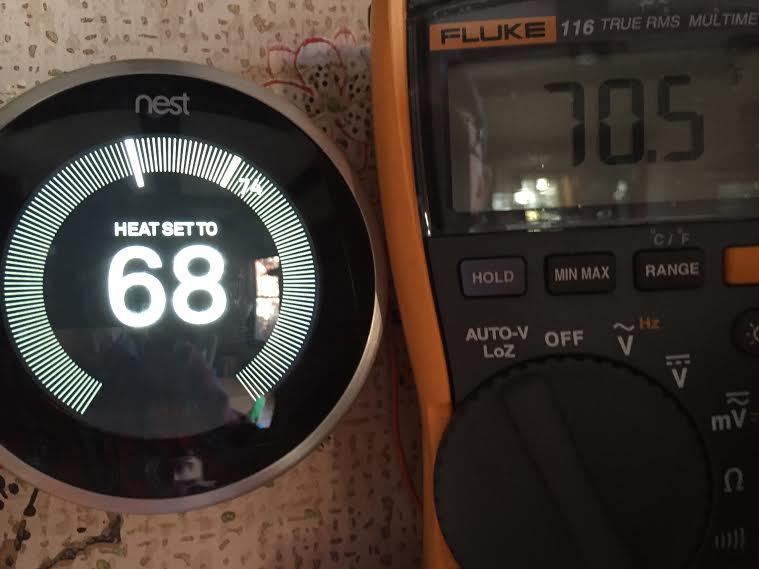
This is crucial. You need an external, reliable thermometer. Not the one on your phone's weather app, but a good old-fashioned (or digital) room thermometer. Place it near your Nest, but not directly in sunlight or an air vent. Give it about 15-20 minutes to settle and get an accurate reading. This is your truth-teller.
Step 2: Observe and Compare (The Detective Work)
Look at your external thermometer. What does it say? Now, look at your Nest. What temperature is it displaying? For example, perhaps your external thermometer reads 72°F, but your Nest proudly declares it's 70°F. Aha! There's our difference! In this case, your Nest is reading 2 degrees low.
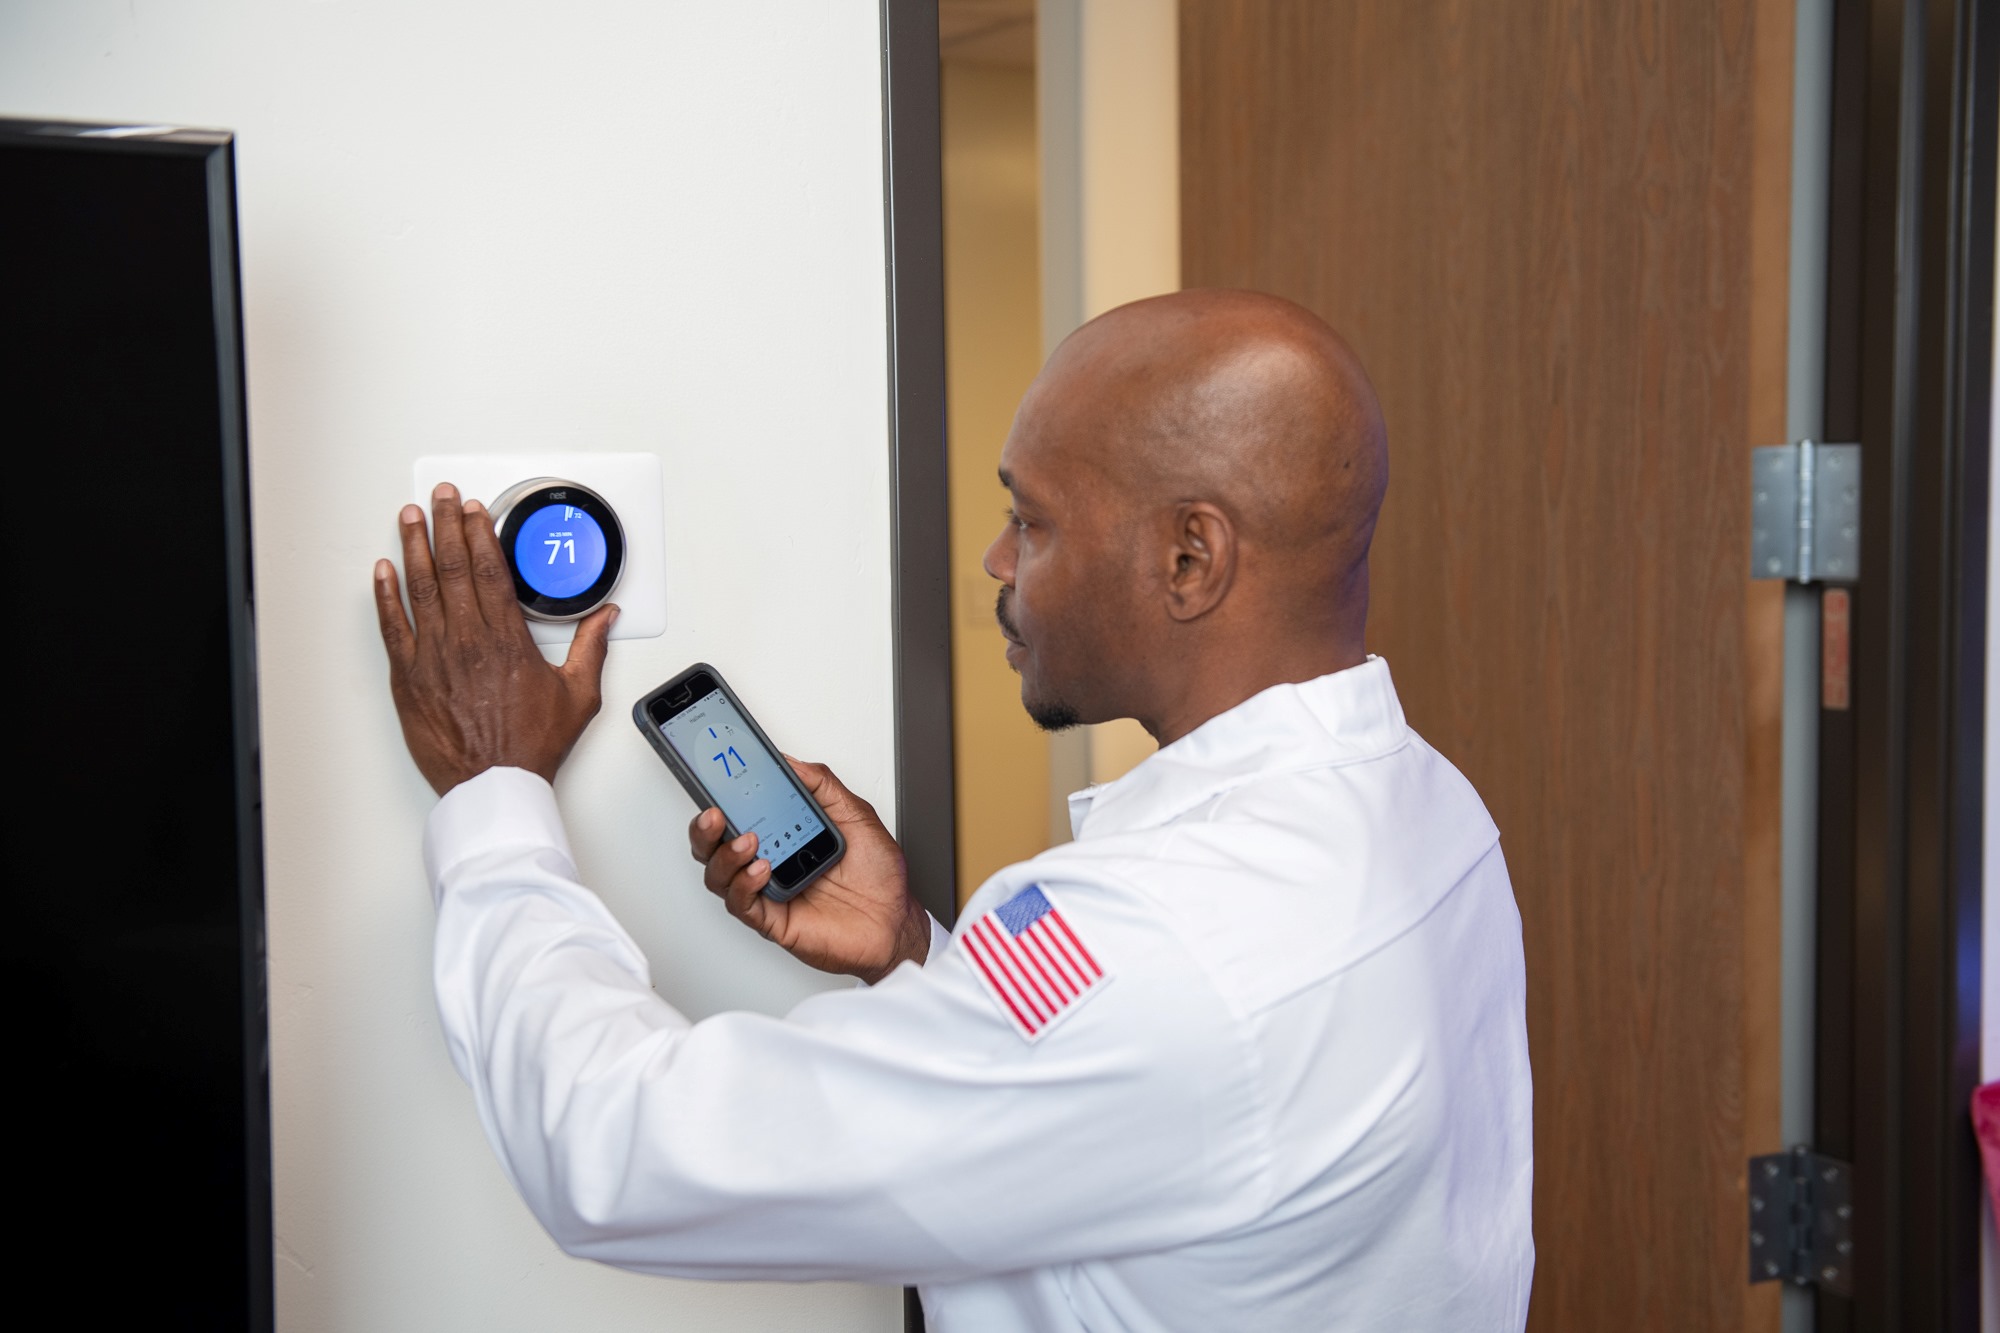
Step 3: Dive Into the Nest App (The "Tweak" Phase)
You can do this right on the Nest thermostat itself or, even easier, through the Google Home app (or the Nest app, if you're still using it). We're going to adjust something called "Temperature Correction" or "Offset."
- On the Nest Thermostat: Press the ring, go to Settings (
 ), then select Equipment. Look for something like "Temp Correction" or "Temperature Offset."
 - On the Google Home App: Tap your Nest thermostat, then tap the Settings gear icon () in the top right. Scroll down to "Equipment," then "Temp Correction" or "Temperature Offset."
Now, here's the magic part: Based on your detective work, you’ll adjust this setting. If your Nest was reading 2 degrees low (e.g., Nest 70, external 72), you'll want to increase the offset by +2 degrees. If Nest was reading high (e.g., Nest 74, external 72), you'd decrease it by -2 degrees. Simple, right?
Step 4: Patience and Re-Check (The Mastery Confirmation!)
Don't expect instant results. Give your Nest about 30 minutes to an hour after the adjustment. Then, re-check your external thermometer against what your Nest is now displaying. Are they closer? Are they spot on? You might need to make a small, fine-tuning adjustment. Remember, this is about precision!
The Joy of a Perfectly Calibrated Home!
Congratulations! You just performed a minor miracle in your home. Seriously! You’ve taken a piece of smart technology and made it even smarter, perfectly tailored to your specific environment and comfort needs. This isn’t just about a number on a screen; it’s about creating a living space that feels truly, effortlessly yours.
Think about it: fewer drafts, fewer sweats, more consistent energy bills, and the undeniable satisfaction of knowing you’ve got this! You're not just a homeowner; you're an engineer of comfort, a curator of coziness, a veritable home alchemist!
So, take a moment, bask in that perfectly tuned temperature, and feel that sense of accomplishment. It's amazing what a little knowledge and a few clicks can do, isn't it? What other "mysteries" of your smart home can you conquer today?