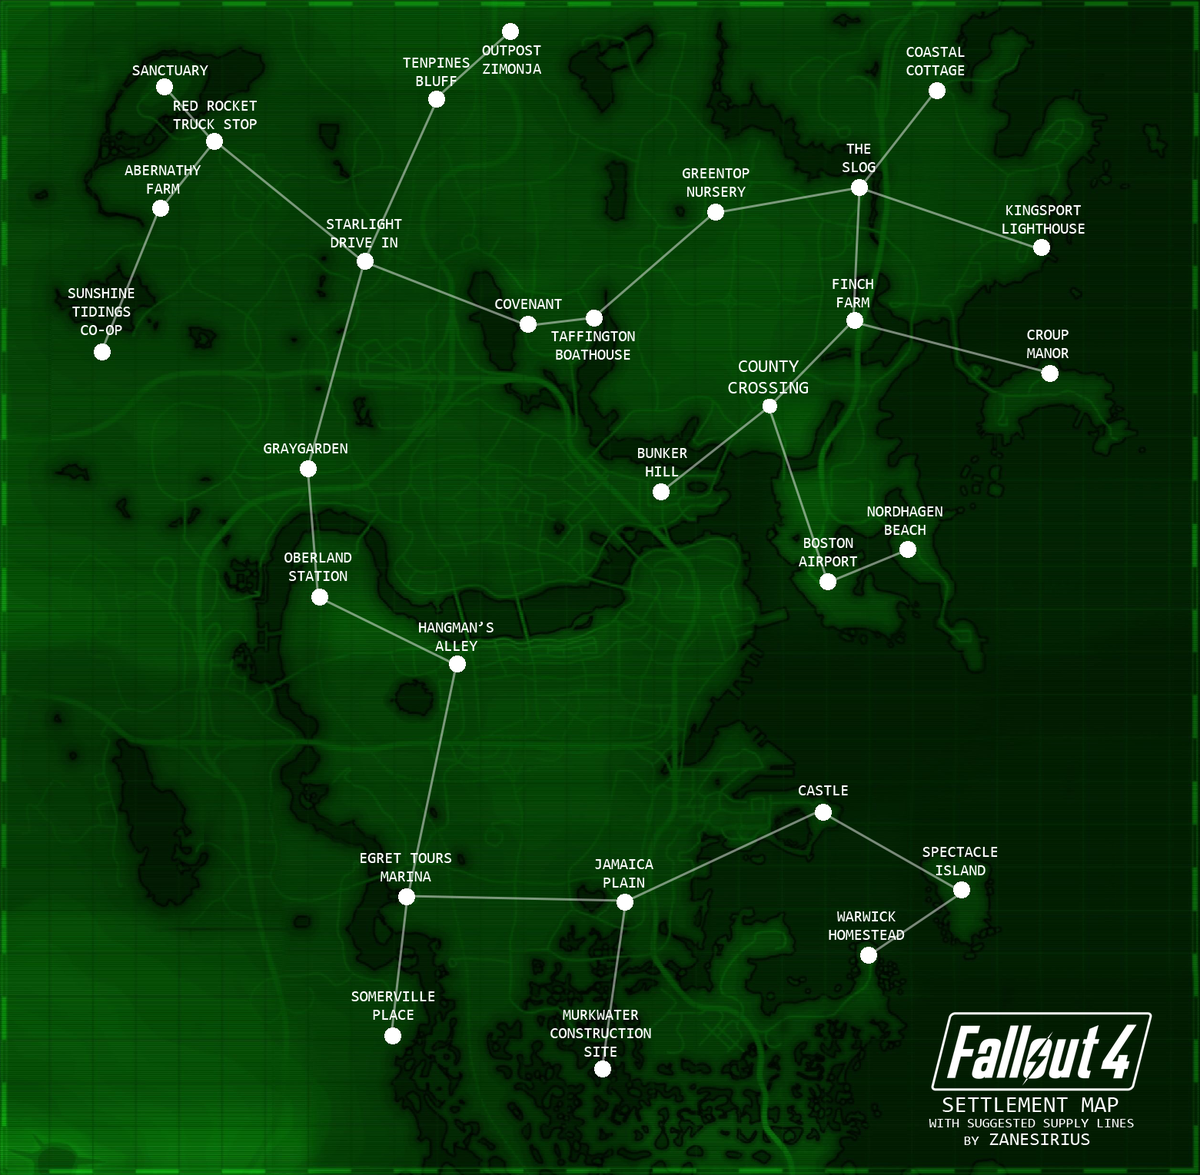
Fallout 4 Settlements Map
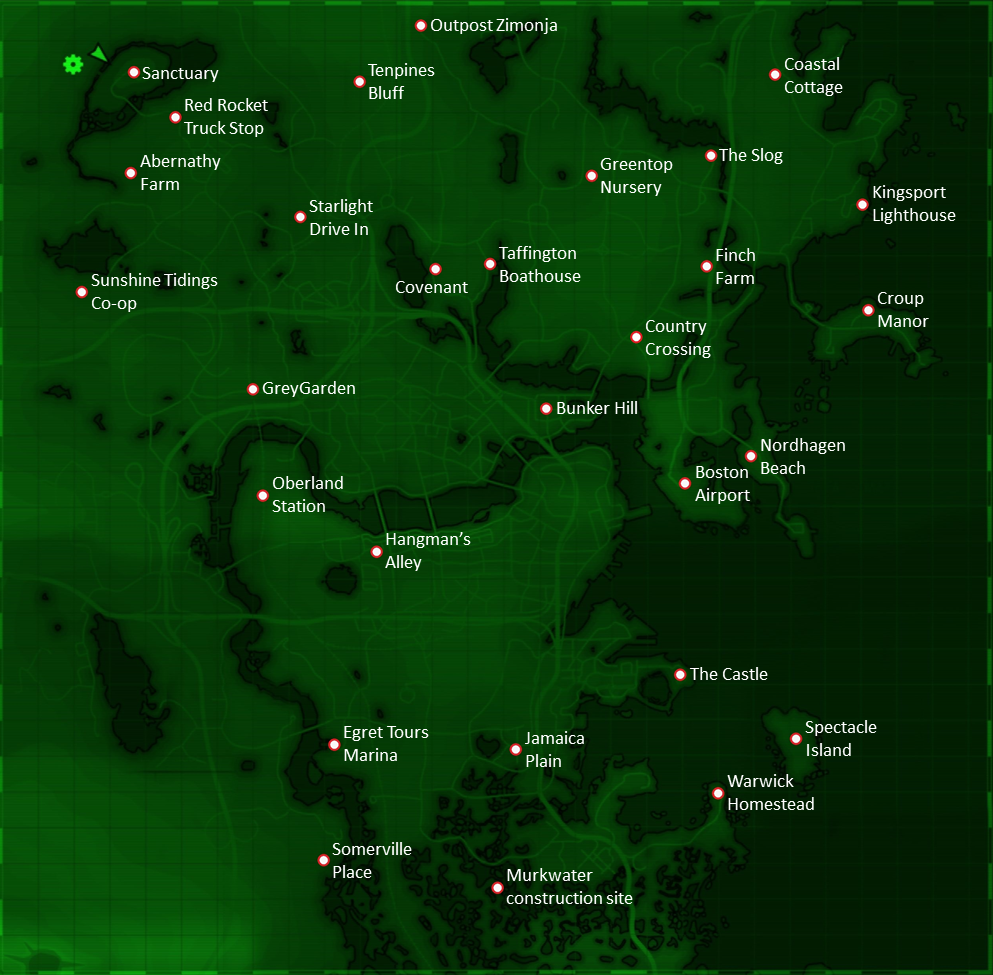
Hey, you! Yeah, you, glued to your Pip-Boy. Let's talk Fallout 4. Specifically, those lovely settlements. Ever felt overwhelmed by the sheer amount of wasteland real estate Bethesda threw at us? Me too! It's like, "Here's a post-apocalyptic world, now be a property developer!"
The settlements... they're a core part of the Fallout 4 experience. Whether you love 'em or hate 'em, you kinda gotta engage. So, let’s break down this settlement map, shall we? (Grab your coffee, this might take a minute.)
The Big Players: Diamond City and Goodneighbor
Okay, these aren’t technically settlements you control, but let's be real. Diamond City? That's your "safe" hub. Think of it as your go-to spot for supplies, rumors, and the occasional synth paranoia. You can't build there, but you can definitely spend all your caps there! (Guilty as charged.)
Must Read
Goodneighbor? Oh, Goodneighbor. Where the ghouls are friendly(ish) and the atmosphere is perpetually smoky. Another non-buildable location, but crucial for certain quests and acquiring some... interesting companions. Plus, Hancock's the mayor! Who doesn’t love Hancock?
Prime Real Estate: The Coastal Settlements
Here's where it gets interesting. The coastal settlements, like Spectacle Island and The Castle, offer unique advantages. Spectacle Island is HUGE. Seriously, it’s like Bethesda said, “Here’s a whole island, go wild!” (and many of us did… badly.) Building there is a challenge, especially with the Mirelurk Queen lurking about, but the space is fantastic.
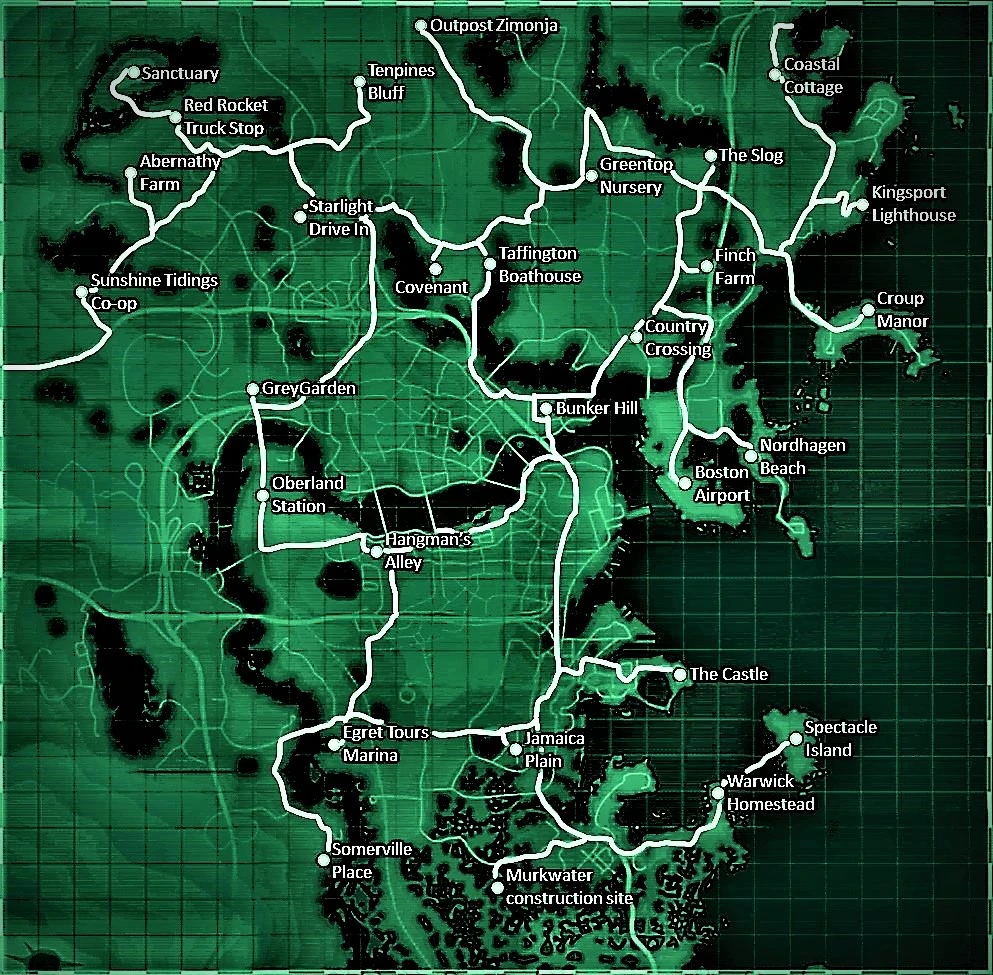
The Castle? Iconic. You gotta reclaim it from the Mirelurks (again, Mirelurks are jerks), but once you do, you have a pre-built wall! Hallelujah! Plus, you can reactivate the artillery. Nothing says "get off my lawn" like a barrage of missiles, am I right?
The Fertile Crescent: Sanctuary Hills and Abernathy Farm
Sanctuary Hills: Your starting point, the place you’re supposed to care about because… nostalgia? Honestly, it's alright. Easy access, relatively safe. A good beginner settlement. Plus, Codsworth is there. Can't abandon Codsworth!

Abernathy Farm? It's... functional. The Abernathys are nice enough, and the location is decent for trade routes. Just don’t expect it to be the jewel of your empire. (Unless you're really into tatos. No judgment.)
The "Why Bother?" Settlements
Okay, harsh, but let's be honest. Some settlements are... less desirable. Egret Tours Marina? Surrounded by raiders. Somerville Place? Tiny. Hangman's Alley? Cool concept, incredibly cramped. These can be challenging, but also rewarding if you're up for a project. (Or a serious exercise in spatial reasoning.)
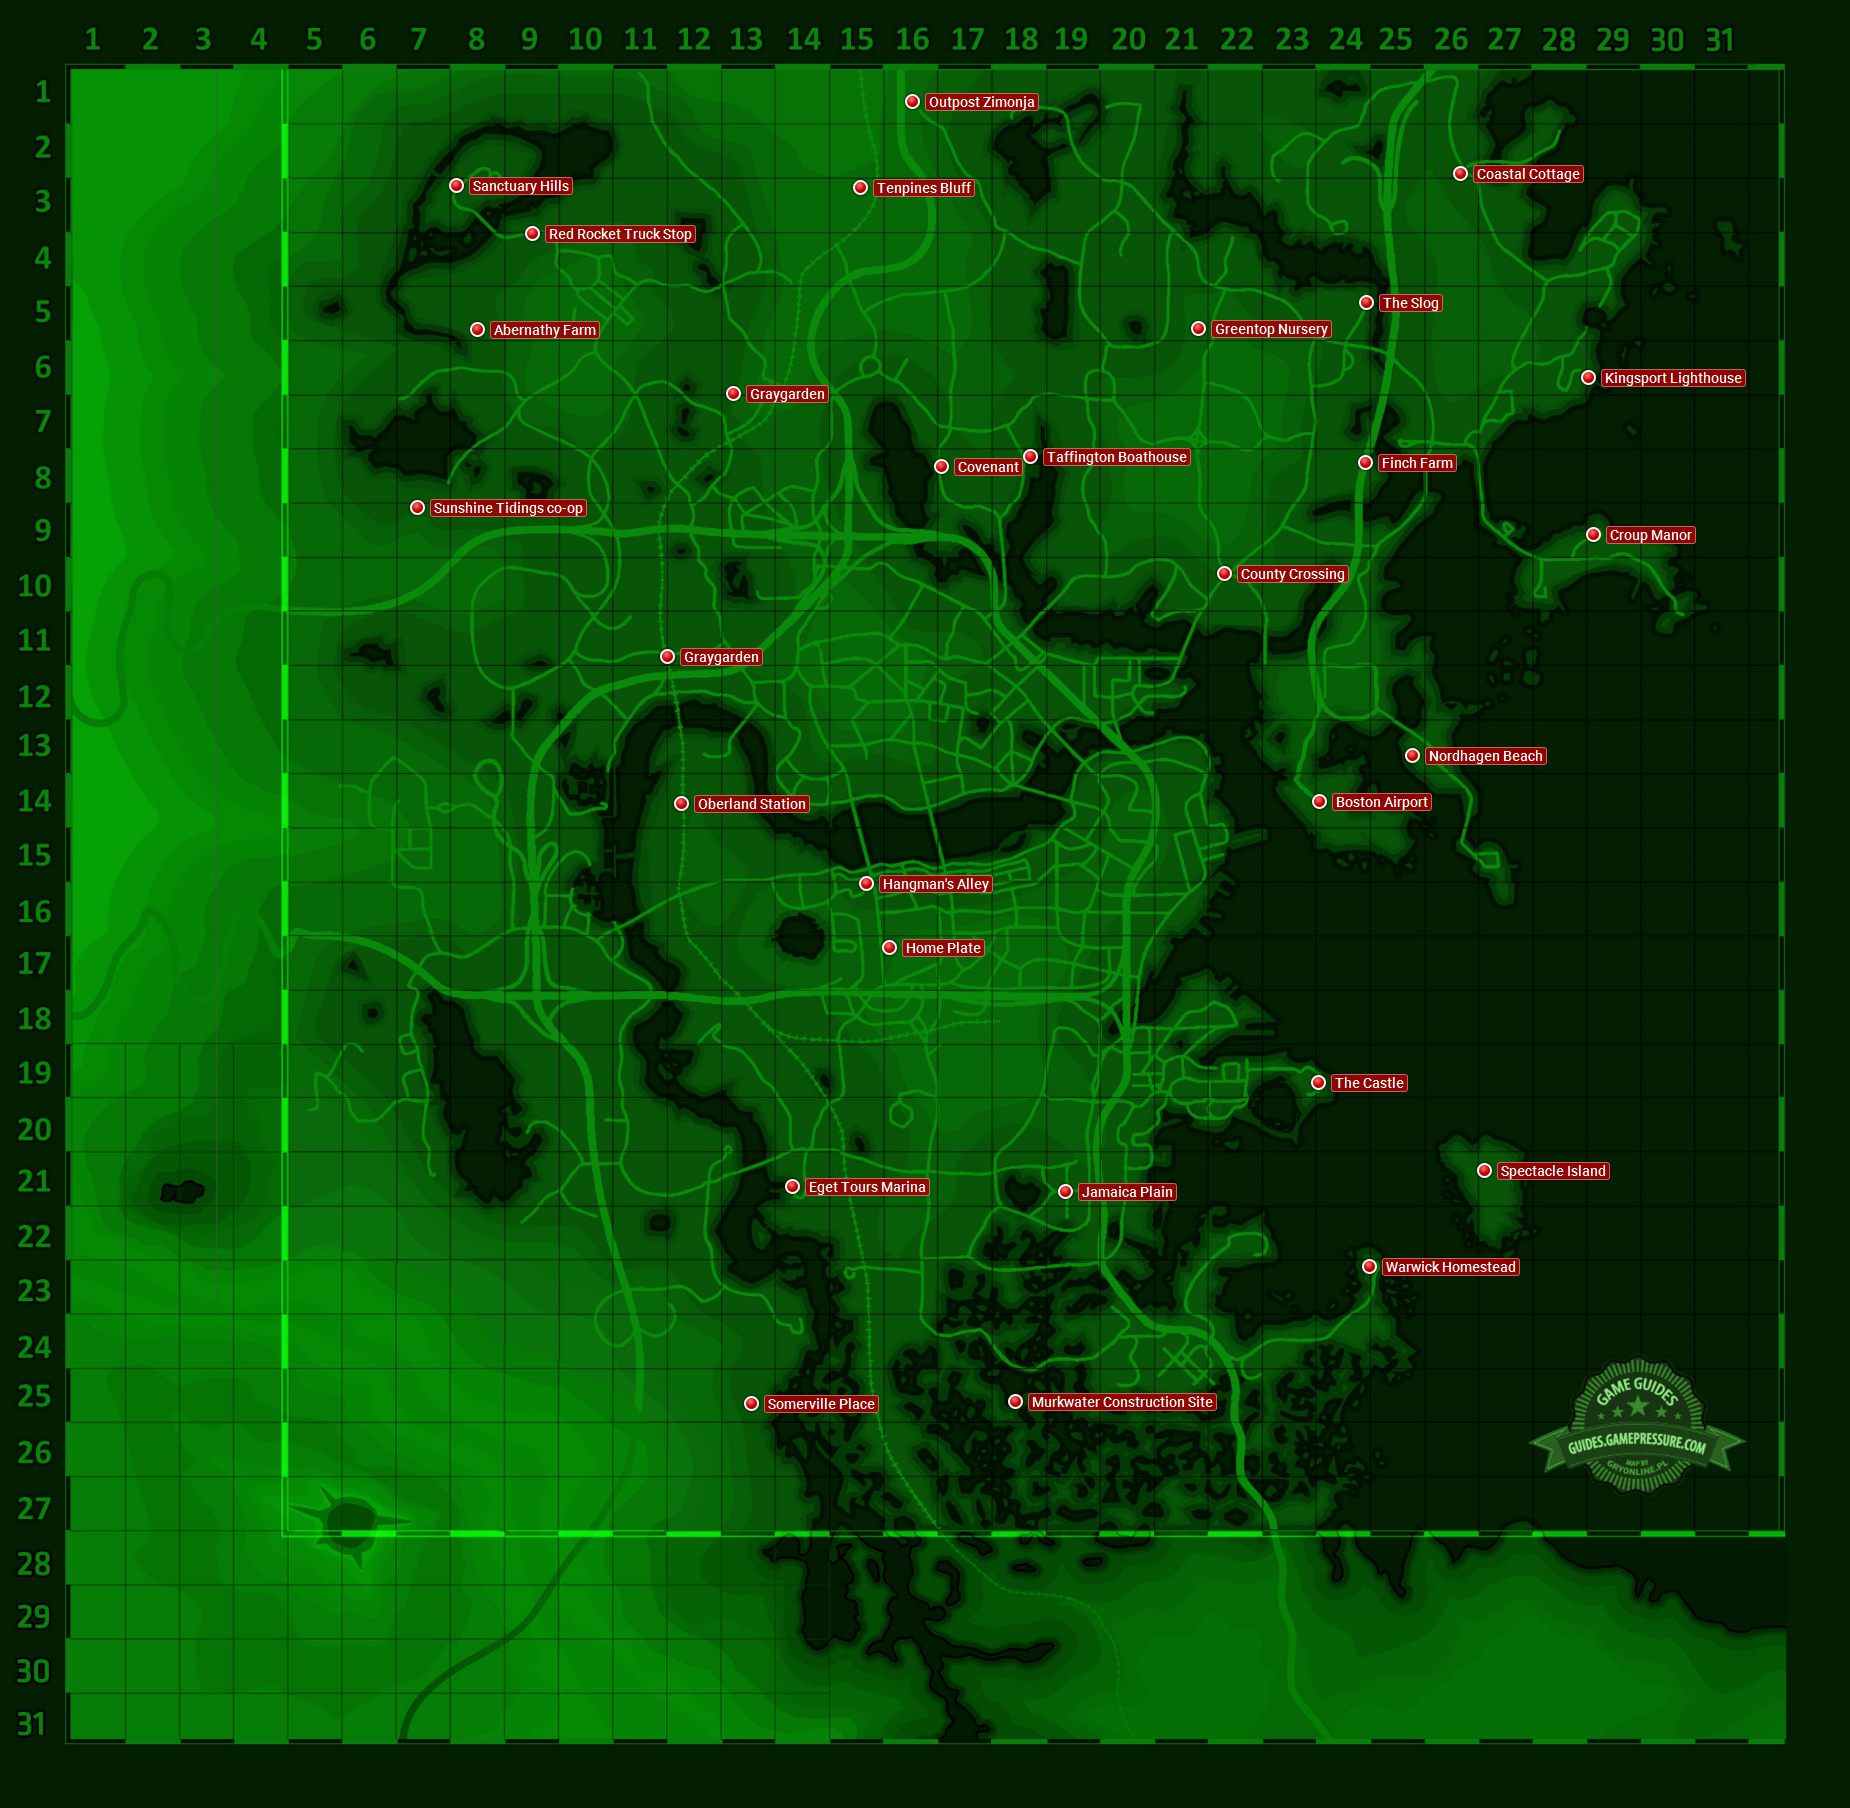
But hey, don't let me discourage you! Every settlement has potential, right? Maybe you're the wasteland architect who can turn Somerville Place into a thriving metropolis. (Okay, maybe not. But you can try!)
Tips for Navigating the Settlement Map
- Prioritize Resource Availability: Look for settlements with easy access to water, food, and defense locations.
- Establish Trade Routes: Linking your settlements is crucial for resource sharing.
- Don't Be Afraid to Mod: There are tons of mods that expand settlement building options! (Just be careful with load orders, trust me…)
- Defense, Defense, Defense: Seriously. Raiders, Super Mutants, Deathclaws... they will come calling. Build those turrets!
- Experiment! Try different layouts, building styles, and resource management strategies. Have fun with it!
The Final Word: It's Your Wasteland!
Ultimately, the best settlement map is the one you create. Explore, experiment, and find the settlements that work best for you. Don't be afraid to tear down and rebuild (repeatedly). It's all part of the process!
So, what are you waiting for? Get out there and conquer… I mean, rebuild the Commonwealth! Just try not to get too addicted to settlement building. (Says the person who has spent way too many hours placing individual potted plants...)