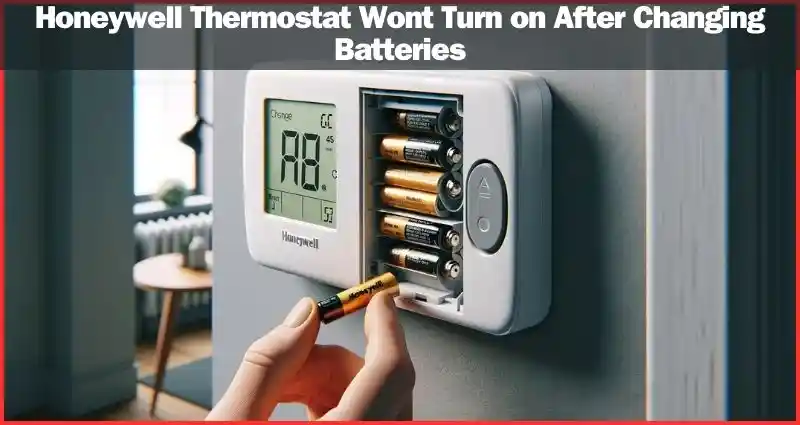
Changing The Batteries In A Honeywell Thermostat
Alright, let's talk about that little brain on your wall, the one that tells your house whether to be a cozy summer oasis or a brisk winter escape: your Honeywell thermostat. It's often overlooked, quietly doing its job day in and day out, like a trusty sidekick in your domestic adventure. But, just like any good sidekick, it needs a little TLC now and then. And for most Honeywell models, that means one thing: changing the batteries.
Now, I know what you might be thinking. "Batteries? In my thermostat? Isn't it just... powered by the house?" And while some fancy, hardwired thermostats do sip power directly from your electrical system, many, many popular Honeywell models rely on a couple of AA or AAA batteries to keep their digital brains ticking. Think of them as the tiny energy bars that fuel your thermostat's big decisions.
Why Bother? The Great Thermostat Meltdown (or Freeze-Out!)
So, why should you care about this seemingly trivial task? Well, imagine this: It's the dead of winter, a blizzard is raging outside, and you've just settled down with a cup of hot cocoa, ready for a cozy night. Suddenly, the house feels a little... chilly. You glance at the thermostat, and it's blank. Nothing. Zip. Nada. Your heating system, which relies on your thermostat for its marching orders, is now effectively deaf and dumb. Hello, indoor igloo!
Must Read
Or picture the opposite: a sweltering summer day, the AC usually humming along nicely. You come home to find your living room has transformed into a sauna, and your ice cream in the freezer is slowly turning into a sad, milky soup. Yep, a dead thermostat can lead to all sorts of temperature-related domestic dramas. It's like your car running out of gas on a long road trip – completely avoidable with a little foresight!
Your thermostat isn't just about comfort; it's about control. When its batteries die, you lose that control. No more fine-tuning the temperature, no more setting schedules, just a blank slate and a rapidly changing home climate. And let's be honest, who wants to wake up to a cold shower because the water heater decided to take a holiday after the house temperature plummeted? Not me, that's for sure!
Your Thermostat's Subtle Cry for Help
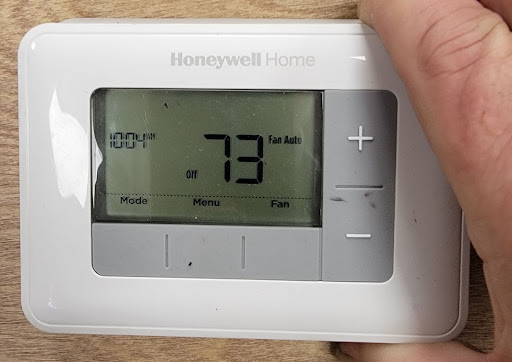
Thankfully, most Honeywell thermostats are pretty good at giving you a heads-up before they completely conk out. You'll often see a little icon on the display – sometimes a battery symbol, sometimes the word "LOW BATT" or "REPLACE BATT." Think of it as your thermostat waving a tiny white flag, whispering, "Hey, human! My energy reserves are running low here. A little boost would be grand!"
Don't ignore that plea! It’s like the "check engine" light in your car; it’s not just for show. Addressing it promptly saves you from those "uh-oh" moments later. Plus, it's incredibly satisfying to see that little low-battery warning vanish after a quick battery swap. It's a small victory, but a victory nonetheless!
What You'll Need: The Arsenal of Comfort
Ready to be a hero? Good. Here's your minimal toolkit:
- Fresh Batteries: This is the big one. Most Honeywell thermostats use AA or AAA batteries. A quick peek at your thermostat (or its manual, if you’re feeling extra thorough) will tell you which kind. Always keep a pack handy! It’s like keeping spare toilet paper – essential for avoiding sticky situations.
- Maybe a Small Screwdriver: Some models might have a tiny screw holding the battery compartment cover, but many are tool-free.
- A Can-Do Attitude: The most important tool of all!
The Super Simple How-To: You Got This!
Okay, deep breaths. This is probably easier than assembling that flat-pack furniture you bought last year.
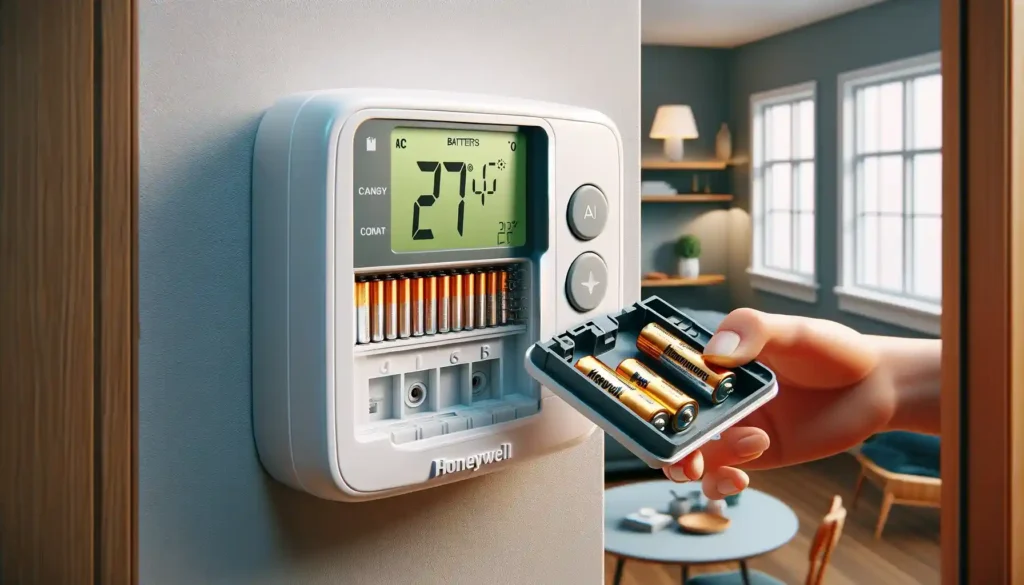
First, identify where the batteries live. For many Honeywell thermostats, the battery compartment is often a pull-out tray on the bottom or side of the unit, or sometimes a flip-down door. Some models might even require you to gently pull the entire front cover of the thermostat off the wall plate (don't worry, it usually pops right back on). Look for a small arrow or tab.
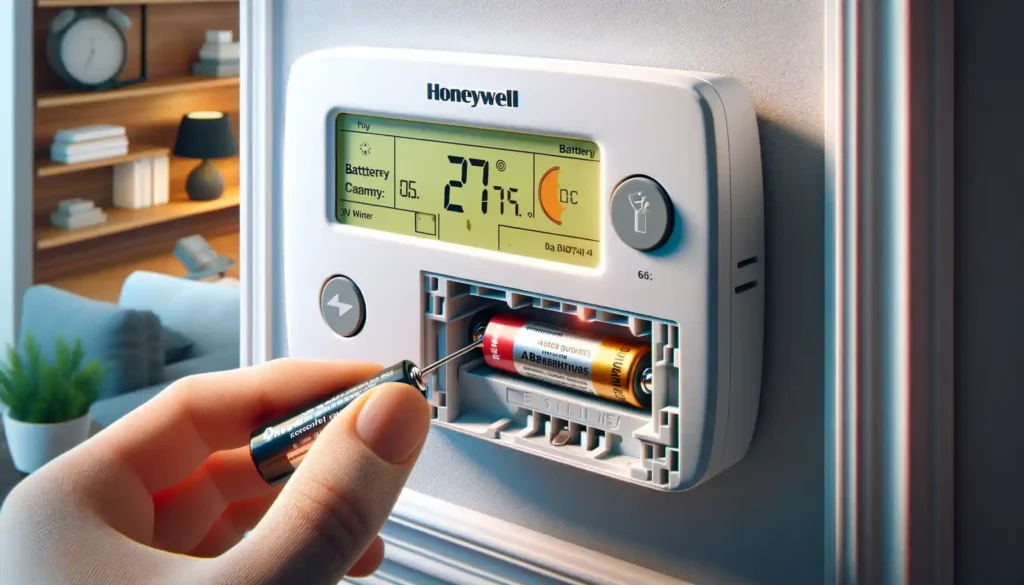
Once you've found it, gently open or pull out the compartment. You'll see the old batteries. Take them out. It’s like performing a small, vital organ transplant.
Now, grab your fresh batteries. Pay close attention to the + and - markings inside the compartment and on the batteries themselves. This is crucial! Pop the new batteries in, making sure they're facing the correct way. It’s a common mistake, even for the pros. If you put them in backward, your thermostat will give you the silent treatment.
Once the new batteries are snugly in place, close the compartment door or slide the tray back in. You might hear a small click or see the display light up immediately. Give your thermostat a moment to wake up and perform its self-check.
And just like that, you’re done! Pat yourself on the back. You've just saved yourself a potential headache and kept your home's comfort system running smoothly.
When to Change Them: Be a Proactive Comfort Commander
Want to be super smart about this? Here are a couple of pro tips:
- Daylight Saving Time: Many people use the "spring forward, fall back" clock changes as a reminder to change smoke detector batteries. Add your thermostat to that list! It’s an easy annual (or semi-annual) habit to adopt.
- Before the Season Turns: As you gear up for the intense heat of summer or the biting cold of winter, it's a great time to pop in some fresh batteries. You don’t want your heating or AC to go kaput just when you need it most.
- At the First Hint: As mentioned, don't wait until the screen goes blank. If you see that low-battery indicator, address it within the next day or two.
Changing the batteries in your Honeywell thermostat is one of those small, easy tasks that delivers big peace of mind. It prevents unexpected discomfort, keeps your energy usage (and bills) predictable, and ensures your home remains the haven it's meant to be. So go on, give your thermostat a little energy boost. It'll thank you for it, with consistent comfort, all year round!