Changing A Battery In A Honeywell Thermostat

Ever noticed that silent sentinel on your wall, your Honeywell thermostat, quietly orchestrating your home's comfort? It's a tiny powerhouse, maintaining your ideal temperature with unassuming grace. But what happens when that reliable guardian starts to dim, displaying a fading screen or refusing your commands? Before you fret or call a technician, consider a simpler, more empowering path: the humble yet mighty act of changing a battery in a Honeywell thermostat. This isn't just a chore; it's a micro-adventure, transforming you into a home comfort maestro with a few simple steps.
This task is a fantastic entry point into domestic self-reliance. For the casual learner, it builds tangible confidence in tackling small home electronics, demystifying your climate control. It’s a foundational lesson in observation and precise execution. For the budding hobbyist, it hones careful handling and problem-solving skills, setting the stage for bigger DIY projects. And for the artist at heart? Imagine the satisfaction of bringing a silent, lifeless screen back to vibrant, responsive life – a powerful metaphor for renewal and active control. It's about feeling capable and competent, all from one small battery swap.
The beauty of this "art form" lies in its subtle variations. You might encounter the popular RTH series, featuring a convenient "slide-off" cover revealing standard AA batteries. Or perhaps your sleek T-series model requires a gentle lift off its wall plate to uncover more slender AAA batteries. Each Honeywell thermostat offers its own minor puzzle, a testament to thoughtful engineering. Some even conceal a tiny coin-cell battery for memory backup – a fun bonus challenge for the truly dedicated!
Must Read
Ready to embrace your inner home hero? Here’s your straightforward guide to success:
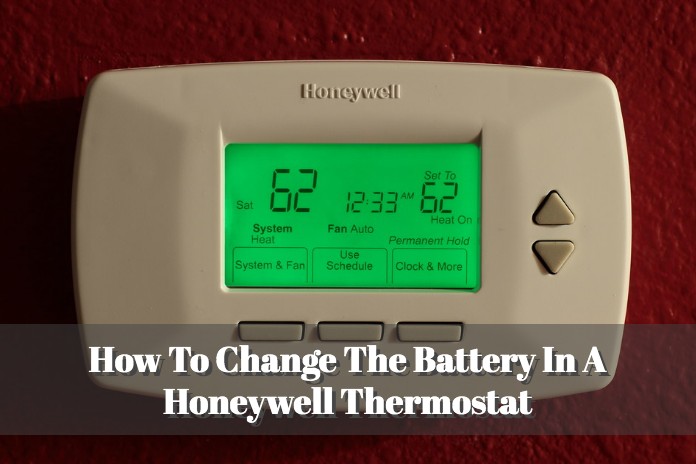
- First, identify your specific model. This helps if you consult an online manual.
- Locate the battery compartment: usually on the side, bottom, or behind the main unit (which may detach). Apply gentle but firm pressure.
- Observe the old batteries' orientation carefully (+ and - ends) before removing them.
- Insert fresh, high-quality alkaline batteries, meticulously matching the polarity.
- Securely close the compartment or reattach the thermostat.
- Finally, test it! Your thermostat should spring back to life, confirming full functionality.
So, why is this seemingly small act so profoundly enjoyable? It’s the immediate, tangible gratification of restoring order. It’s the confidence gained from tackling a minor challenge with your own hands. It’s the quiet satisfaction of your furnace kicking in exactly when you tell it to, or the gentle hum of the AC bringing instant relief – all thanks to your proactive intervention. It’s a small victory that speaks volumes, proving that even the most mundane tasks can be deeply satisfying and leave you feeling like a true master of your comfortable domain. Go forth, swap those batteries, and revel in your newfound home comfort superpower!