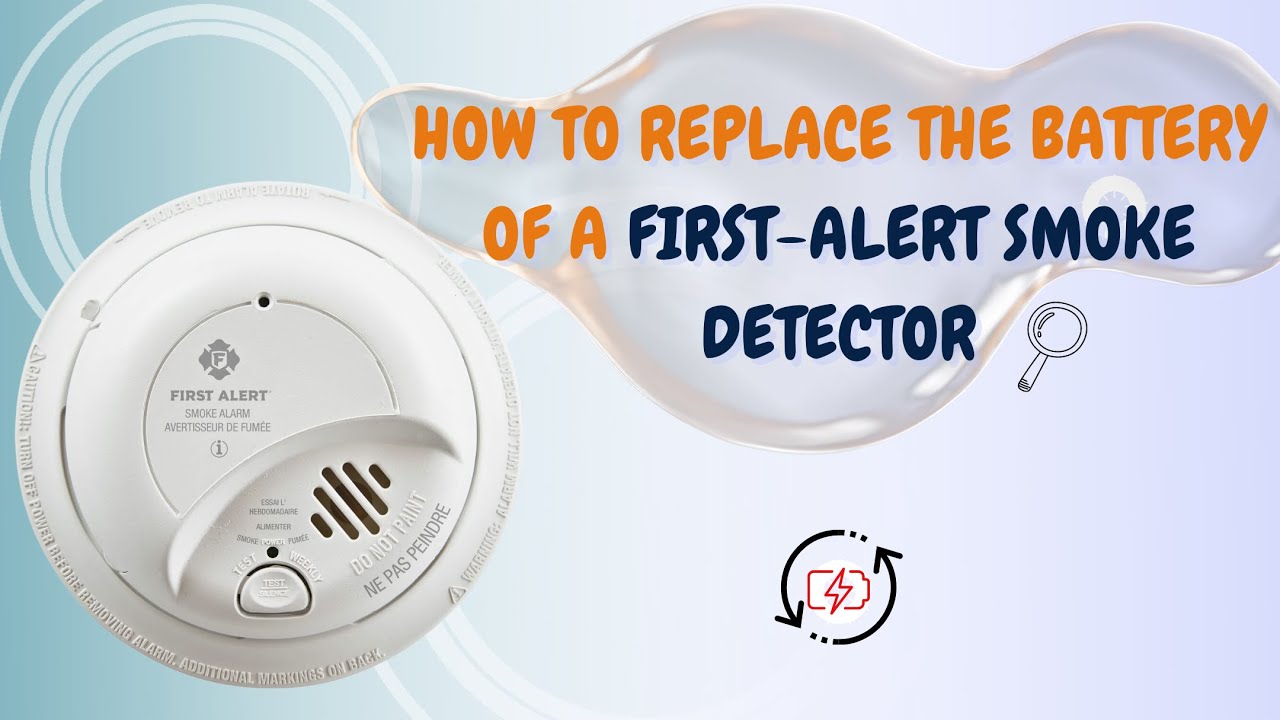
Change Battery In First Alert Smoke Alarm
Ever woken up to that pesky, insistent chirp? Like a tiny, grumpy bird trapped in your ceiling, demanding attention? Yep, your First Alert smoke alarm is probably just hungry. For a new battery!
Fear not, my friend! This isn't brain surgery, even if that high-pitched whine feels like it's drilling into your skull. Let's conquer this little domestic drama together. You'll be a smoke alarm battery-changing guru by the end of this!
Why the Midnight Opera?
Must Read
So, why the opera at 3 AM? Your smoke alarm, bless its little electronic heart, is designed to keep you safe. Part of that safety protocol is letting you know when its power source is getting low.
It's like your phone giving you that '10% battery remaining' warning, but way louder and less polite. It's not being difficult; it's being responsible! Think of it as its way of shouting, 'Hey, buddy! My super-important job of detecting smoke needs full power! Don't skimp on the juice!'
Gather Your Epic Quest Supplies!
Alright, adventurer, time to gather your supplies for this epic quest! You don't need much, thankfully. No magic potions or dragon scales here.
First up, a fresh 9-volt battery. This is the star of our show. Make sure it's new and shiny, not one you found rolling under the sofa from 2008.

Next, a step stool or small ladder. Unless you're secretly a professional basketball player, you'll need a little boost to reach those lofty alarms.
Finally, maybe a small flathead screwdriver if your alarm has a stubborn battery compartment (some do, some don't, it's a surprise party!). And a sense of humor – mandatory for any DIY project!
Step 1: Silence the Siren (Momentarily!)
Okay, first things first: let's mute that annoying chirp. Most smoke alarms have a test/hush button. Give it a good press for a few seconds. It might just give you a temporary reprieve from the chirping.
If it lets out a loud, full-blown alarm, don't panic! That's just the 'test' part working. Release the button, and the chirp should pause. This step isn't about stopping the chirp forever, but giving you some peace while you work.
Step 2: Ascend and Detach
Carefully climb your ladder. Safety first, friends! We don't want any 'oops' moments.

Now, look at your First Alert smoke alarm. Most models are designed to be easily removed from their ceiling or wall mount. Usually, you'll need to twist the alarm unit counter-clockwise (lefty-loosey!) to detach it from its base.
It might feel a little snug, but don't be afraid to give it a firm, gentle twist. It'll pop right off, revealing its secrets!
Step 3: The Big Reveal – Old Battery Out!
Once you've got the alarm in your hands (or carefully balanced on your ladder, if you're feeling adventurous!), locate the battery compartment. This is almost always on the back or side.
For a 9-volt battery, it usually just snaps in and out. Gently unclip the old battery from its terminals. Sometimes, it's tucked away under a small sliding door – this is where your optional flathead screwdriver might come in handy. Wave goodbye to the old battery! It's done its duty.
Step 4: Hello, New Power!
Grab your shiny, new 9-volt battery. Pay attention to the polarity! The plus (+) and minus (-) terminals need to line up with the corresponding clips in the alarm. It's usually pretty obvious.

Gently but firmly snap the new battery into place. It should fit snugly. Pro tip: If it doesn't fit easily, you might be trying to put it in backward. Don't force it!
Step 5: The Scream Test (and Reattachment)
Alright, moment of truth! Before you reattach the alarm, give it a quick test. Press and hold the test button again. It should let out a LOUD, unmistakable alarm sound. This is good! It means it's working!
If it doesn't scream, double-check your battery installation. Make sure it's snapped in correctly. Once you've confirmed it's working, carefully line up the alarm unit with its base on the ceiling/wall. Twist it clockwise (righty-tighty!) until it clicks securely into place. You don't want it falling down mid-sleep!
Bonus Tips & Tricks for the Savvy Homeowner
Don't Forget the Date! Write the date on your new battery with a marker. Most manufacturers recommend changing batteries at least once a year.
Clean House! While you have the alarm down, give it a quick wipe with a dry cloth. Dust can sometimes interfere with its sensors.

Stock Up! Keep a spare 9-volt battery in your utility drawer. Nothing worse than a midnight chirp with no replacement in sight!
Listen to Your Alarm: If it keeps chirping even with a new battery, it might be signaling that the unit itself needs replacing (they have a lifespan, usually 7-10 years). Check the back for a manufacturing date!
Mission Accomplished!
And there you have it! You've successfully tamed the chirping beast, avoided a sleepless night, and probably saved yourself a minor headache! See? Not so scary after all, right?
You're not just changing a battery; you're ensuring your home and loved ones are safe and sound. Give yourself a pat on the back, enjoy the blissful silence. You're a home maintenance superhero, and your ears (and peace of mind) thank you!
Now go forth and conquer the rest of your day, knowing you've tackled one of life's little nagging tasks with style and a smile!