Send Luna From Metamask To Terra Station
So, you've got some Luna chilling in your MetaMask wallet and you're itching to move it over to Terra Station? Awesome! You're diving into the exciting world of cross-chain transfers, and trust me, it's a valuable skill to have in the ever-expanding crypto universe. Think of it like moving your digital money from one bank to another – a little techy, but totally doable.
But why bother? Well, Terra Station is the official wallet for the Terra blockchain, the home of Luna. Moving your Luna there unlocks a bunch of cool benefits! You can stake your Luna to earn rewards, participate in governance decisions (basically, have a say in how the Terra ecosystem is run!), and access other Terra-based decentralized applications (dApps). Think of it as upgrading from a basic checking account to a full-fledged investment and participation platform.
The main benefit here is getting closer to the Terra ecosystem. By having your Luna in Terra Station, you're directly interacting with the blockchain and can take advantage of all its features. You're no longer just holding Luna; you're actively participating in its growth and earning rewards for it!
Must Read
Okay, so how do we actually do this? It's a multi-step process, but don't worry, we'll break it down. The key is using a bridge, specifically the Shuttle Bridge, which acts as a translator between the Ethereum network (where MetaMask lives) and the Terra blockchain.
Here's a simplified overview:
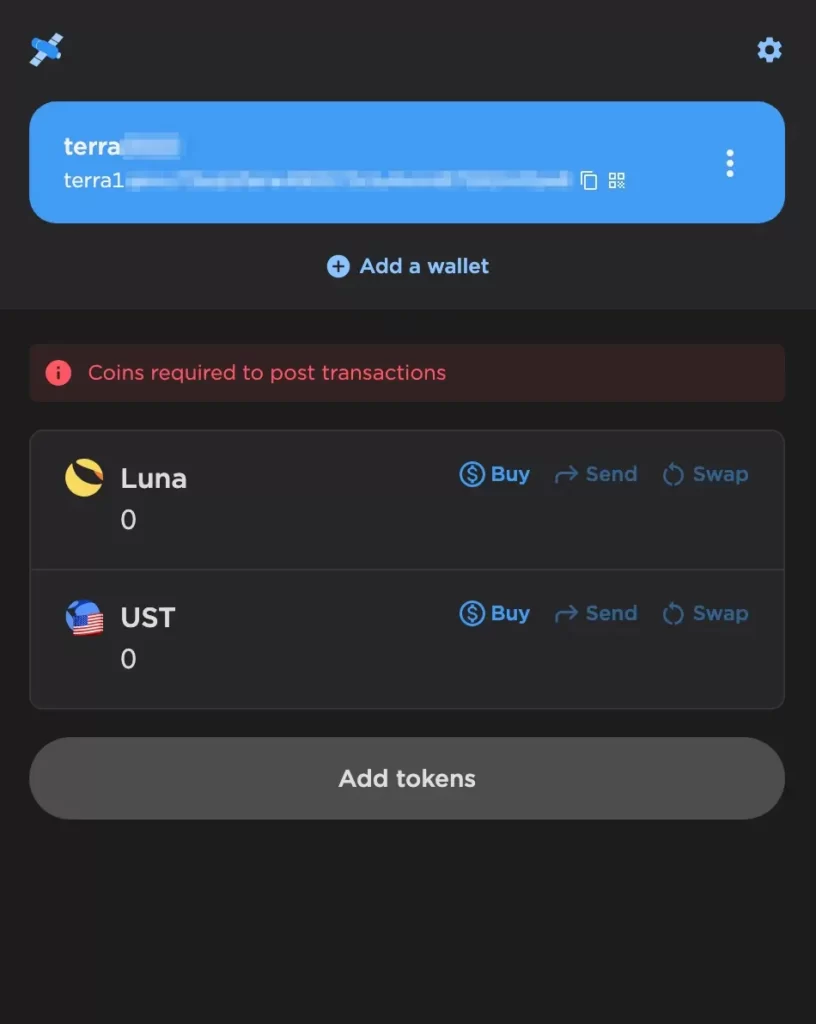
- Get Terra Station Ready: Download and set up Terra Station wallet if you haven't already. Make sure you securely back up your seed phrase – that's your lifeline to your funds!
- Head to the Shuttle Bridge: You can usually find it within the Terra Station interface, or by searching for "Terra Shuttle Bridge."
- Connect Your Wallets: Connect both your MetaMask and your Terra Station wallet to the Shuttle Bridge. You'll likely need to approve these connections within MetaMask.
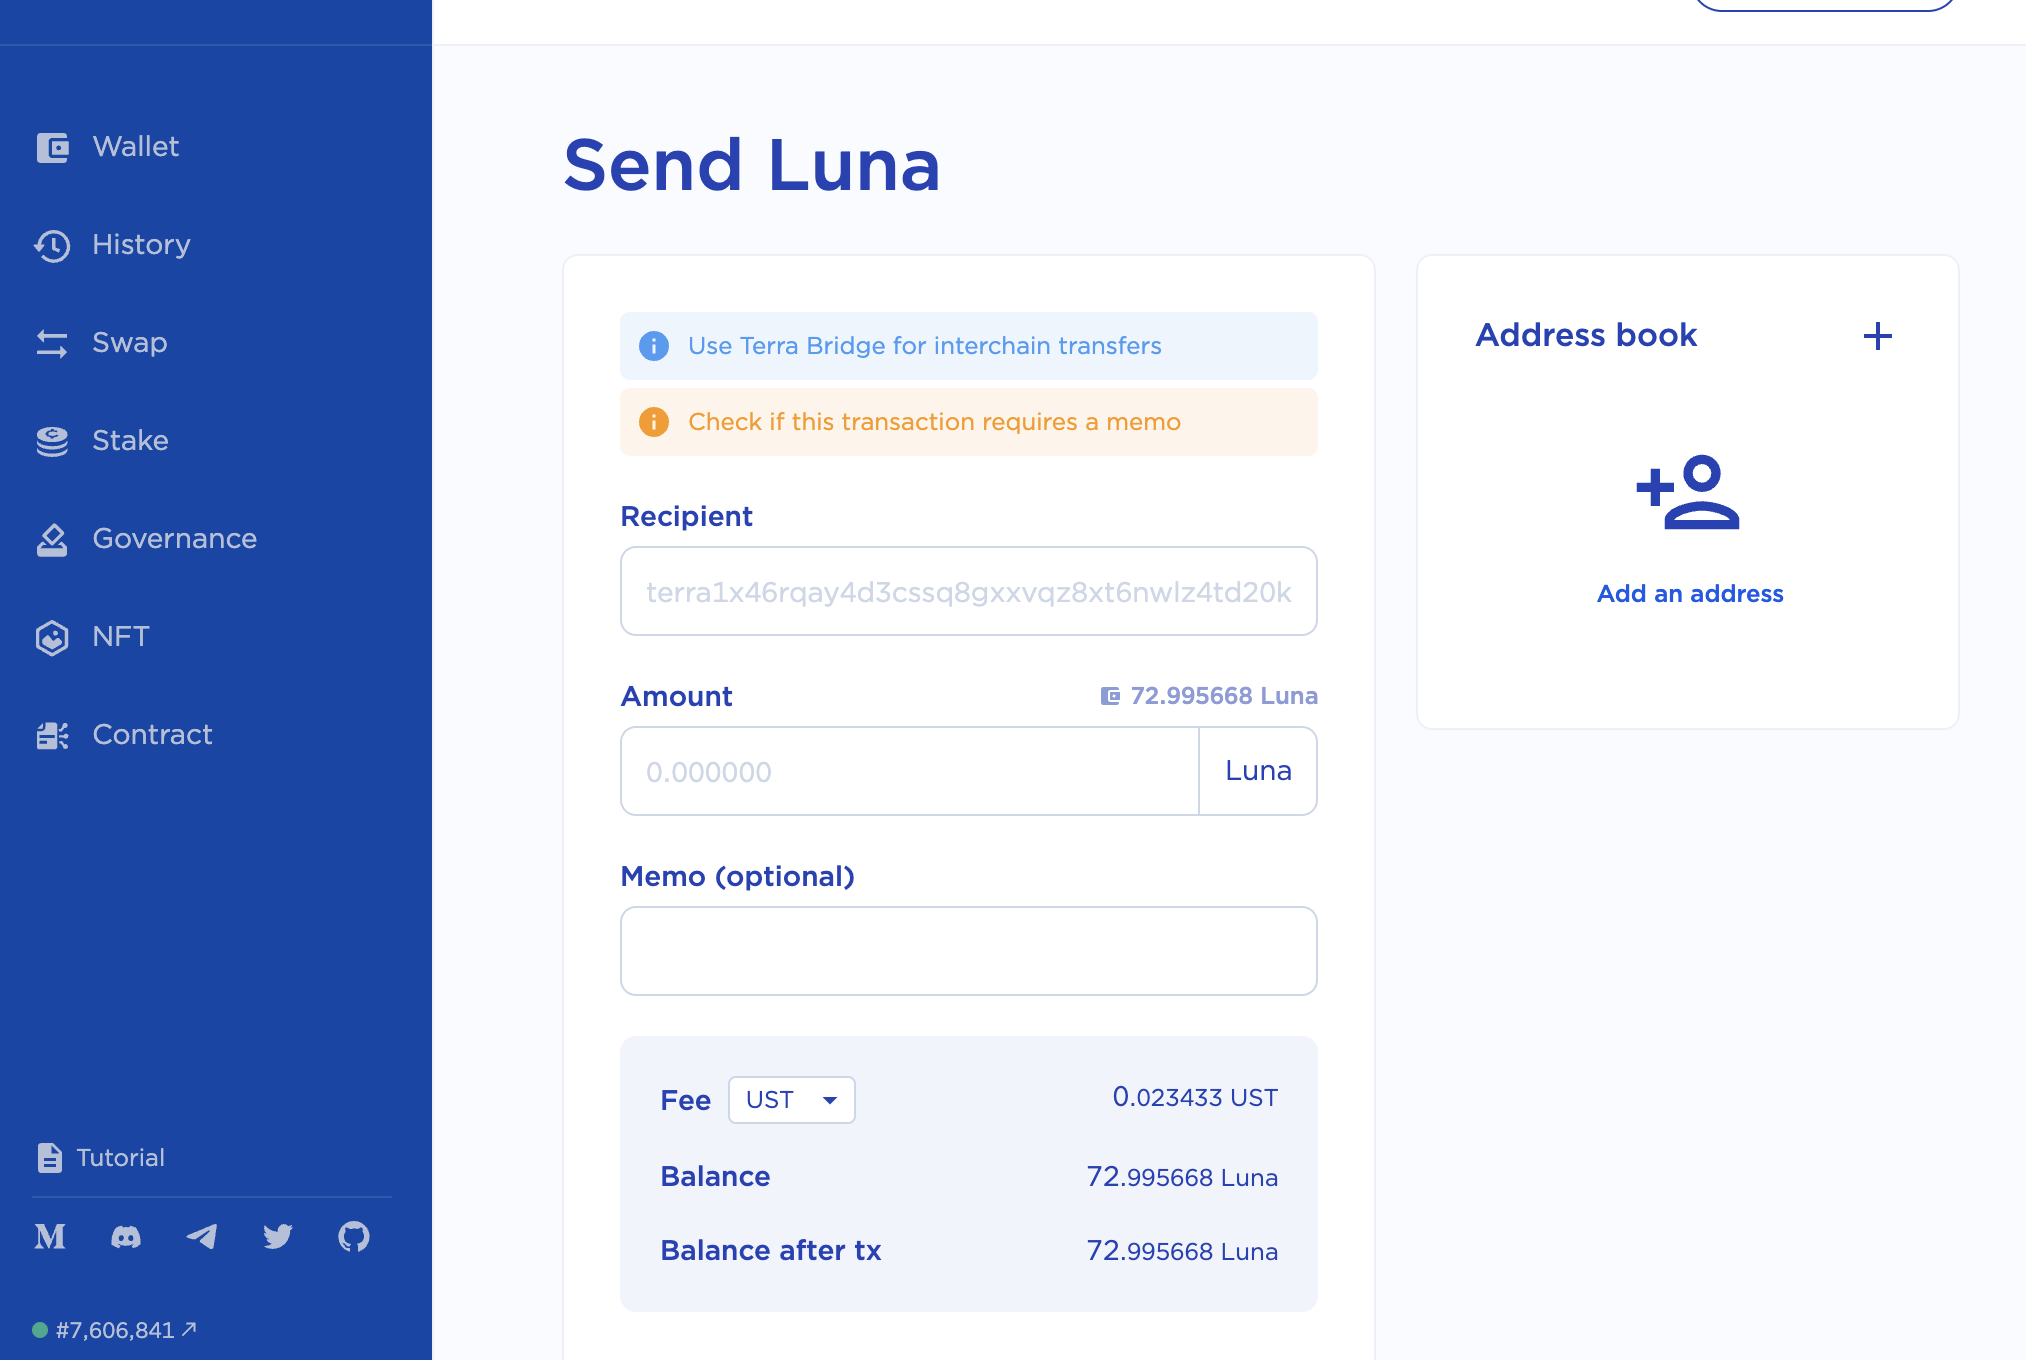
- Initiate the Transfer: Select Luna as the asset you want to transfer, specify the amount, and enter your Terra Station wallet address as the recipient. Double-check that address! Typos can be costly.
- Pay the Gas Fees: Remember, transferring tokens on Ethereum requires gas fees. MetaMask will prompt you to approve the transaction and pay the necessary fees. Make sure you have enough ETH in your MetaMask wallet to cover these fees.
- Wait for Confirmation: Once the transaction is confirmed on the Ethereum network, the Shuttle Bridge will relay your Luna to your Terra Station wallet. This can take a few minutes, so be patient.
Important Considerations:
- Gas Fees: These can fluctuate, so check current gas prices before initiating the transfer to avoid surprises.
- Test with a Small Amount: It's always wise to send a small amount of Luna first to ensure everything works correctly before transferring a larger sum.
- Bridge Availability: The Shuttle Bridge might occasionally experience congestion or maintenance. Check its status before you begin.
Moving your Luna from MetaMask to Terra Station can seem intimidating at first, but with a little patience and attention to detail, you'll be navigating the world of cross-chain transfers like a pro. Happy staking and exploring the Terra ecosystem!