Replacing Battery In First Alert Smoke Detector
Ah, that unmistakable, high-pitched chirp! It’s the universal call to action, the tiny siren song that signifies one of life’s most satisfyingly simple, yet crucial, home maintenance tasks awaits: replacing the battery in your First Alert smoke detector. Far from being a mere chore, we’re here to argue that this humble act is a miniature masterpiece of practical creativity, offering a surprising wealth of benefits for the artist, the hobbyist, and the casual learner in all of us.
Think of your home as your canvas, your sanctuary. A First Alert smoke detector, often an unassuming fixture on the ceiling or wall, is a silent guardian, a testament to your commitment to safety. When it chirps, it’s not just asking for a new battery; it’s inviting you to engage in a moment of mindful maintenance, a quick brushstroke of proactive care that enhances the overall harmony and security of your living space. For the artist, this is about creating an environment of peace and readiness, preventing the chaotic disruption that a forgotten warning signal could entail. You’re not just changing a battery; you’re sculpting a safer tomorrow.
For the enthusiastic hobbyist, who delights in the small victories of DIY, this is your moment to shine. It’s a project that requires minimal tools, delivers immediate gratification, and adds a valuable skill to your repertoire. Imagine the satisfaction of quieting that insistent chirp with your own two hands, knowing you’ve mastered a small, yet significant, piece of home technology. There are variations to explore, too! Perhaps you have a standard 9V battery unit, or one that uses AAAs. Maybe it’s a simple twist-off, or a more involved slide-and-lift mechanism. Each presents a tiny puzzle, a delightful challenge for your inner fixer-upper.
Must Read
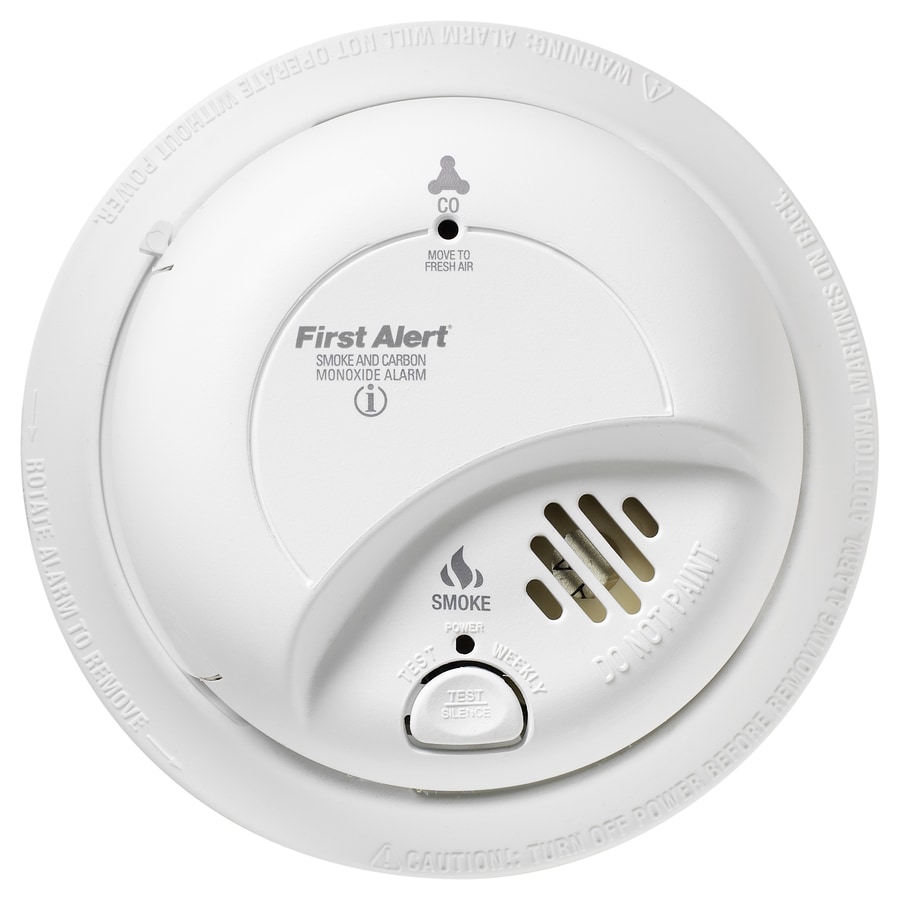
And for the casual learner, this is your stepping stone into the empowering world of home upkeep. It’s an easy win that builds confidence for future projects, proving that you can tackle household tasks. You’ll learn about the different types of detectors—ionization for fast-flaming fires, photoelectric for smoldering ones, or even combination units—and the importance of their placement. This simple act teaches you vigilance, responsibility, and the basic mechanics of keeping essential safety devices operational. It's a foundational lesson in self-reliance, transforming a potentially intimidating task into a manageable one.

Ready to try it at home? Here are some quick tips:
- First, locate the chirping culprit. Sometimes it’s the one you least expect!
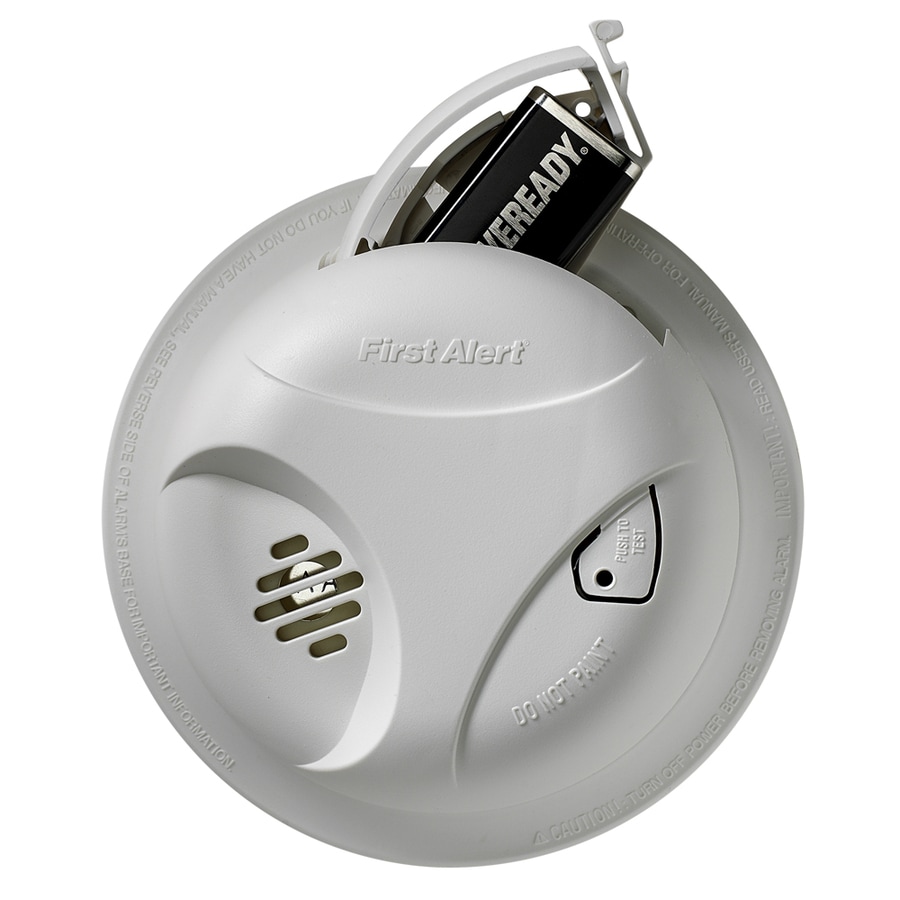
- Gather your tools: usually just a new 9V battery (or whatever size your unit requires) and perhaps a sturdy step stool. A small flathead screwdriver might be needed for a stubborn latch.
- Gently twist the detector counter-clockwise, or slide it off its base. Some models have a small tab to press.
- Carefully remove the old battery. Note the orientation of the positive and negative terminals.
- Insert the fresh battery, ensuring correct polarity.
- Reattach the detector to its base and press the "Test" button. Listen for the loud, clear alarm – that’s the sound of success!
Ultimately, the joy of replacing a First Alert smoke detector battery isn't just about the sudden, blissful silence after that incessant chirp. It’s about the quiet pride of a job well done, the knowledge that you’ve taken a proactive step to protect your loved ones, and the empowering feeling of being truly at home in your own space, capable of handling its little demands. It’s a small act with a big impact, a perfect blend of practicality and personal triumph.