Replace Battery For Honeywell Thermostat
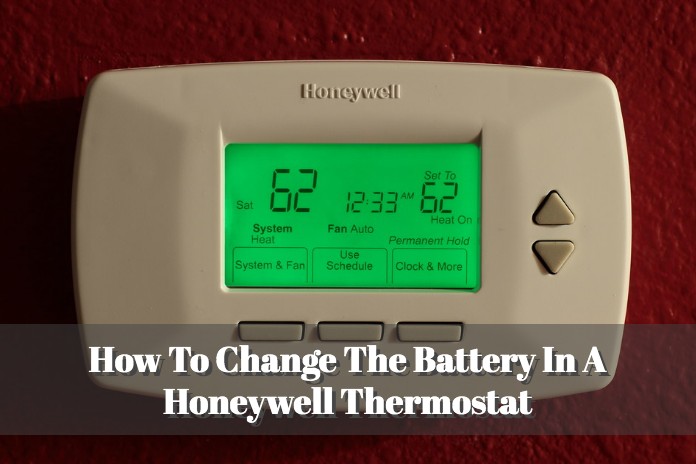
Ever notice your Honeywell thermostat doing a little wiggle? Maybe the screen goes blank, or it just stops responding to your brilliant temperature demands? Before you start envisioning a full-blown HVAC apocalypse (been there, done that, bought the t-shirt), let me tell you a little secret: it’s probably just asking for some fresh batteries. Yes, even your high-tech temperature wizard needs a snack now and then!
Replacing the batteries in your Honeywell thermostat is one of those things that sounds like a job for a seasoned electrician, but it’s actually so ridiculously easy, you’ll feel like a DIY superstar. Seriously, you’ll be high-fiving yourself in no time. Think of it as giving your thermostat a tiny, energizing spa day.
Why the Fuss About Batteries?
So, why exactly does your thermostat rely on these little powerhouses? Well, while many Honeywell thermostats get their primary power from your home’s wiring, those batteries are often there as a backup. They keep your settings stored, help with programming, and ensure the screen displays information even if the main power blips. Without them, your thermostat can go from brilliant to completely blank, like a teenager who's had their phone taken away. Cue the dramatic music!
Must Read
You might see a "Low Batt" or battery icon flashing on your screen, which is its polite way of saying, "Hey, friend, I'm running on fumes here!" Or, it might just go completely dark. Either way, it's a clear signal that it's battery swap time.
Gather Your Supplies (It's Not Much!)
Before we embark on this grand adventure, let's gather our tools. Don't worry, you won't need a hard hat or a utility belt. Just these essentials:

- New Batteries: Most Honeywell thermostats use either AA or AAA alkaline batteries. Check your current ones or your thermostat's manual to be sure. It’s usually two, sometimes three. Always keep some spares handy – they’re like emergency chocolate, but for your house!
- Optional: A small flathead screwdriver: Some models might have a tiny screw holding the battery compartment or faceplate in place. Many don't, but it's good to have one just in case you need a gentle nudge.
- Your charming self: Because confidence is key!
The Super Simple Steps to Thermostat Rejuvenation
Step 1: Find Your Thermostat's "Happy Place"
Okay, this one might seem obvious, but just locate your thermostat. Give it a friendly pat. You're about to make its day.
Step 2: Uncover the Secret Battery Lair
This is where the real detective work begins! The battery compartment on Honeywell thermostats can be in a few different spots:
- The Side or Bottom: Look for a small pull-out tray or a hinged door.
- The Pull-Down Front: Some models have a front panel that gently pulls down or flips open to reveal the batteries.
- The Entire Faceplate: For many models, you actually gently pull the entire front display unit off the wall plate. Don't be scared! There are usually tabs or clips. Just pull straight out, away from the wall. You'll often find the batteries tucked away behind it. (Remember: gently is the keyword here. We're not trying to win a tug-of-war with our wall!)
If you’re unsure, give it a little wiggle. You’ll usually feel or see where it's meant to open. Your manual is also a great friend here!
Step 3: Evict the Old-Timers
Once you’ve found the compartment, pop out the old batteries. Take a moment to silently thank them for their service. They worked hard!

Step 4: Welcome the New Recruits!
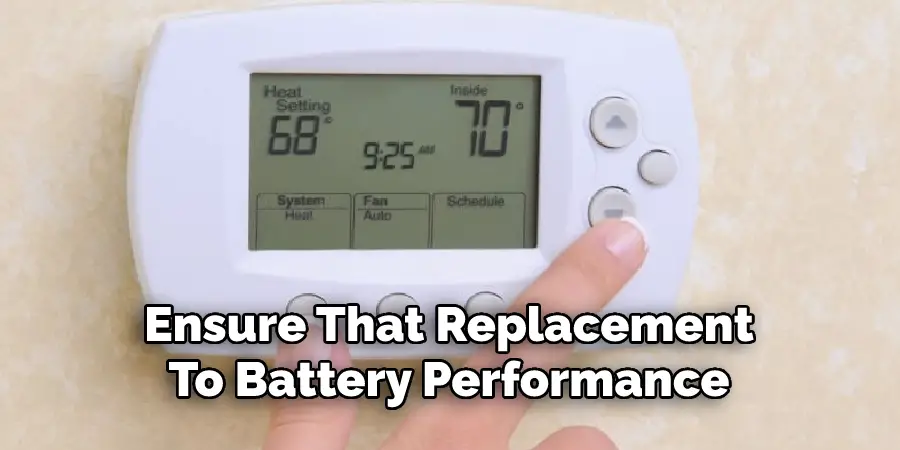
Now, carefully insert the fresh batteries. Pay close attention to the polarity (the + and - symbols). This is super important. If they’re in backward, your thermostat will give you the silent treatment.
Step 5: Seal the Deal
Close up the battery compartment or snap the faceplate back into place. You should hear a satisfying click. If you had to remove the entire faceplate, just line it up with the wall plate and gently push until it clicks securely.

Step 6: The Grand Reveal!
Watch in awe as your thermostat’s screen springs back to life! It might take a moment to power up and display everything, but it should look just like its old, glorious self. Check your settings to make sure they're still correct (they usually are, thanks to the magic of non-volatile memory!), and you're good to go.
And Just Like That... You're a Hero!
See? Told you it was easy peasy! You've just saved yourself a service call, learned a new skill, and ensured your home remains at that perfectly balanced temperature you love. Your thermostat is happy, your home is happy, and you, my friend, are officially a domestic champion.
So next time your thermostat throws a little tantrum, you’ll know exactly what to do. Give yourself a pat on the back, maybe grab a celebratory beverage, and enjoy the comfort of a job well done. You’ve got this!